Fresas Con Crema is a traditional Mexican dessert made with fresh strawberries and a sweet cream sauce. This easy dessert can be ready in under 10 minutes and with only 4 simple ingredients.


Fresas Con Crema is a traditional Mexican dessert made with fresh strawberries and a sweet cream sauce. This easy dessert can be ready in under 10 minutes and with only 4 simple ingredients.
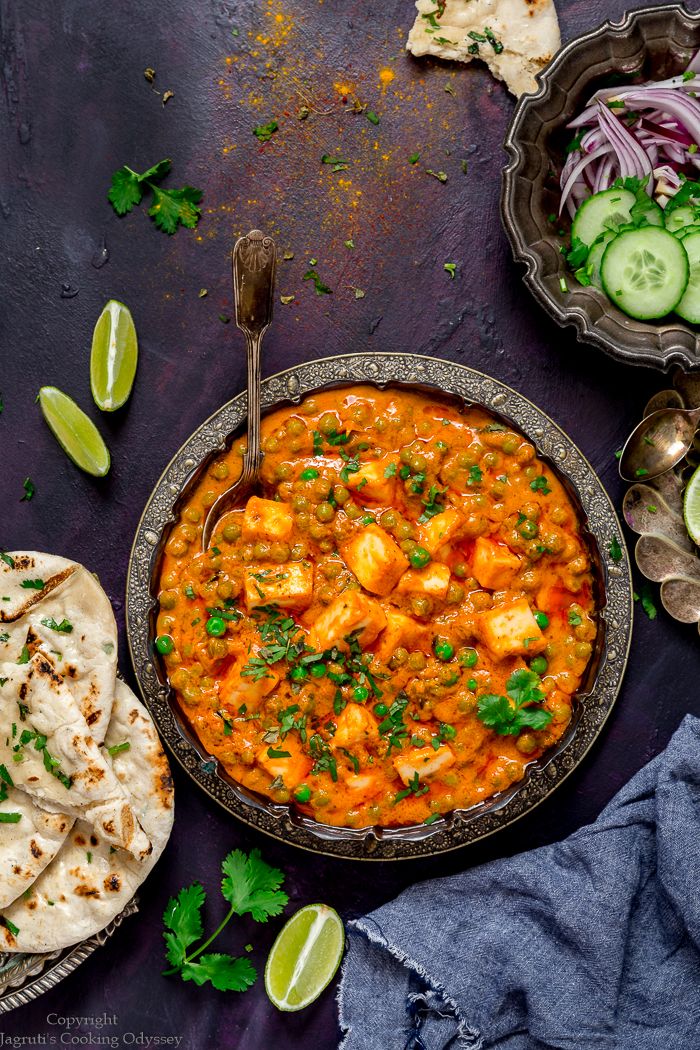
Punjabi Style Matar Paneer is a popular paneer recipe that is much loved around the world. Paneer and peas are cooked in a delicious tomato and onion masala to give an authentic Dhaba style flavour.
Mango Kheer or Mango Rice Kheer is an exotic take on the authentic kheer recipe (Indian style rice pudding). Silky Indian mango pulp or keri no ras is added to kheer to create a vibrant yet creamy Indian sweet that is perfect for summer.

Shahi Tudka is an exquisite mithai that is rich and satisfying. It is a royal Mughlai dessert that can be served during special occasions and festivities. Soft bread is deep-fried in ghee and rabri is generously poured on top. Despite it's royal name, Shahi Tukda is easy to prepare.

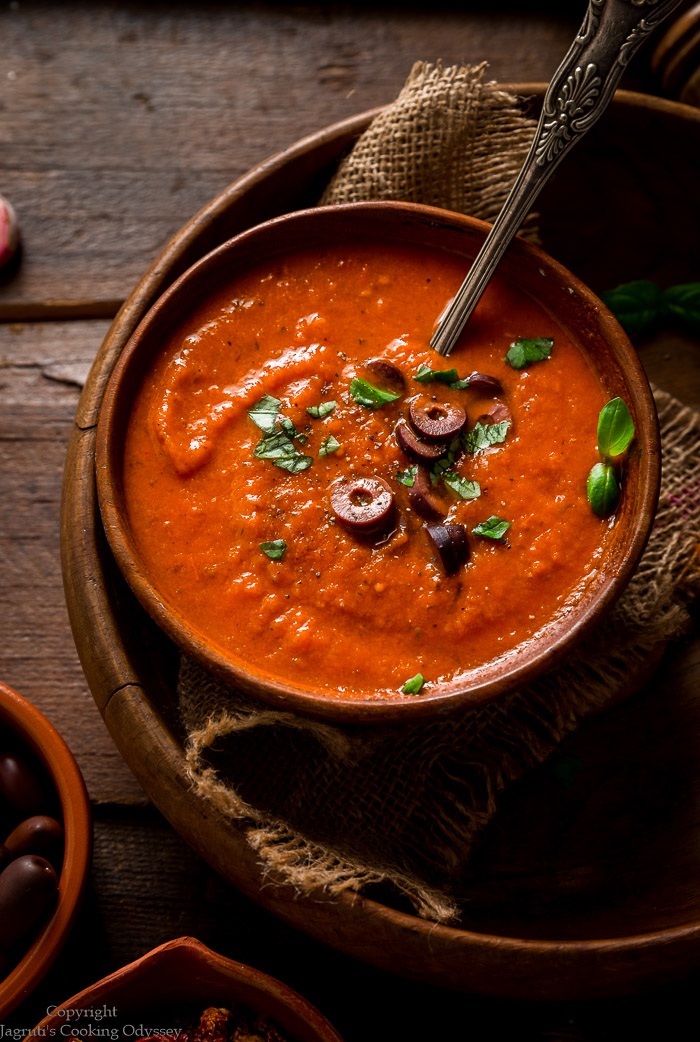
This vegan Instant Pot Tomato Pasta Sauce should be a staple in your kitchen. So much better than bottled, this homemade sauce can be made in large batches ready for when pasta craving hits! Delicious and robust pasta sauce is packed with sundried tomatoes and kalamata olives which provide the most delicious sunshine-packed taste and nutrition.
Tantalizing Tandoori Paneer fills a moreish and crumbly pastry. This vegetarian French-Indian dish has Paneer Tikka pieces combined with crunchy vegetables. This is fusion food at its finest!

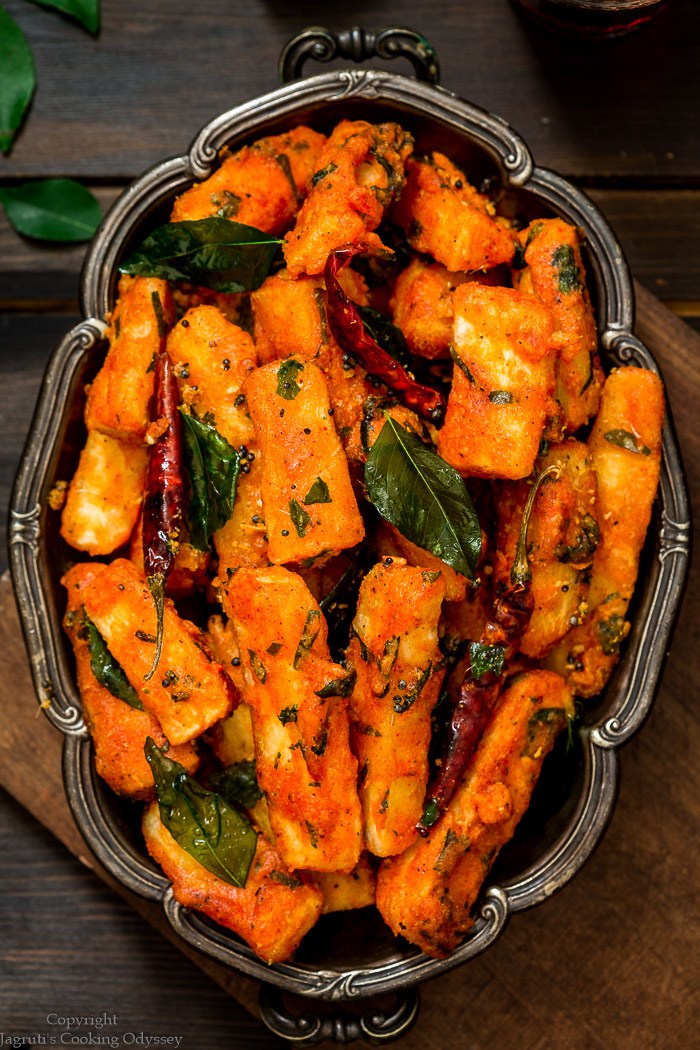
Mogo Chips 65 is the ultimate vegetarian starter. This vegan version of Hyderabad's famous Chicken 65 or Gobi 65 is packed full of aromatic flavours. Mogo Chips or Yucca Chips are double-cooked by coating in a delicious red masala, frying, and then tempering again with hot red chilies and curry leaves!
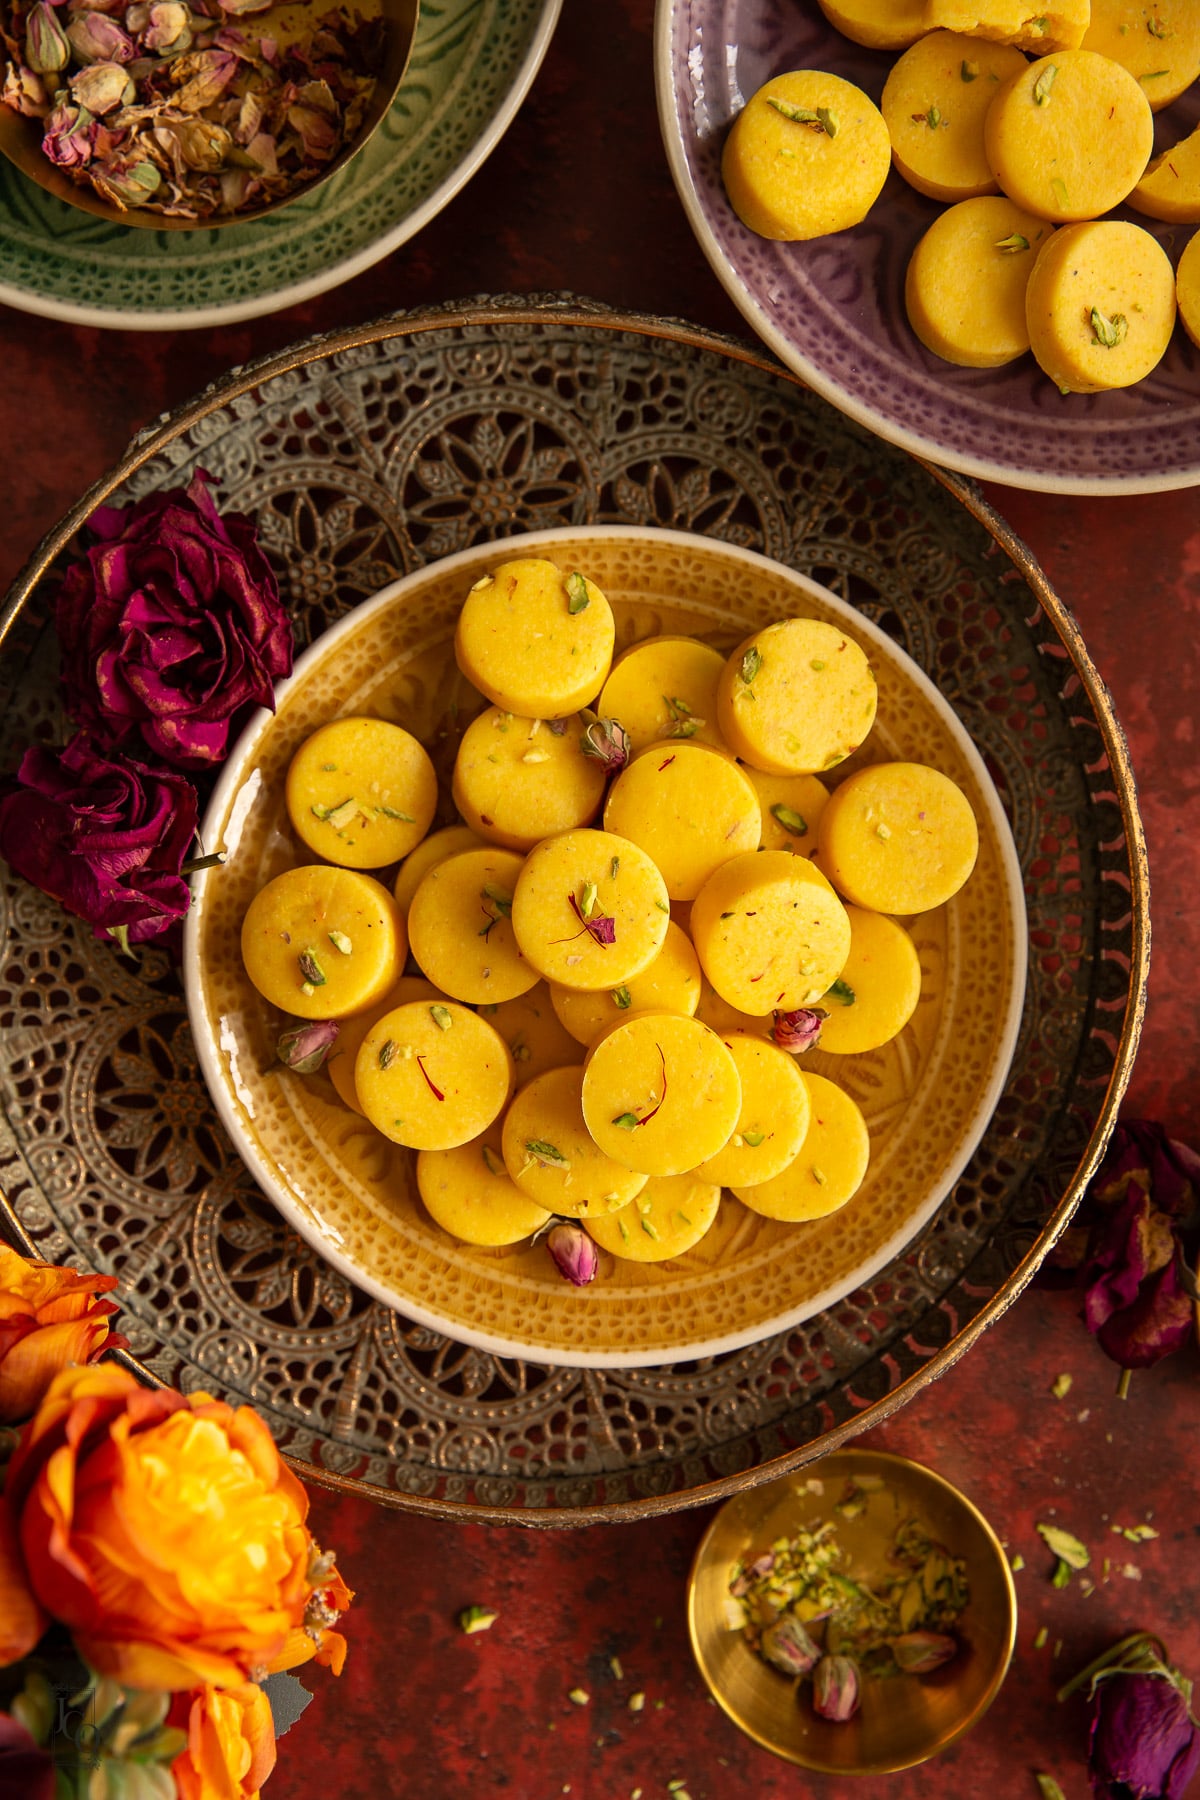
Microwave Mawa Peda with double cream are the ultimate quick Indian sweet. When time is short but you are still craving authentic tasting mawa peda, look no further than this easy recipe that uses only 3 main ingredients!

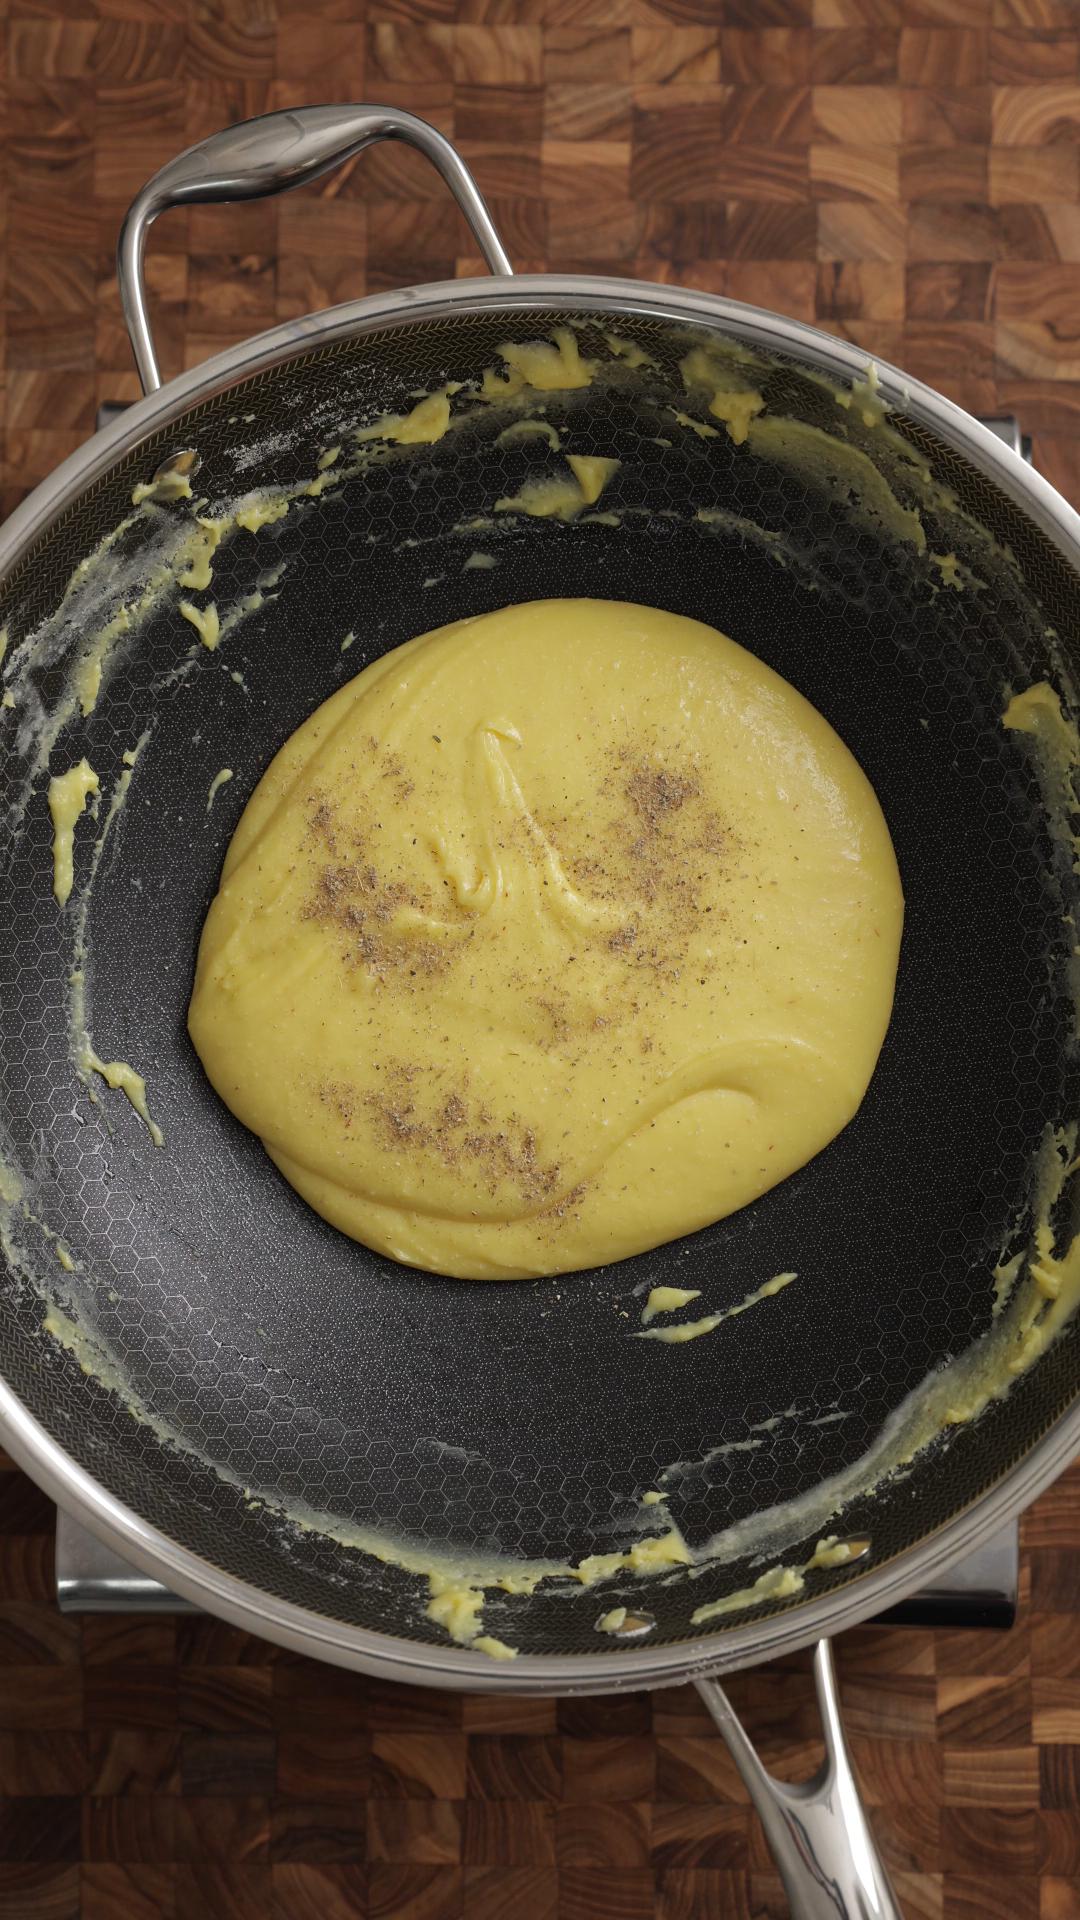
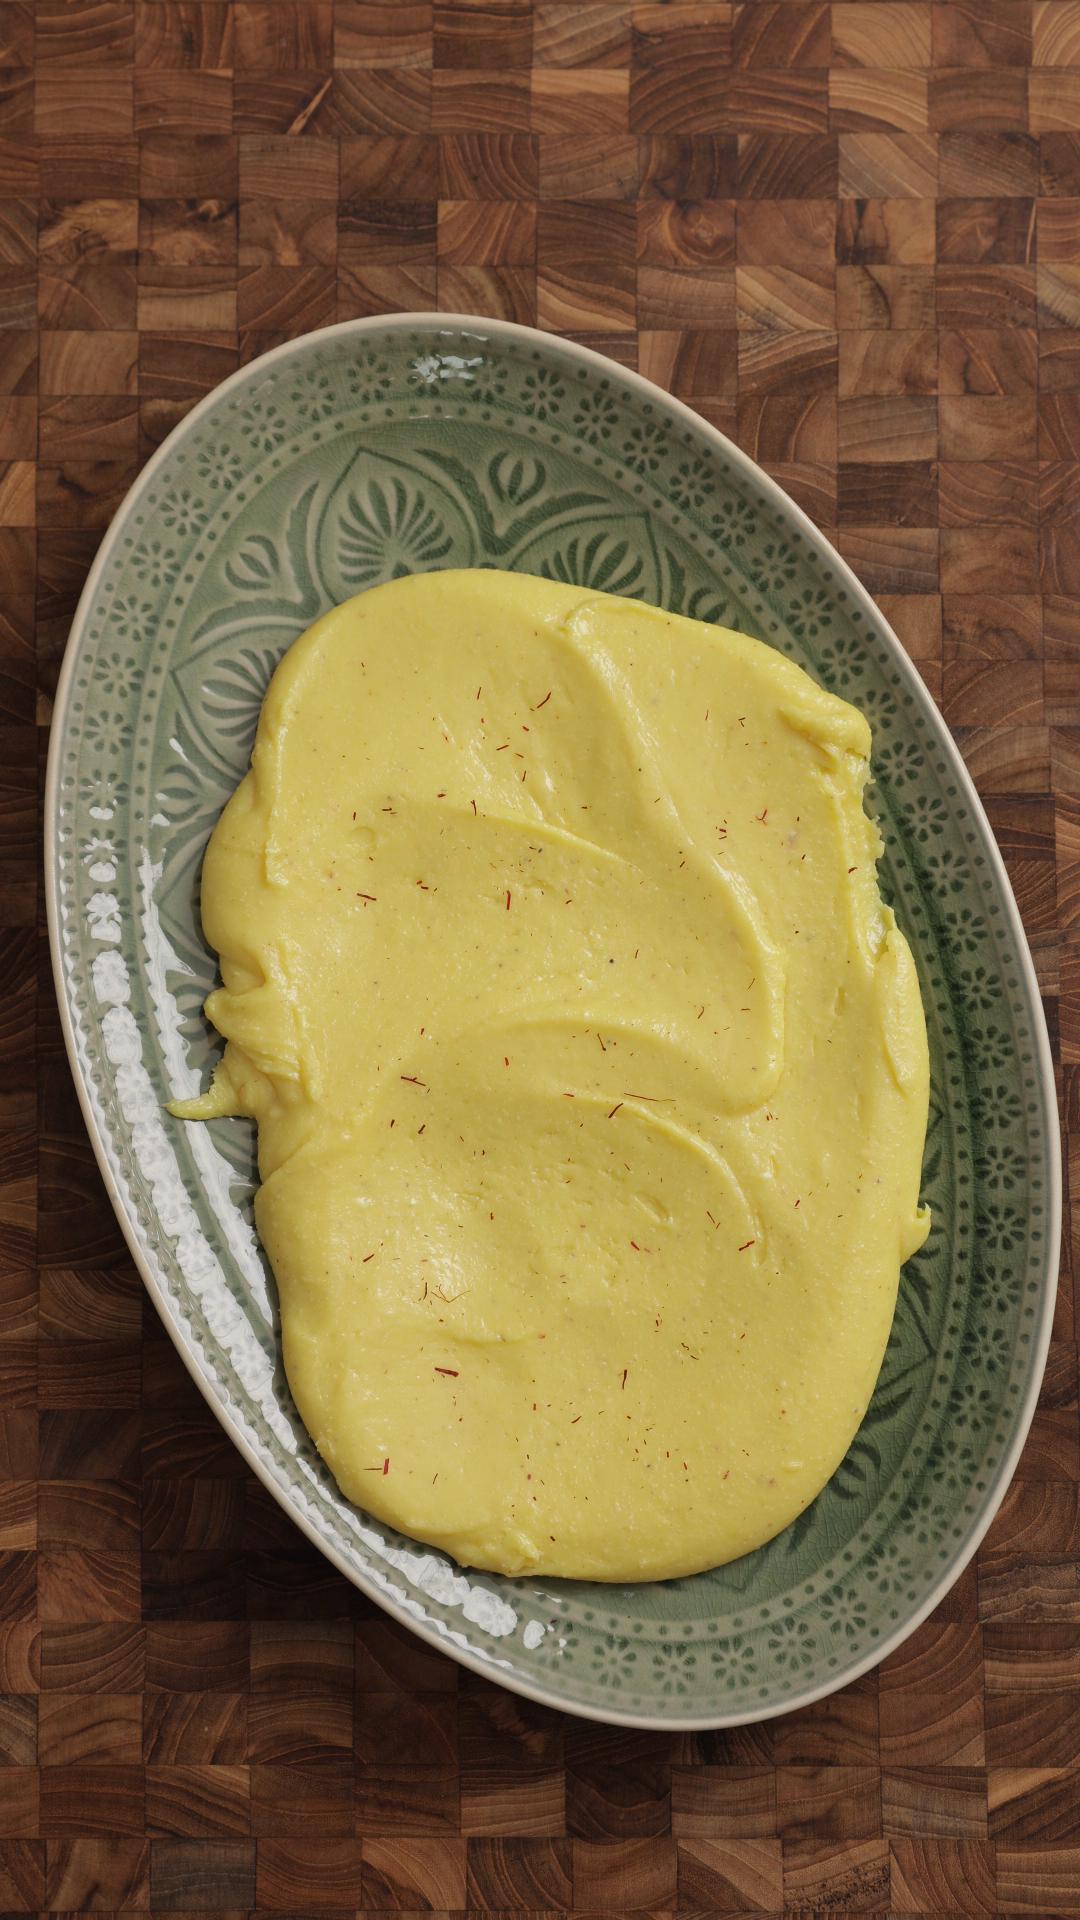
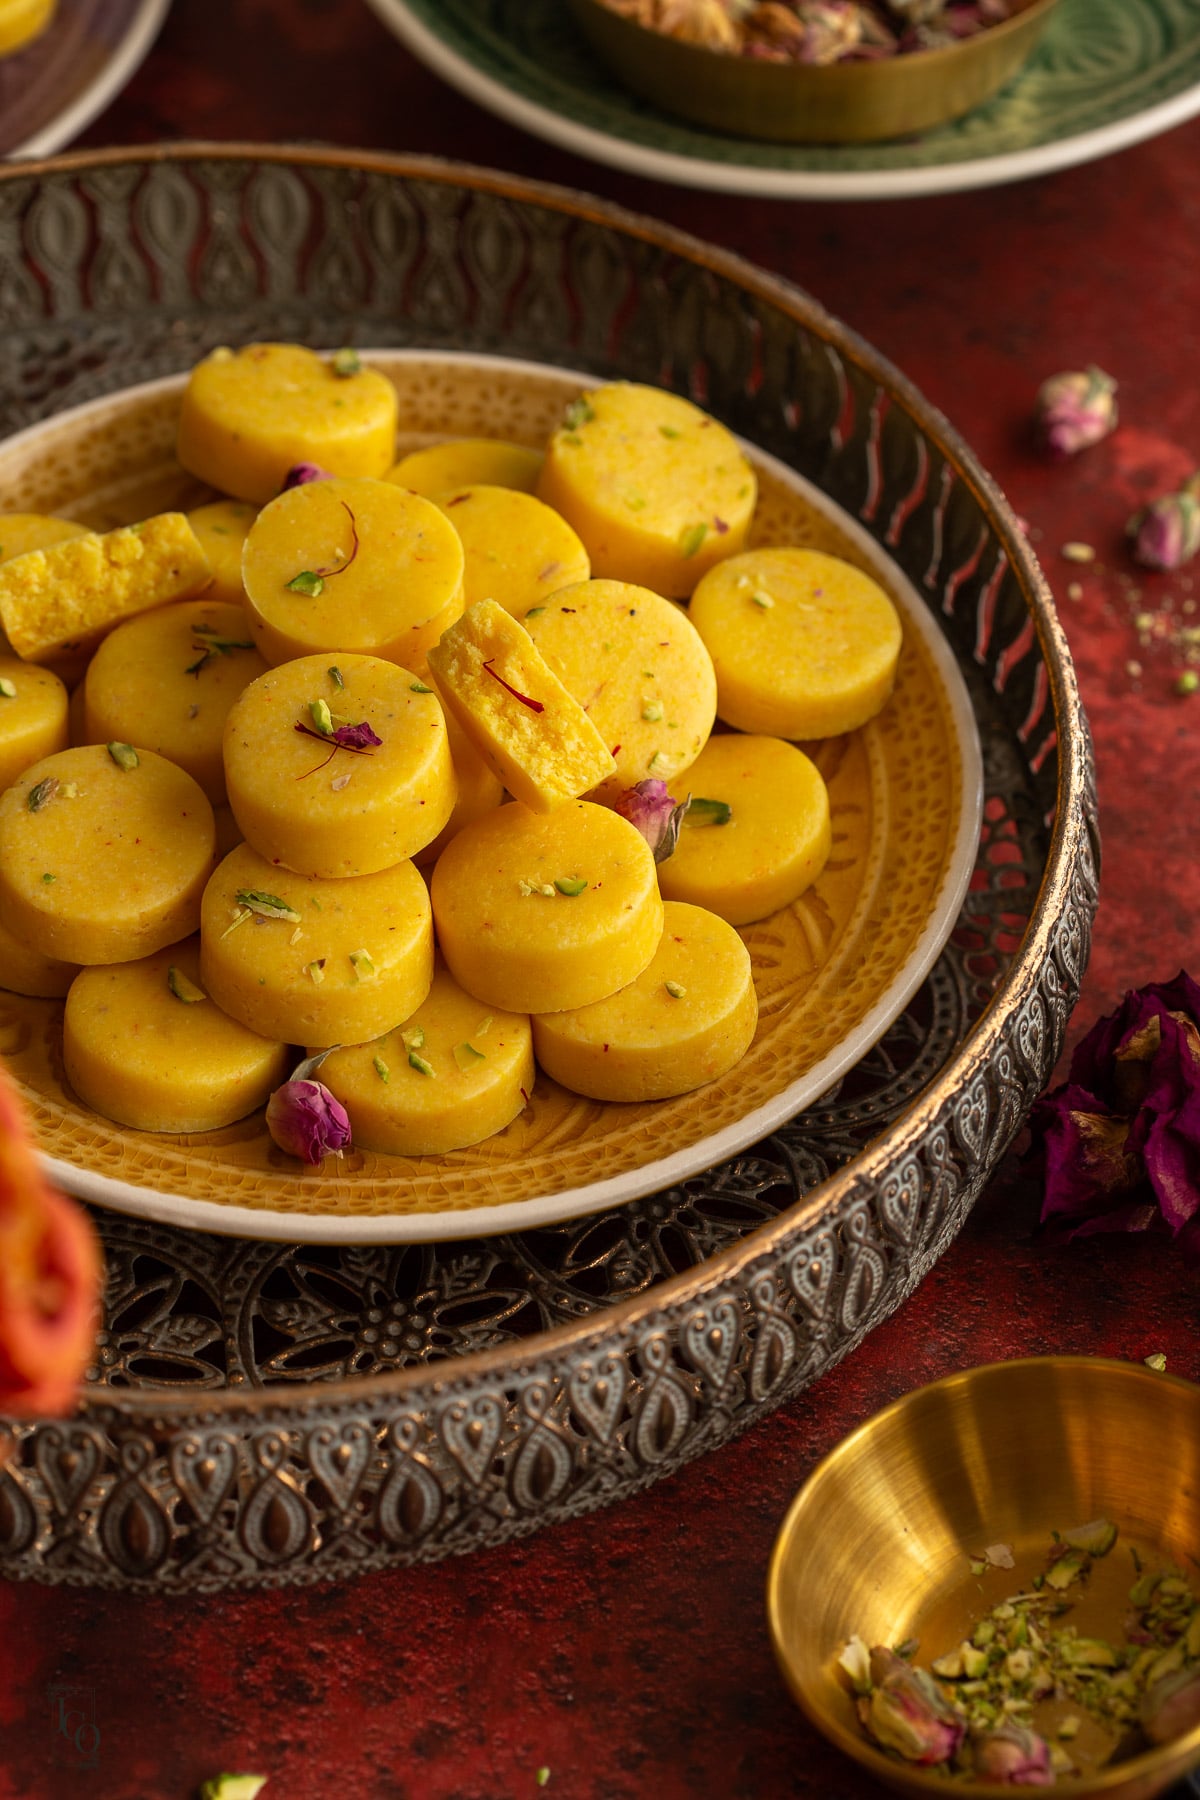
These Instant Kesar Peda are soft, saffron-scented peda made on the stove with condensed milk and milk powder. This version is for when you want something quick, festive and homemade, without simmering milk for ages. If you're looking for peda that are not sticky or chewy but have a smooth melt in the mouth feel, then read on!
SUMMARIZE & SAVE THIS CONTENT ON
Often with shortcut recipes, you end up compromising on texture and taste.
The internet will tell you that you can recreate the exact same texture as the classic versions whilst changing ingredients and methods to be "quick" and "easy" - the internet is lying!
I'm on a mission to change that - especially with my Indian sweets and desserts recipes!
I tried and tested these peda multiple times to ensure that you can get the best texture possible but using shortcut ingredients.
That is why in this instant peda recipe, I do things differently to other recipes already out there, and here is why I think this version is better.
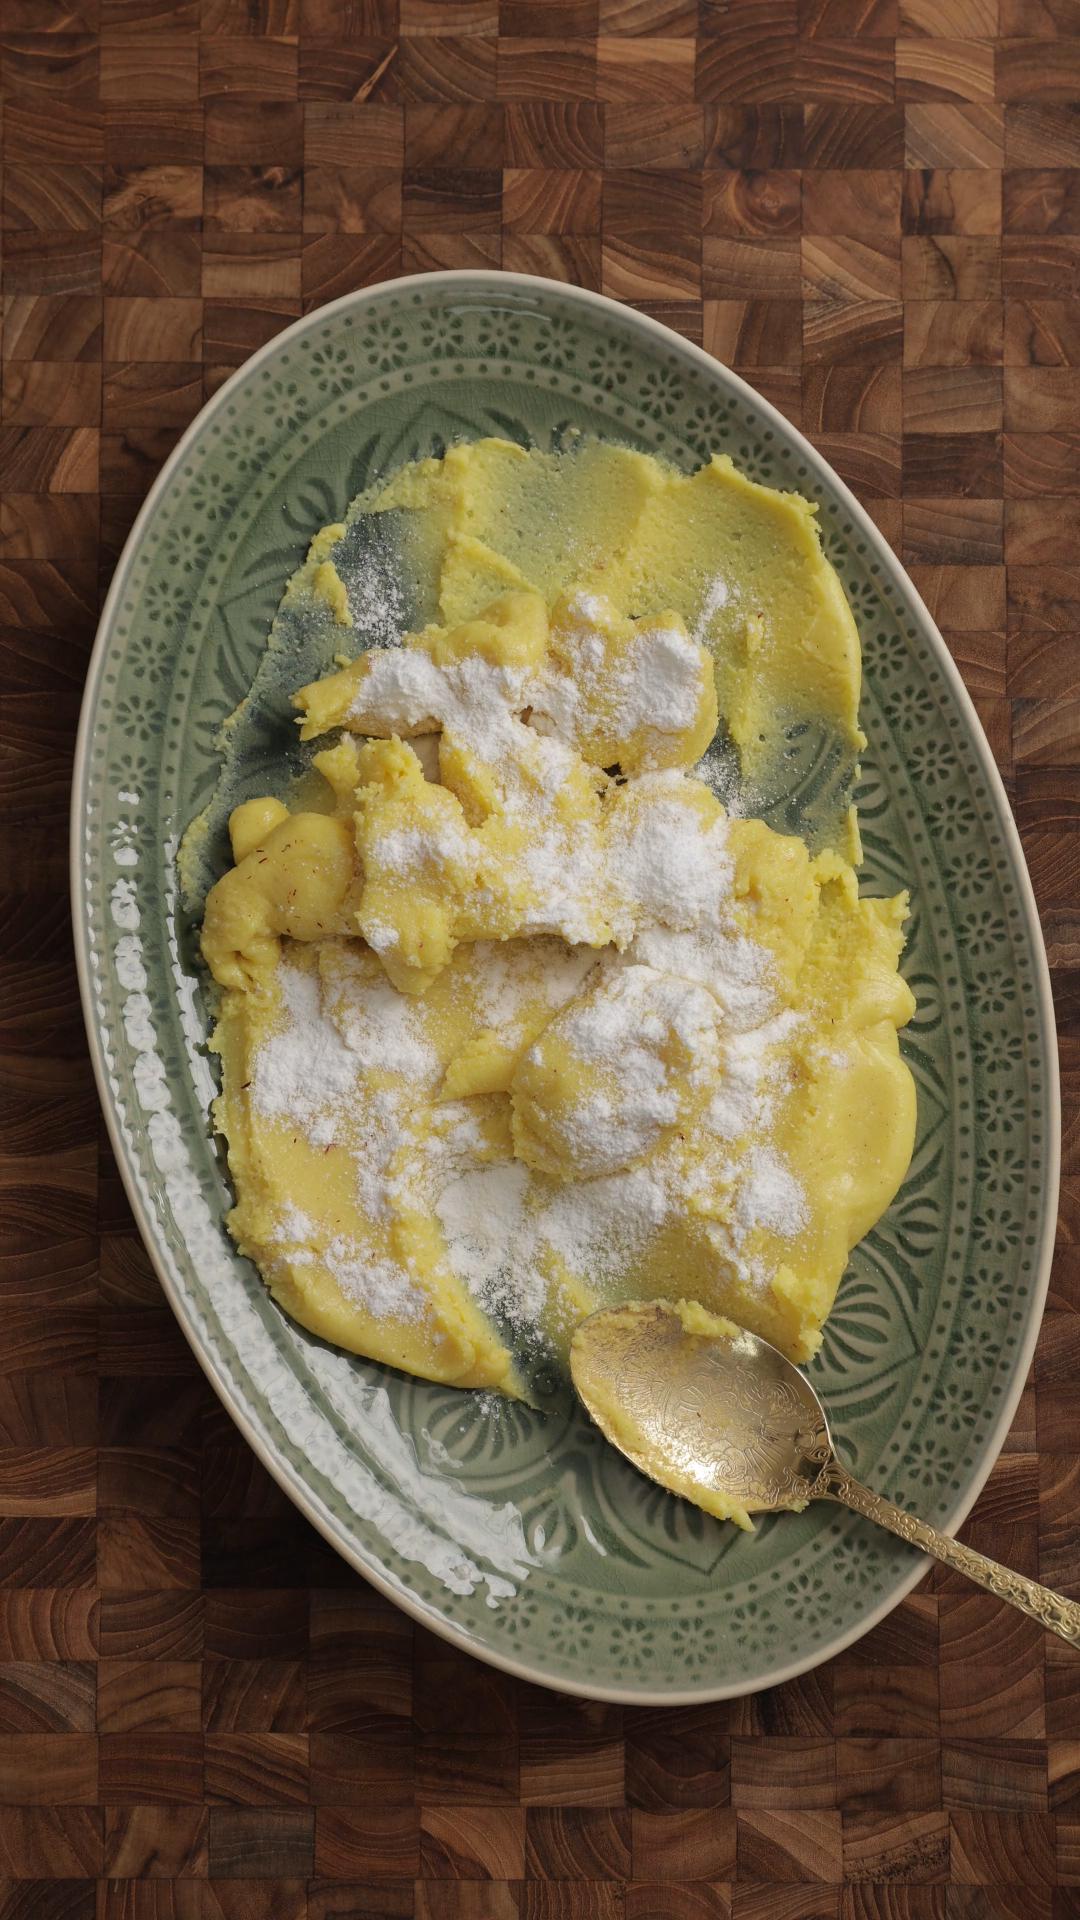
I roast the milk powder first, then add a little caster sugar once the dough has cooled. These two small steps make such a difference, especially because condensed milk can make instant peda sticky or chewy.
I use this same base to make my smooth chocolate peda too.
If you are not serving them immediately, I recommend leaving the peda out at room temperature to slightly dry out. This also helps improve the sticky texture.
They are not the long, traditional mawa peda method. I already have a classic kesar mawa na penda recipe for that.
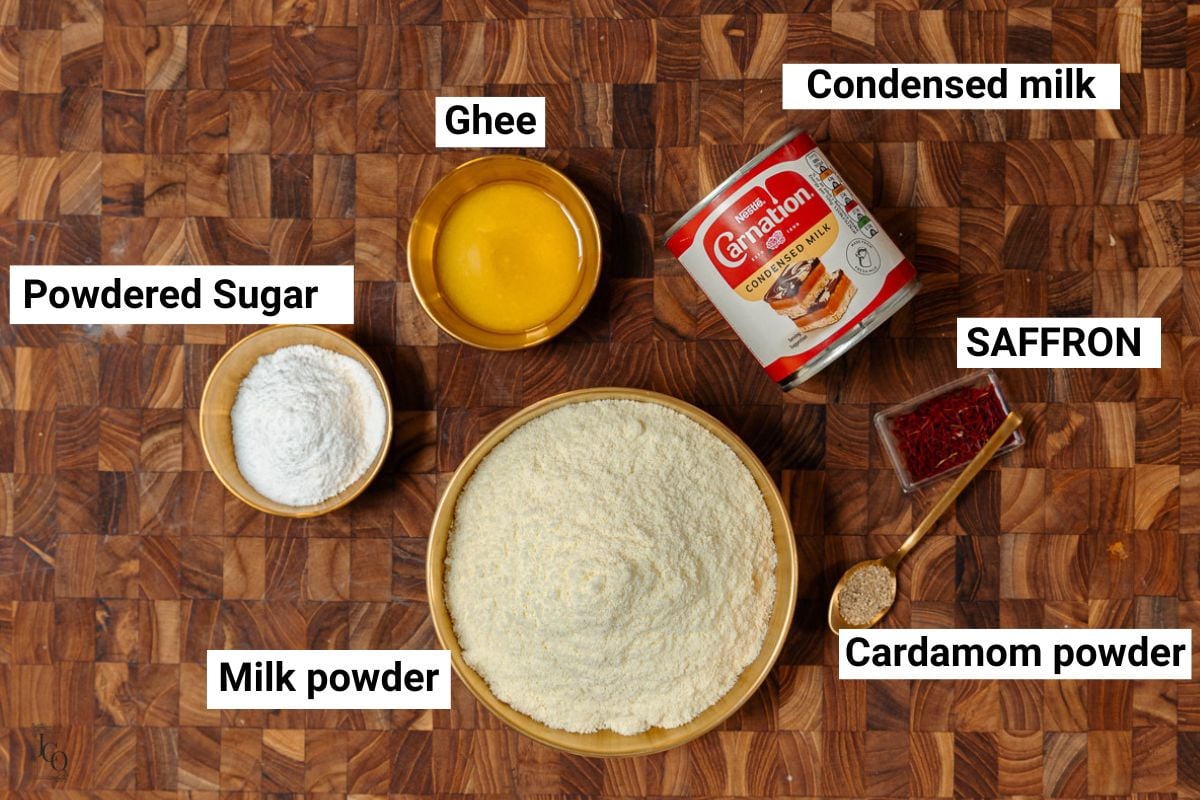
Milk powder
I use full fat or full cream milk powder only as this forms the bulk of the peda, just like my plain white milk barfi.
My go-to milk powder brand is from VB & Sons but I have also used Nestle Nido with good success.
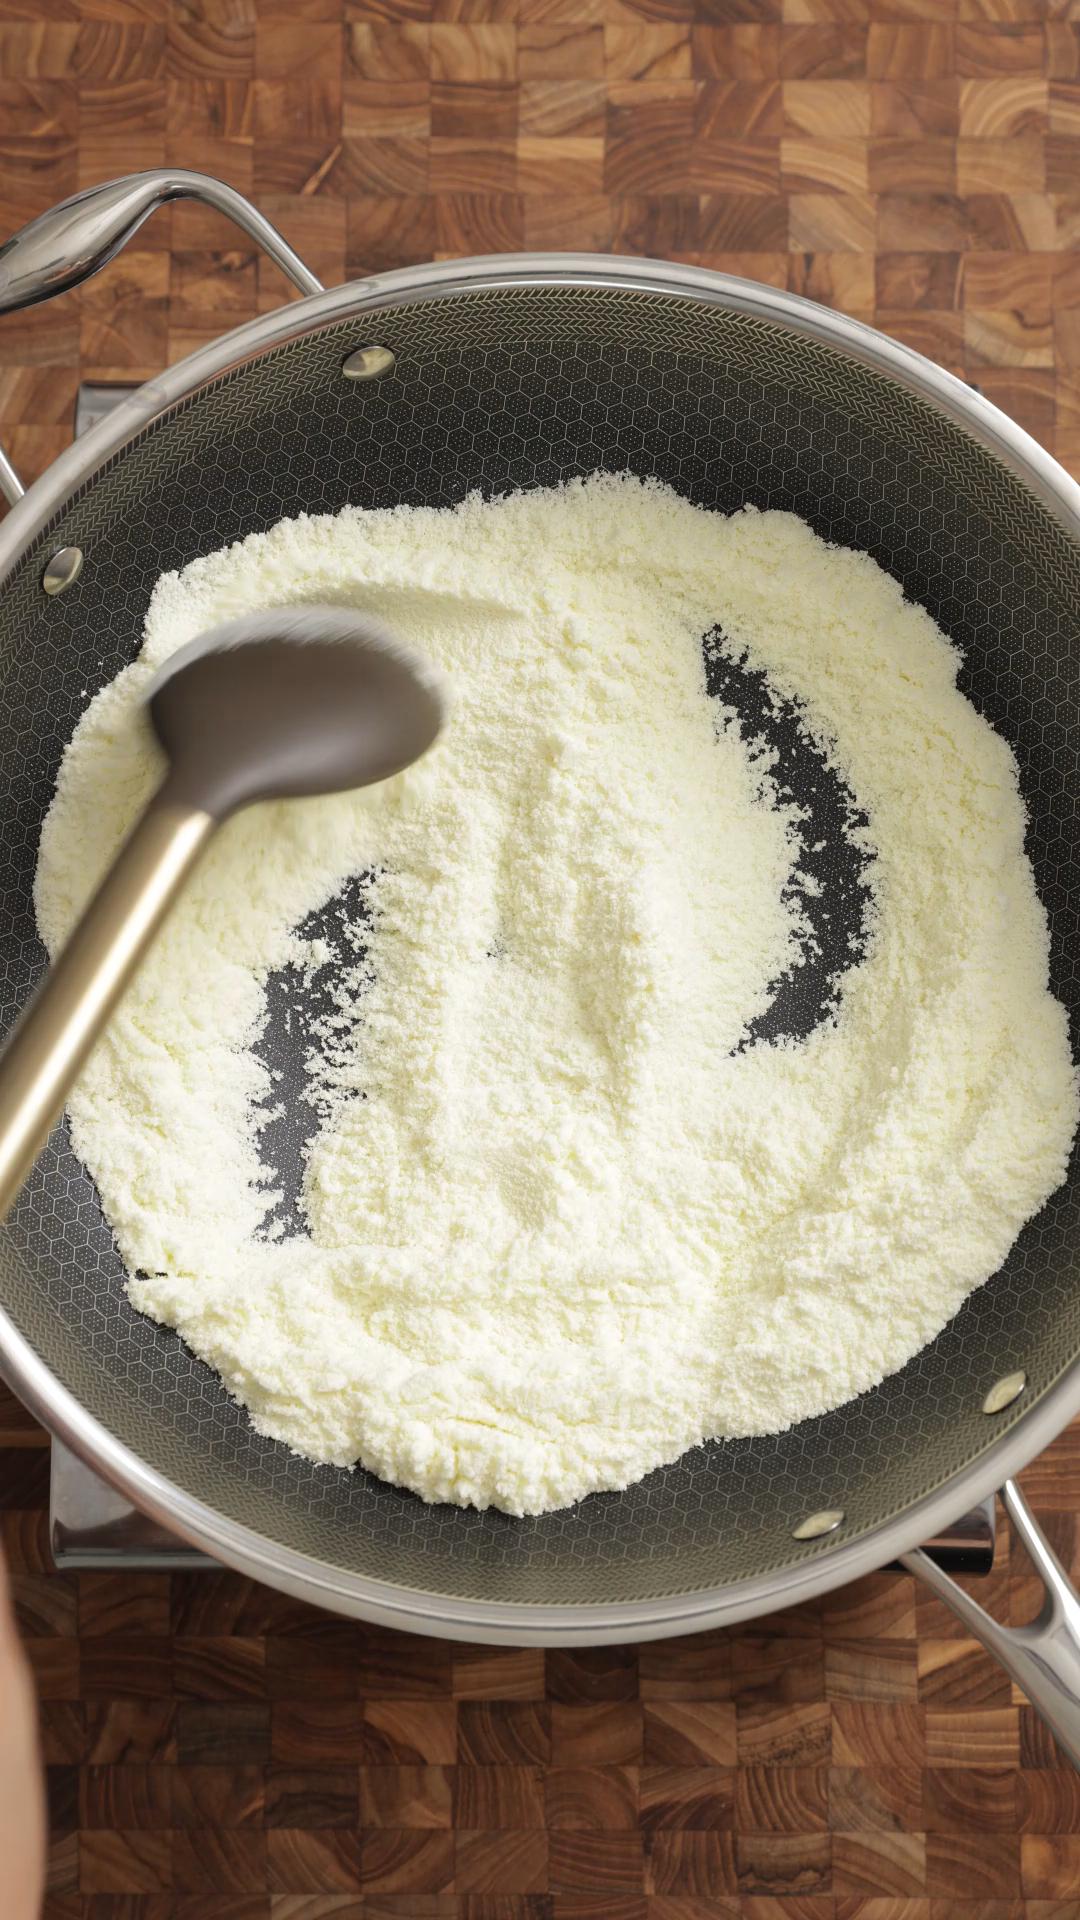
I like to toast it dry over the lowest heat before mixing with the condensed milk. I don't let it brown - the milk powder should stay creamy white but smell less raw.
Use leftover milk powder to make homemade mawa and store for later.
Condensed milk
Condensed milk makes this recipe instant, but I find it makes the peda sticky. Over cooking condensed milk can also make the peda chewy.
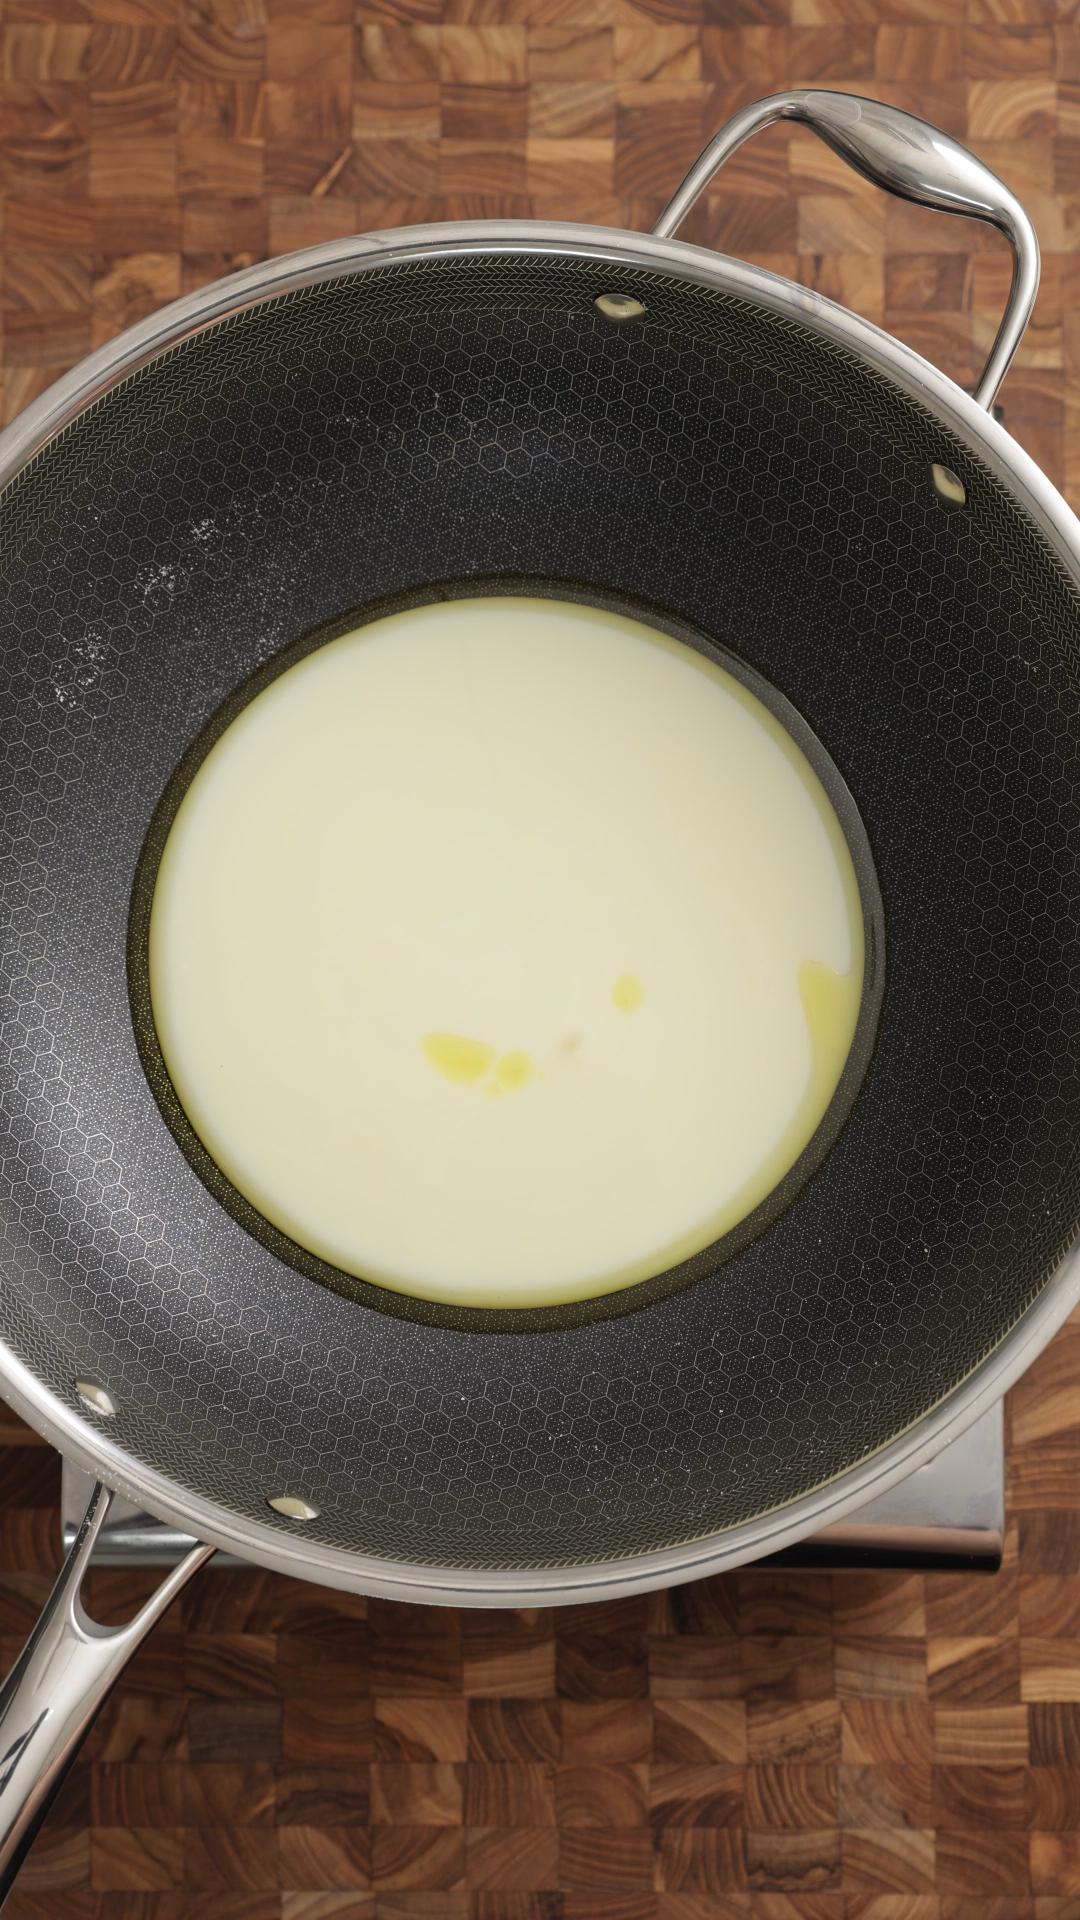
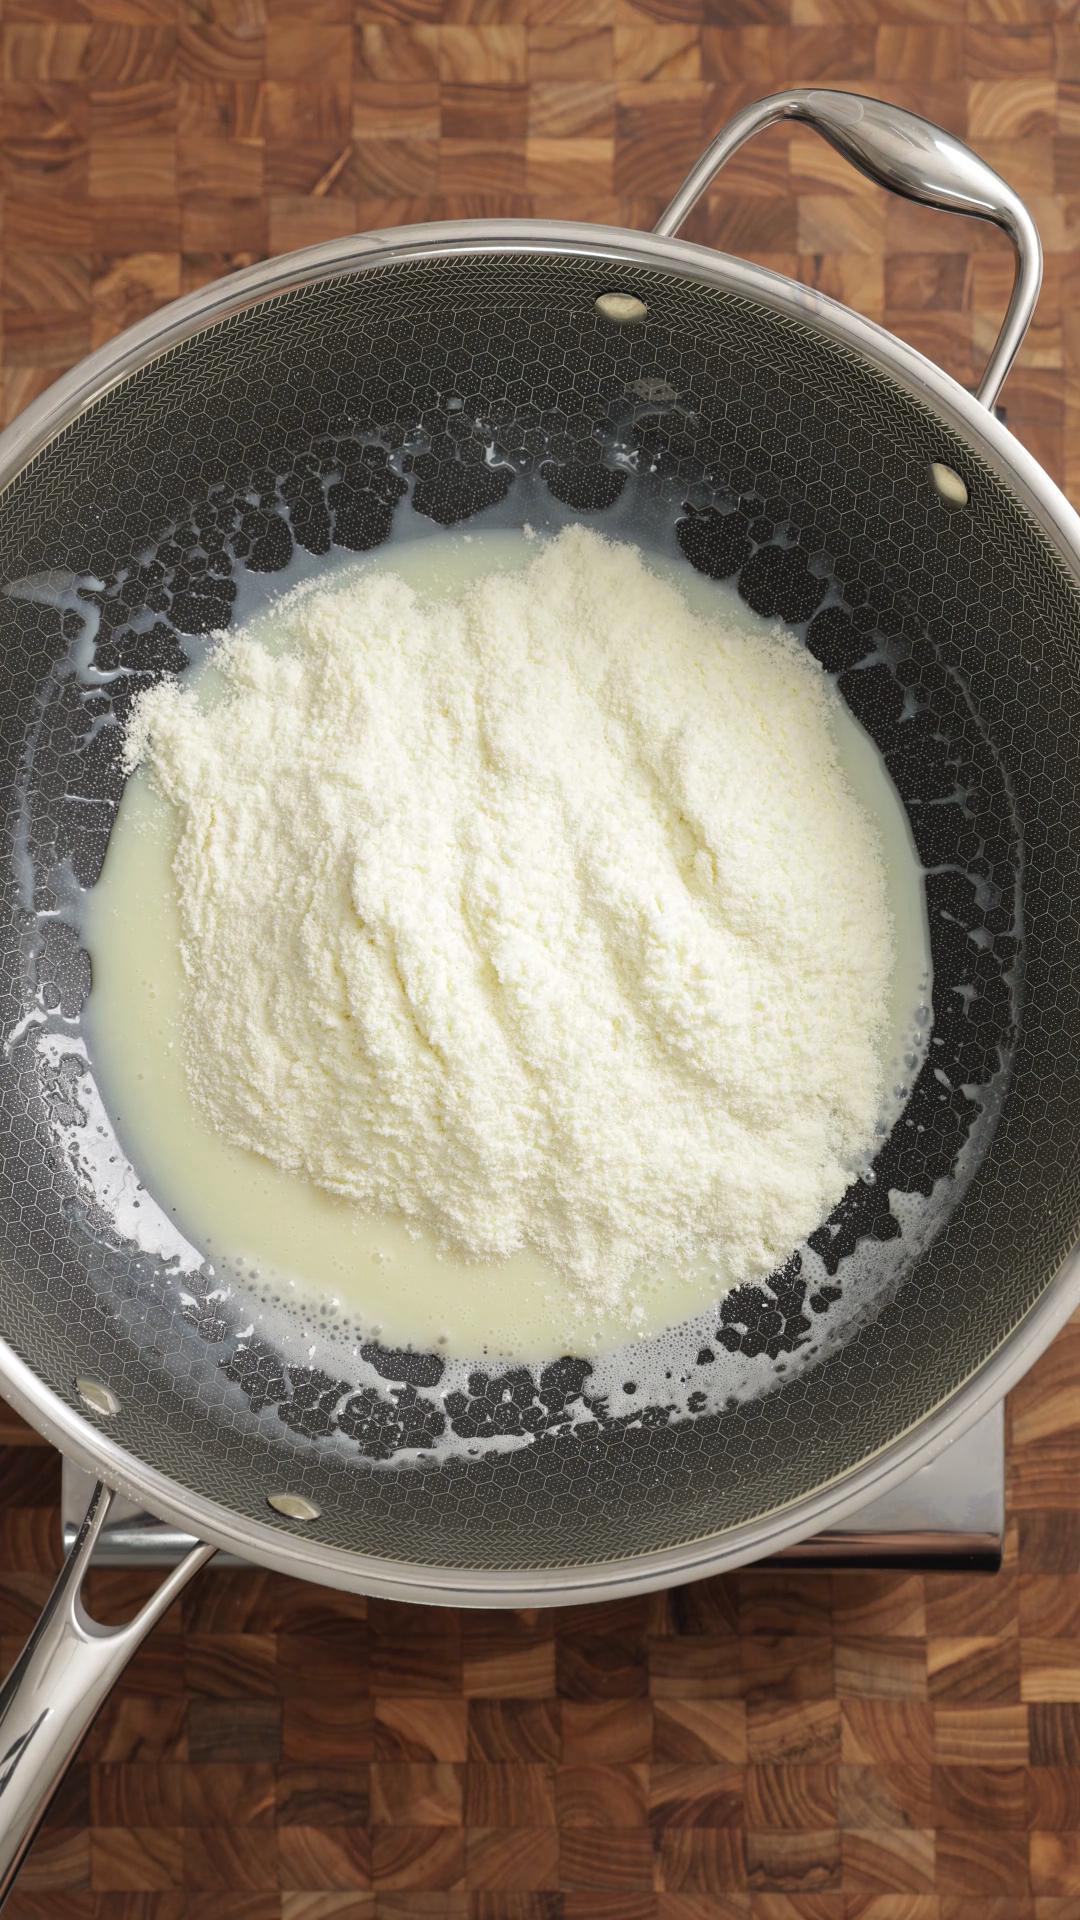
That is why the low heat matters so much. Warm it gently with ghee, then stir in the roasted milk powder quickly.
My preferred brand is the Carnation condensed milk. I've tried supermarket own brand condensed milk and they lack creaminess and sweetness.
Ghee
Ghee adds flavour and helps the dough come together. A little goes a long way here. I always trust my homemade ghee made from butter.
Saffron
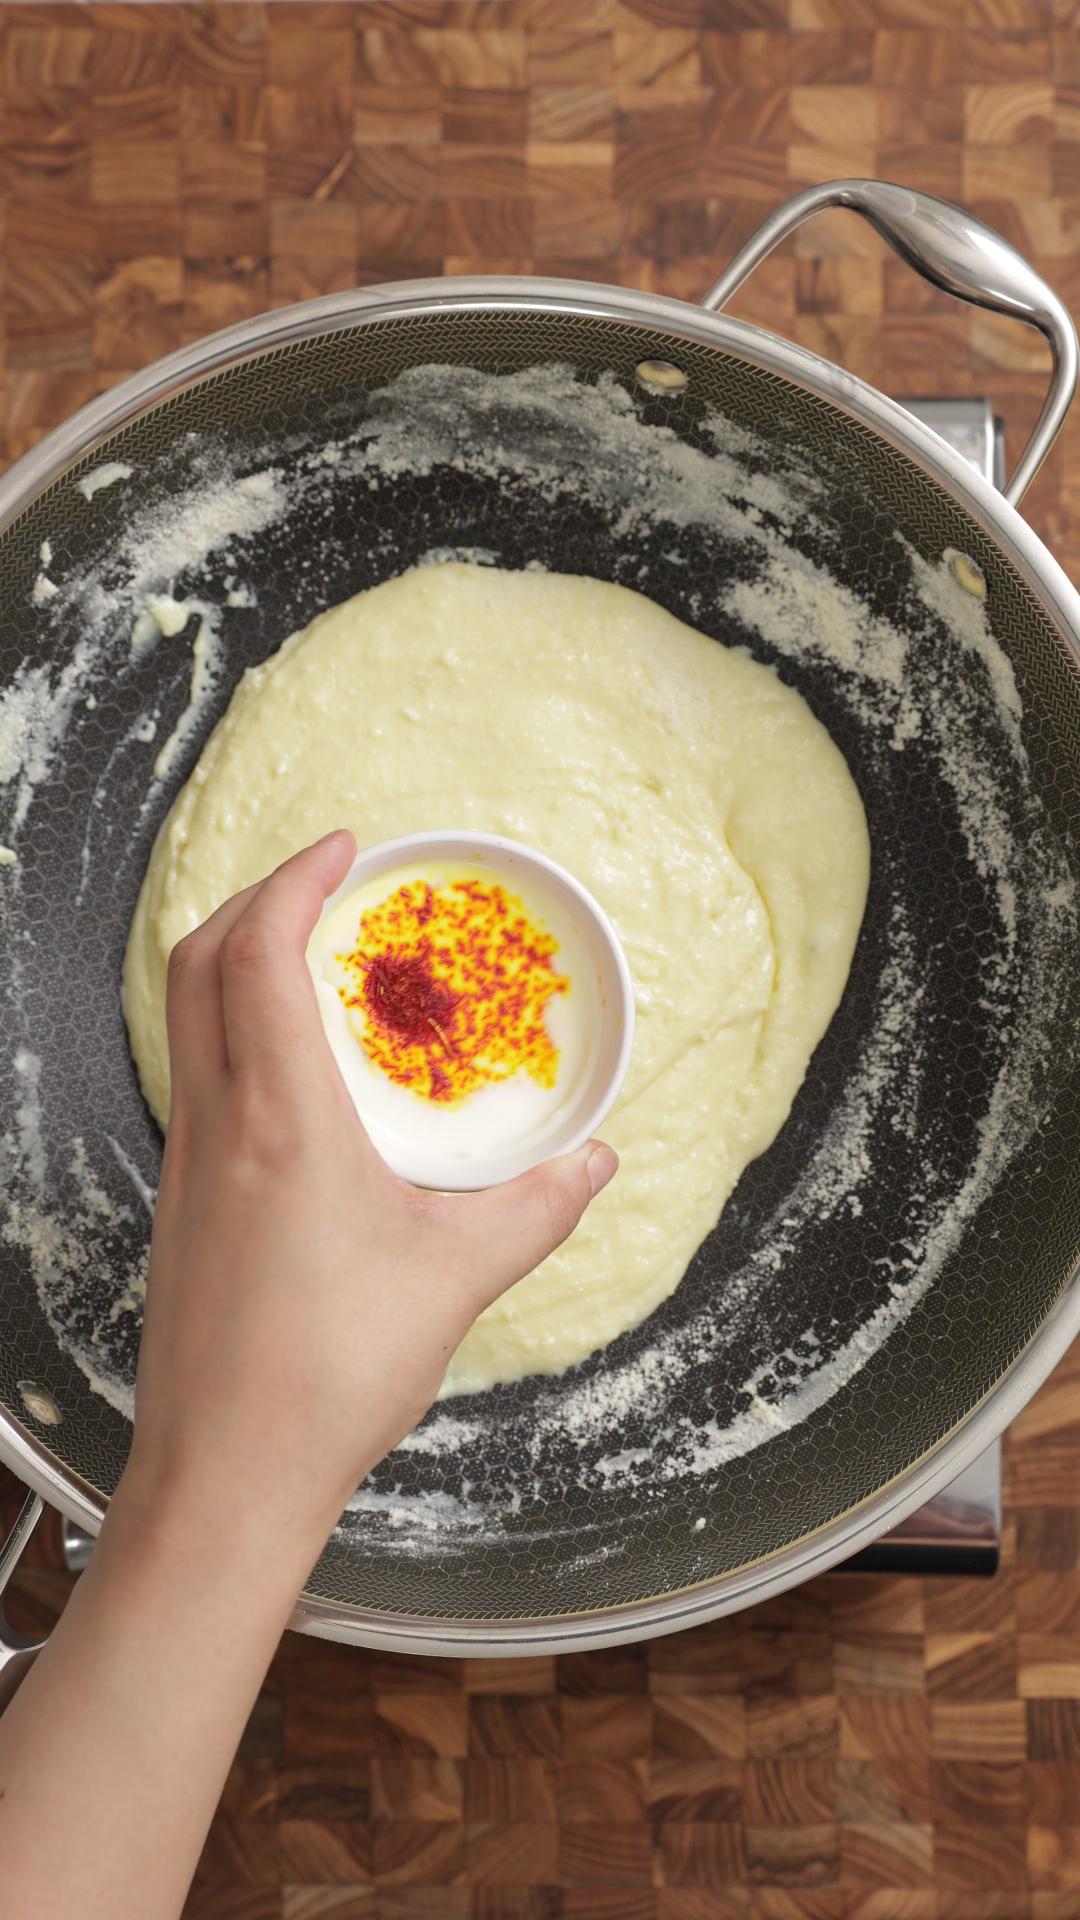
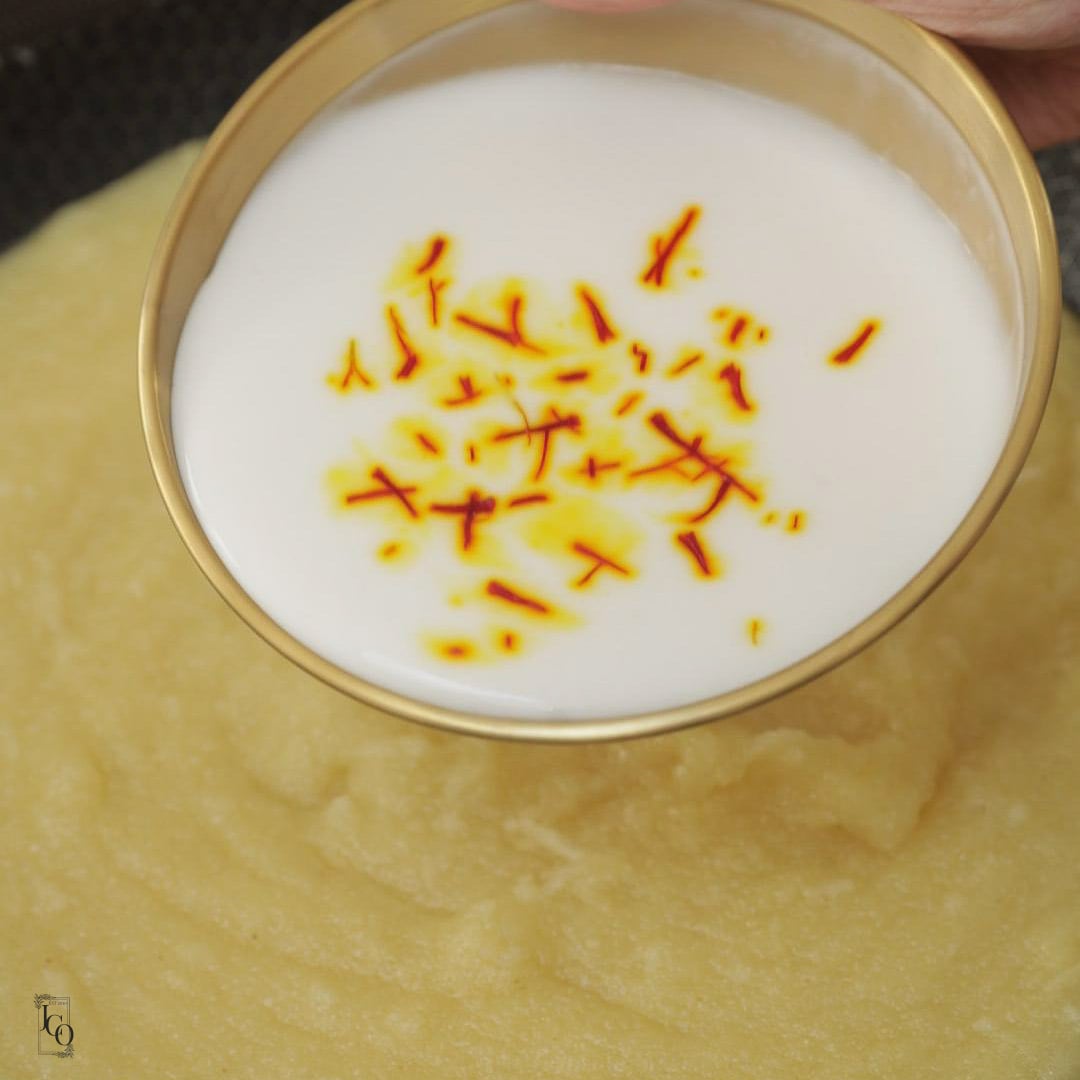
Soak the saffron in a little warm milk before adding it. This helps release the colour and flavour properly.
If you have the time, I find roasting the saffron very gently on low heat and then grinding in a pestle and mortar releases even more colour.
Cardamom
Add cardamom once the dough is cooked.
It keeps the flavour fresh and fragrant.
Caster sugar
This is my little texture trick! It helps reduce the stickiness of the peda and gives a slight mithai shop texture.
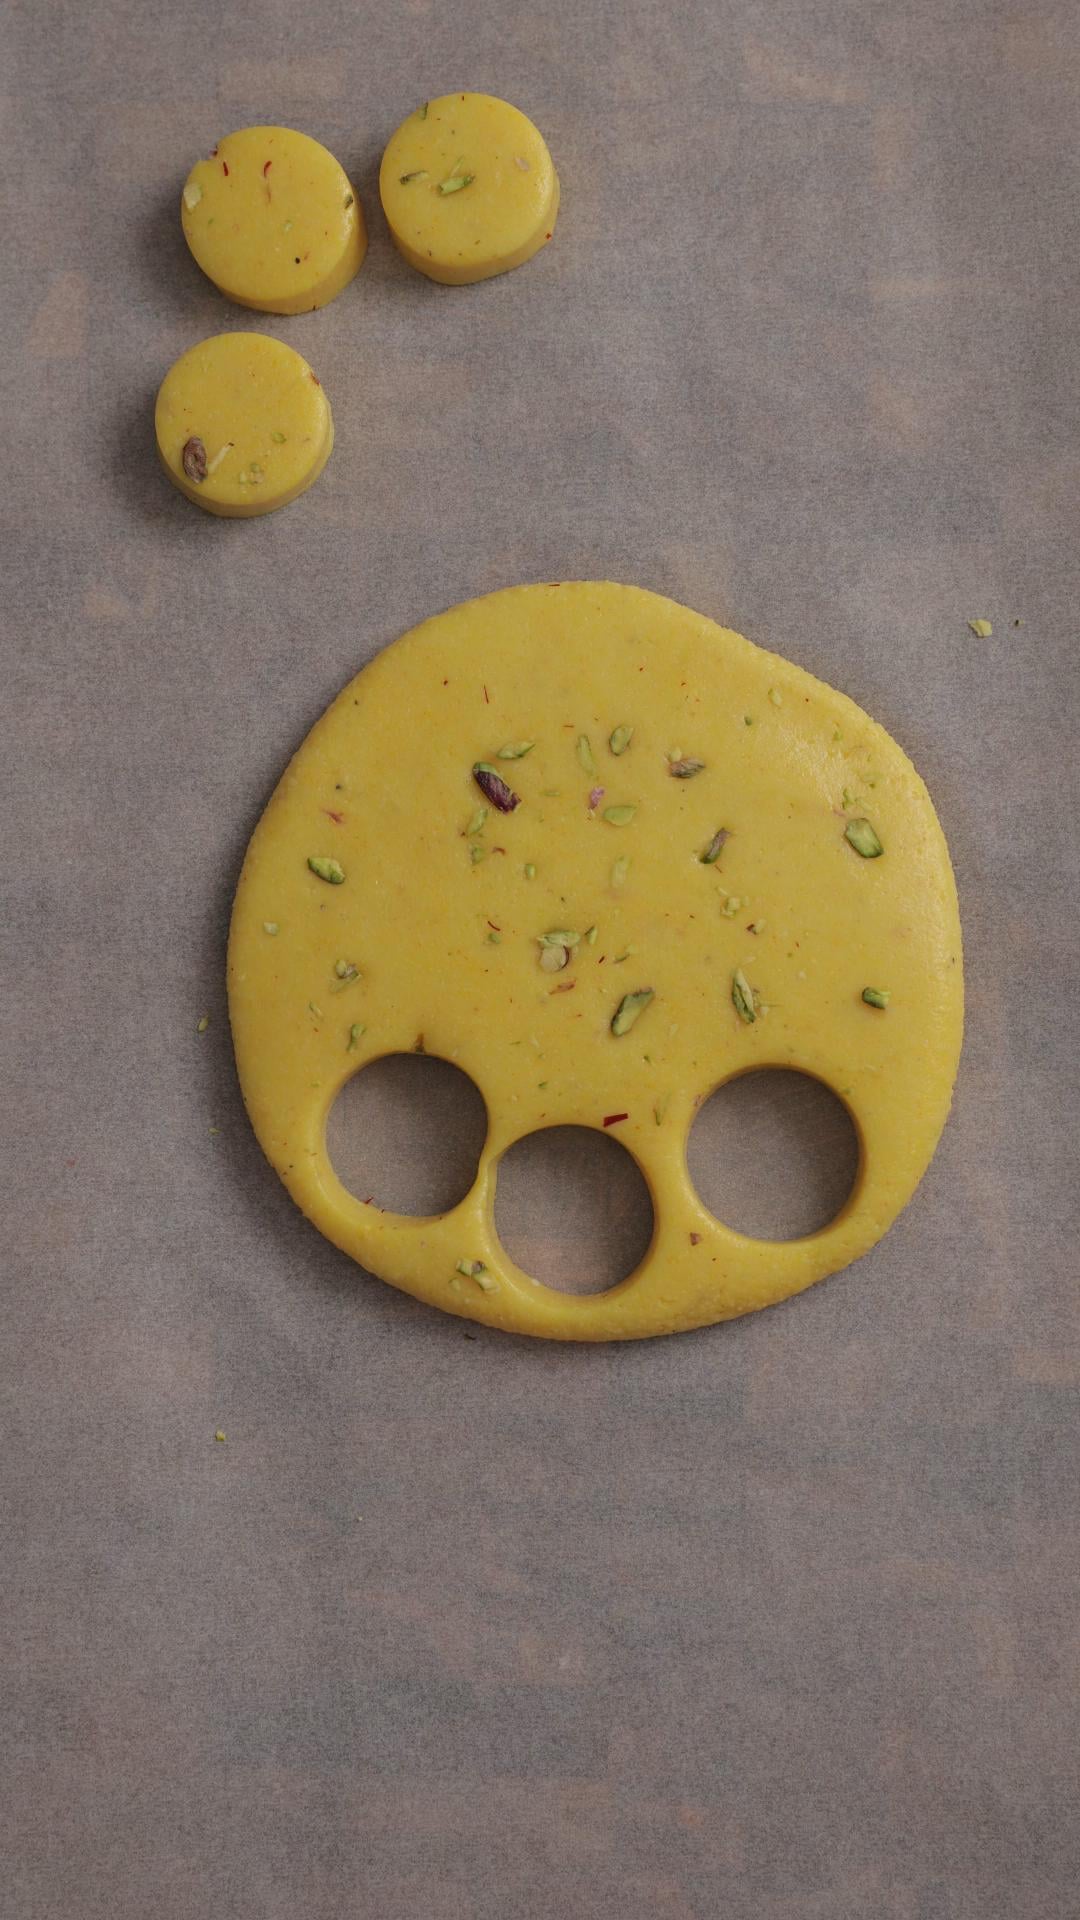
When the sugar is added to cold peda dough, it does not melt straight in. This gives the peda a softer, slightly crumbly finish and makes the dough easier to shape.
It will not be exactly the same as classic shop-bought peda, but it gets much closer than the usual sticky condensed milk version.
The peda should be soft, smooth and slightly crumbly.
They should hold their shape without feeling dry.
They will not have the exact texture of slow-cooked mawa peda, but they should not be sticky, chewy or rubbery either.
Serve these kesar peda for Diwali, Raksha Bandhan, Janmashtami, Holi or family celebrations.
They are lovely with zafrani (saffron) chai or aromatic Indian chai with cardamom.
You can also gift them as part of a mithai box.
I like topping them with pistachios and saffron, but you can also use almonds, rose petals or a tiny piece of edible silver leaf.
Store the peda in an airtight container in the fridge.
Let them come closer to room temperature before serving, so the texture softens slightly.
They are best eaten within a few days.
It will be soft, milky and festive, but not exactly like traditional shop-bought mawa peda. For that texture, try my classic doodh peda (rajwadi peda) recipe.
The dough may need a little longer on low heat, or it may still be warm. Let it cool completely before adding caster sugar and shaping.
The mixture may have been cooked too long or on too high a heat.
Keep the heat low and stop when the dough comes together.
They may have been overcooked. Return to the pan and add a small splash of milk to loosen.
As always if you make this recipe, be sure to leave me a comment, rate this recipe and tag me on Instagram @jcookingodyssey or #jcookingodyssey. I love seeing all your photos of my recipe recreations!
Don’t forget to follow me on social media using the buttons below – I can't wait to see you all there!
PLEASE NOTE: Nutritional values are estimated by a computer and may vary based on ingredients and portion sizes. For personalised dietary advice, please consult a qualified healthcare professional.
Share on Facebook Pin This RecipeThe French heirloom, dauphinoise potato, has undergone a subtle Indian twist! This easy potato dauphinoise with cardamom is made with only 4 very simple and easy-to-find ingredients. Serve alongside a variety of dishes for the best luxurious side dish!

This easy Skordalia recipe is a naturally vegan potato dip. This quick traditional Greek dip is made with potatoes, garlic and almonds and goes great as a side dish or part of a mezze platter.
I love this garlicky spread with a generous topping of steamed beetroot and parsley.

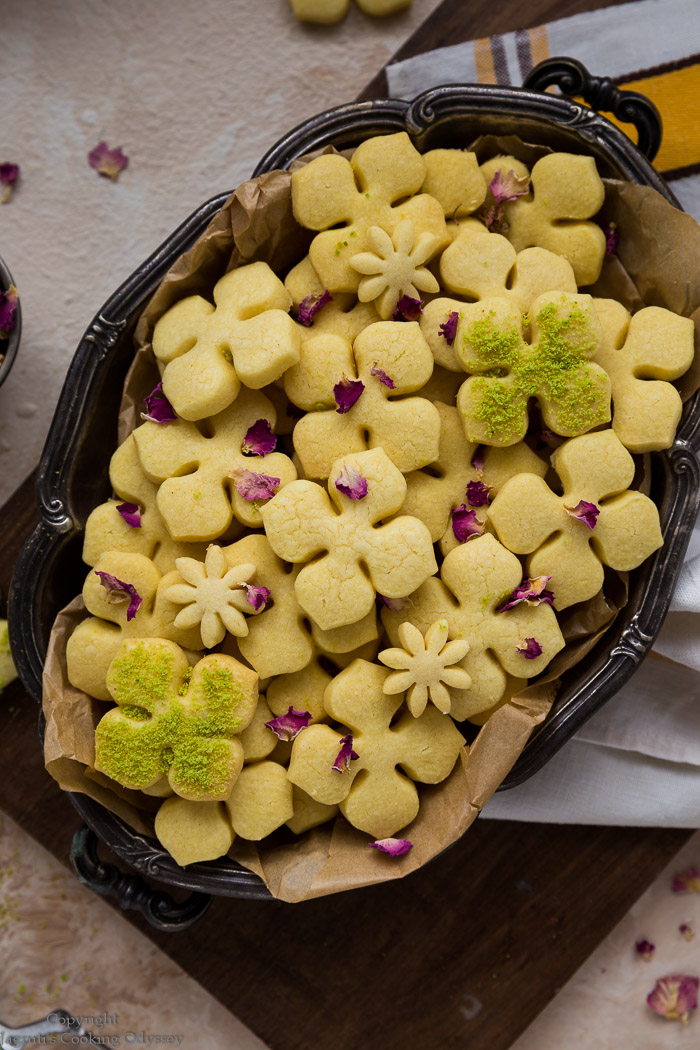
If you need some biscuit or cookie inspiration. look no further than these Saffron and Pistachio Shortbreads. The crumbliest and melt-in-your-mouth buttery shortbreads are flavoured with saffron and powdered pistachio, reflecting the popular Indian Kesar Pista combination.
Prove and steam perfect Bao Buns in the Instant Pot or Electric Pressure Cooker. The result is steamed bao that are light and fluffy. I am presenting you my 3 top favourite vegetarian and vegan bao bun fillings!

Instant Pot Kaju or Badam Katli / Barfi is ready within minutes! You can serve this delicious mithai in under 30 minutes with this quick and easy recipe.

This no onion and no garlic aloo gobi sabji is ready in the Instant Pot in just 1 minute! Cauliflower and potato curry in the pressure cooker is the perfect mid-week meal and only requires a handful of easy to find ingredients.

These Instant Peda are made in the microwave and are flavoured with delicious and warming Cardamom Chai. Perfect for last-minute get-togethers or equally serve at a celebration for a truly unique twist on milk peda.

These easy garlic mushrooms are the perfect accompaniment to your meal! A buttery soy, garlic and parsley glaze coats chestnut mushrooms, all grilled on a hot cast-iron skillet or in the air fryer.

If you assume that this is just another ordinary red kidney bean curry recipe, then you are so wrong! Vegan Afghan Lubya is robustly flavoured with dried mint and black pepper to create a delicious curry that is unique in taste. This one-pot meal is ready in the Instant Pot using dried red kidney beans.


Coconut pulao is a delicious one-pot meal that is so easy to make in the Instant Pot or electric pressure cooker. This silky and comforting vegan rice dish goes great with other mild curries or simply pair with cooling raita.

Air fryer Apple Pies are my new autumn obsession. A deliciously sweet apple and mixed fruit filling is encased in a golden shortcrust pastry. In just 8 minutes in the air fryer, you can have these gorgeous hand pies. I love mine with lashings of Devonshire custard!

Air fryer Sweet Potato Fries are a delicious crispy treat, wonderfully cooked in the air fryer with little oil. A generous sprinkling of Indian masala takes these sweet potato fries to another level! And they're super crispy ... what more can you ask for?!
Included are 5 handy tips for the CRISPIEST sweet potato fries EVER!

Palak Paneer is a Punjabi curry recipe made with paneer and a thick spinach curry sauce. This Instant Pot Palak Paneer recipe is quick and easy requiring ZERO minute pressure cook time. It tastes just as good as the original but saves time and washing up!


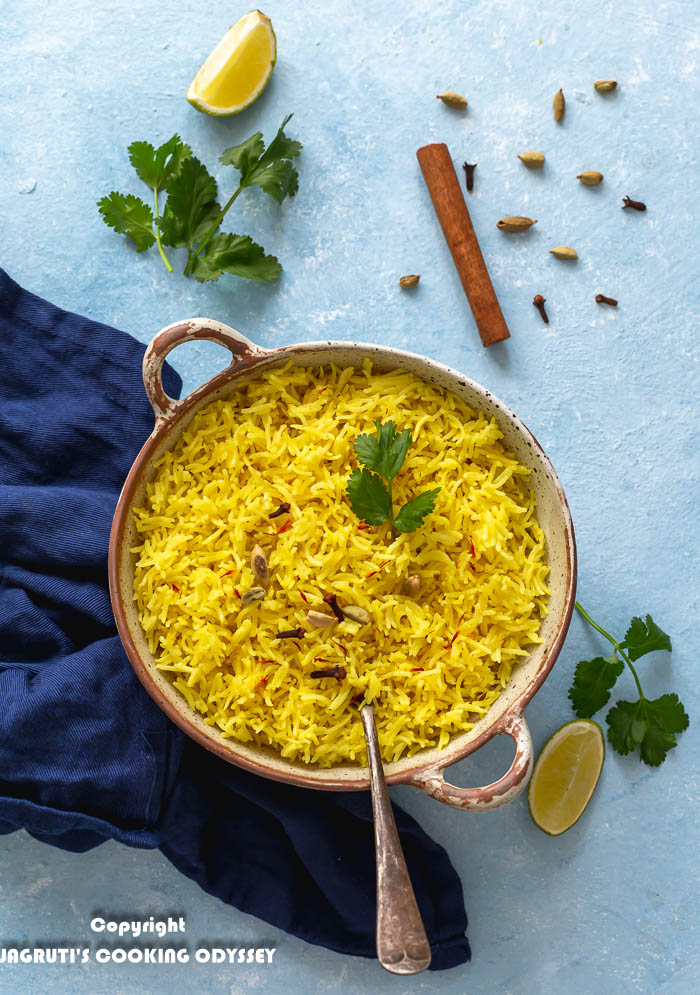
This Takeaway Style Pilau Rice is the familiar yellow rice you'll find in British Indian restaurants. It's simple, fluffy and gently spiced with ghee, whole spices, turmeric and safflower. Nothing too exciting or overpowering! This homemade version is easy and ready in around 30 minutes.

Without much deliberation, you've decided on a takeaway. However, local delivery times are around 60 mins. Tbh, it's quicker and easier to just make your meal than wait for delivery!!
Pilau rice - it's an often overlooked part of the takeaway and added as a last resort to our orders. However, I think without a good rice side dish, the meal definitely feels incomplete!
Pilau rice is a lightly spiced rice dish made with basmati rice, ghee and whole spices. This version is inspired by the yellow pilau rice served in British Indian restaurants and takeaways.
It is not meant to be a heavily spiced or full of vegetables like a classic Indian vegetable pulao.
It's simple curry house-style rice side that works with almost everything. I'll usually have it with something like Punjabi saag paneer or saag aloo with a dal like daal makhani or tarka dal. My go-to restaurant style breads are garlic and coriander naan or whole wheat roti.
You can also find more inspiration at what to eat with basmati rice.
For exact measurements and method, please see the printable recipe card below.

Basmati rice
This dish is an Indian recipe, so I prefer to use long grain basmati rice as basmati has a nutty and rich flavour. It also has less starch thus cooks fluffier and lighter. Use other variety of rice if that's what you have.
Soaking the rice for 20–30 minutes is helpful, but not essential if you are short on time.
Wash it well until the water runs mostly clear. This removes excess starch and helps the grains stay separate.
Whole spices
Bay leaf, cinnamon, clove, fennel seeds, green cardamom and cumin seeds. They fragrance the rice without being overpowering.
Safflower
Safflower gives extra colour and a delicate aroma.
If you do not have safflower, you can use a small pinch of saffron instead.
Ground turmeric
In restaurants, pilau rice is usually coloured with yellow food colouring but we have used turmeric and safflower instead.
Use a small amount so the flavour does not become earthy or bitter.
Ghee
Gives a warm nutty depth of flavour. Skip it if you do not have it and use oil instead. I use this easy homemade ghee from unsalted butter.
Heat ghee (pic 1)
Temper whole spices (this allows whole spices to release their fragrance) (pic 2)
Add soaked basmati rice (pic 3)
Pour water (pic 4)
Add turmeric (pic 5)
Season with a pinch of salt, cover the pan and cook (pic 6)

Cook until rice is fluffy (pic 7)
Drizzle safflower steeped in water, mix gently and serve hot (pic 8)

This pilau rice stays fresh in the refrigerator for a couple of days if stored in an airtight container. To freeze the pilau rice, let the rice totally cool then store in a freezer-proof container and freeze it for 4-6 weeks.
Defrost and heat thoroughly before consuming.
1. Ghee Rice
2. Coconut, Coriander and Lime Rice
3. Coconut, Pineapple Thai Fried Rice
4. Carrot and Coconut Pulao Rice
5. Paneer Vegetable Makhani Dum Biryani
As always if you make this recipe, be sure to leave me a comment, rate this recipe and tag me on Instagram @jcookingodyssey or #jcookingodyssey. I love seeing all your photos of my recipe recreations!
Don’t forget to follow me on social media using the buttons below – I can't wait to see you all there!

PLEASE NOTE: Nutritional values are estimated by a computer and may vary based on ingredients and portion sizes. For personalised dietary advice, please consult a qualified healthcare professional.
Share on Facebook Pin This RecipeThese authentic Gujarati Churma Ladoo or Churma na Ladwa are made with jaggery (gor). Make these ladu during special occasions such as Ganesh Chaturthi, Holi and Diwali and serve in a Gujarati thali.

With a little time, love and attention, you can easily make authentic Churma na Ladwa. There are two main variations to the recipe, you can either use sugar to sweeten the ladoos or gor/jaggery and it's a personal preference for which you go for!
Churma Ladoo with Sugar is a firm favourite in our family! This link also contains a video recipe for churma ladoo made with bhakri and chapatti and lots of tips and information regarding Churma Ladoo.
You might also like this Churma Ladoo recipe without frying.
Flours - we have used wholewheat, semolina and gram flour. If you can find coarse wheat flour then don't need to use semolina. In Gujarat coarse wheat flour known as Bhakhri No Lot.
Use wheat flour to make Aate Ka Halwa with Mawa.
Ghee - desi homemade ghee is the best, vegans can use vegetable ghee or butter however the taste won't be the same
Jaggery - we have used desi organic jaggery thus it is dark in colour. Easily available in the markets known as Gor or Gud. Jaggery powder works too.
Oil - any flavourless oil is good for frying. If you want you can use ghee too
Spices - cardamom and nutmeg powder not only add flavours, aroma but helps in to digest the ladoos too
Sugar candy is known as khadi sakar or mishri - optional
White poppy seeds are known as khus khus to coat the ladoo in. It is optional.
For breakfast serve ladoo with Kesar Badam Milk
Usually in Gujarat Churma Ladwa served in a thali along with Traditional Gujarati Tuver Daal, Gujarati Jamanvar Nu Bateta Nu Saak, Masala Fulwadi and steamed rice on occasions such as a wedding, funeral and many religious events.
Some communities also serve it with Rasadar Kala Chana Nu Saak or Rangooni Vaal Nu Saak along with Poori.
Churma ladoo stays fresh at room temperature for more than a week if stored in an airtight container. If kept in a refrigerator, bring it to room temperature before consuming.
Some people like to bind the dough using lukewarm milk instead of water.
Khadi sakar and khus khus are must in Gujarati Churma Ladoo, however, this is optional if not available.
In this authentic ladoo recipe no dry fruits are added such as cashew, almonds or pistachios.

Note- (Follow this step by step instructions, full printable recipe card with the exact measurement at the bottom of this post)
This recipe is made in two steps.
In first step whole wheat flour dumplings fried till golden brown and start emanating its sweet aroma
In second step fried dumplings turn into coarse flour Jaggery, nuts, melted ghee and aromatic spices are added and mixture rolled into moreish ladoo.


1. Homemade Instant Shrikhand With Cream

PLEASE NOTE: Nutritional values are estimated by a computer and may vary based on ingredients and portion sizes. For personalised dietary advice, please consult a qualified healthcare professional.
Share on Facebook Pin This RecipeNote - this recipe was posted on our blog on 21st January 2015, since I have updated the post with new content and pictures.
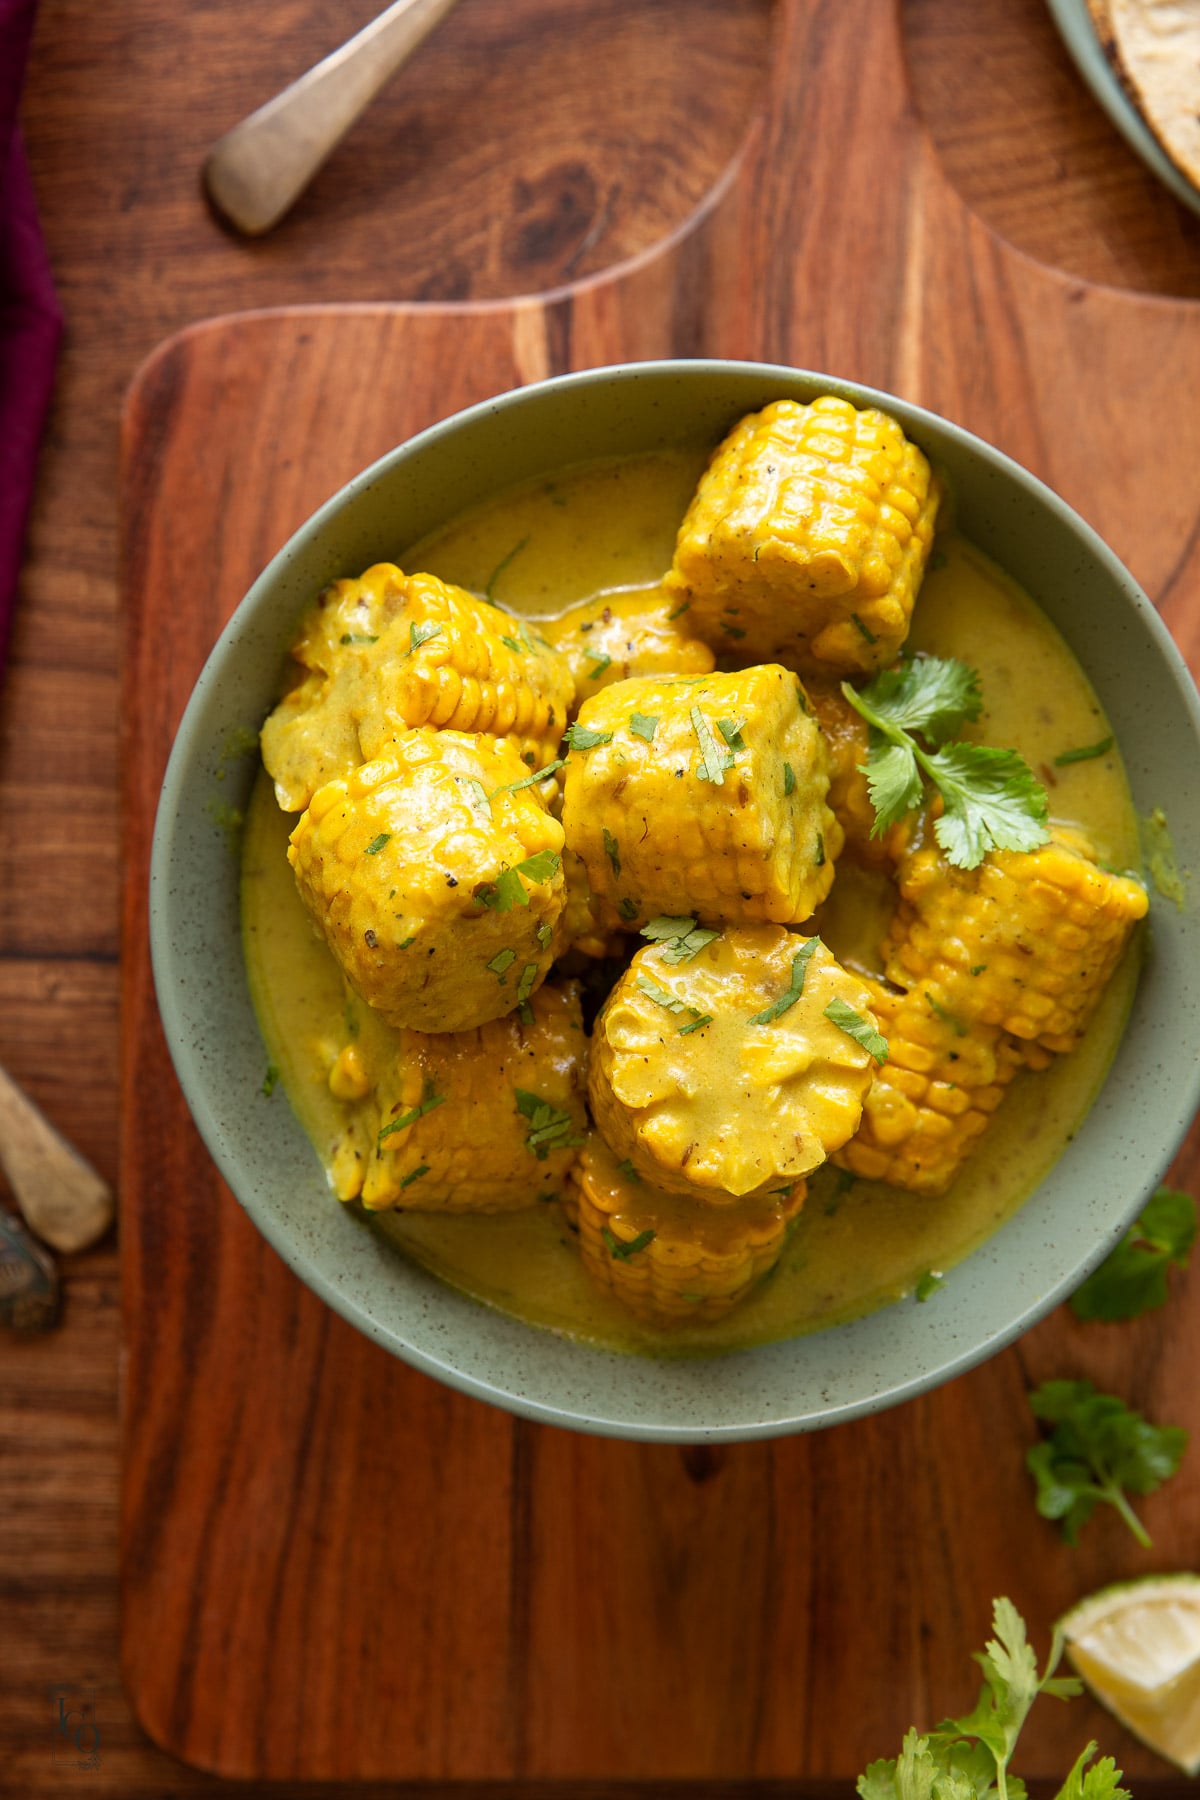
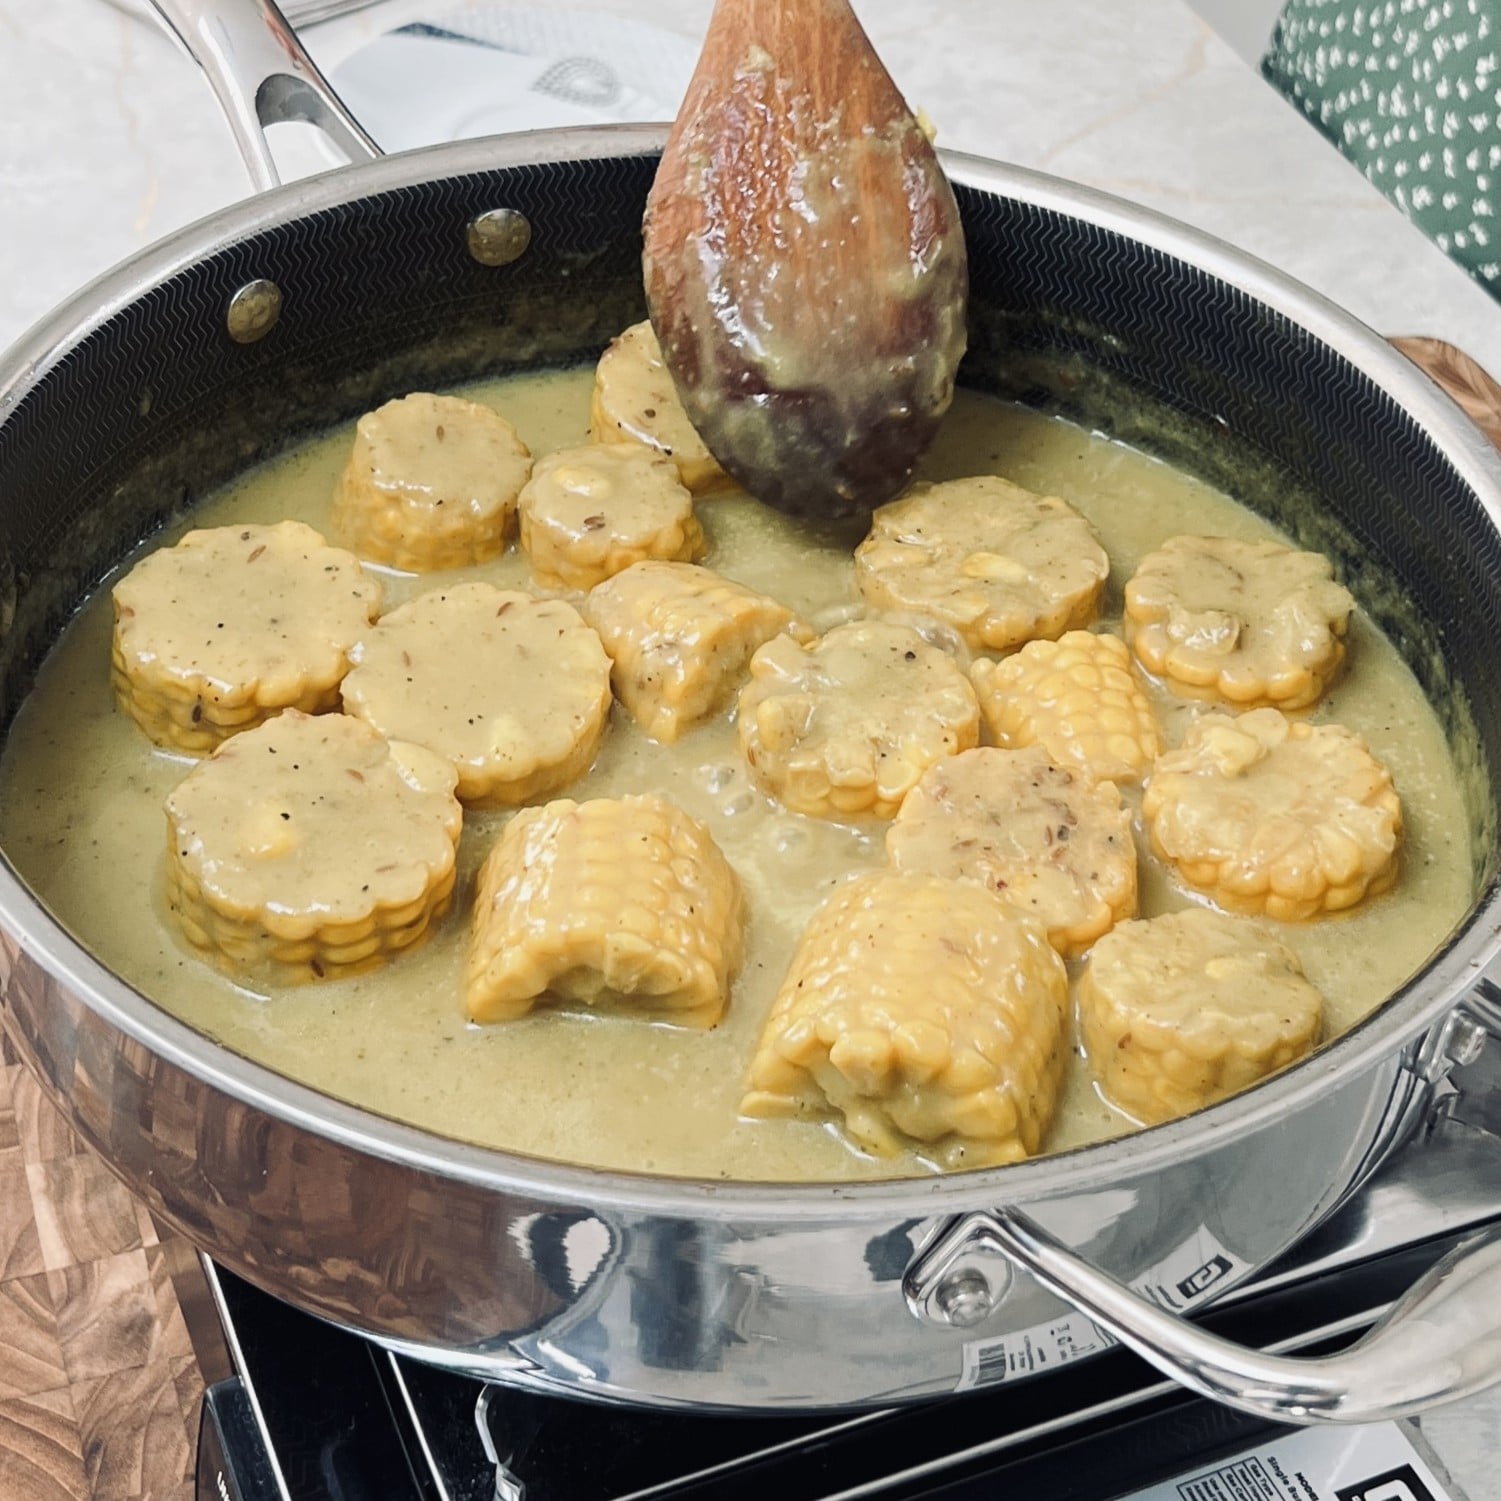
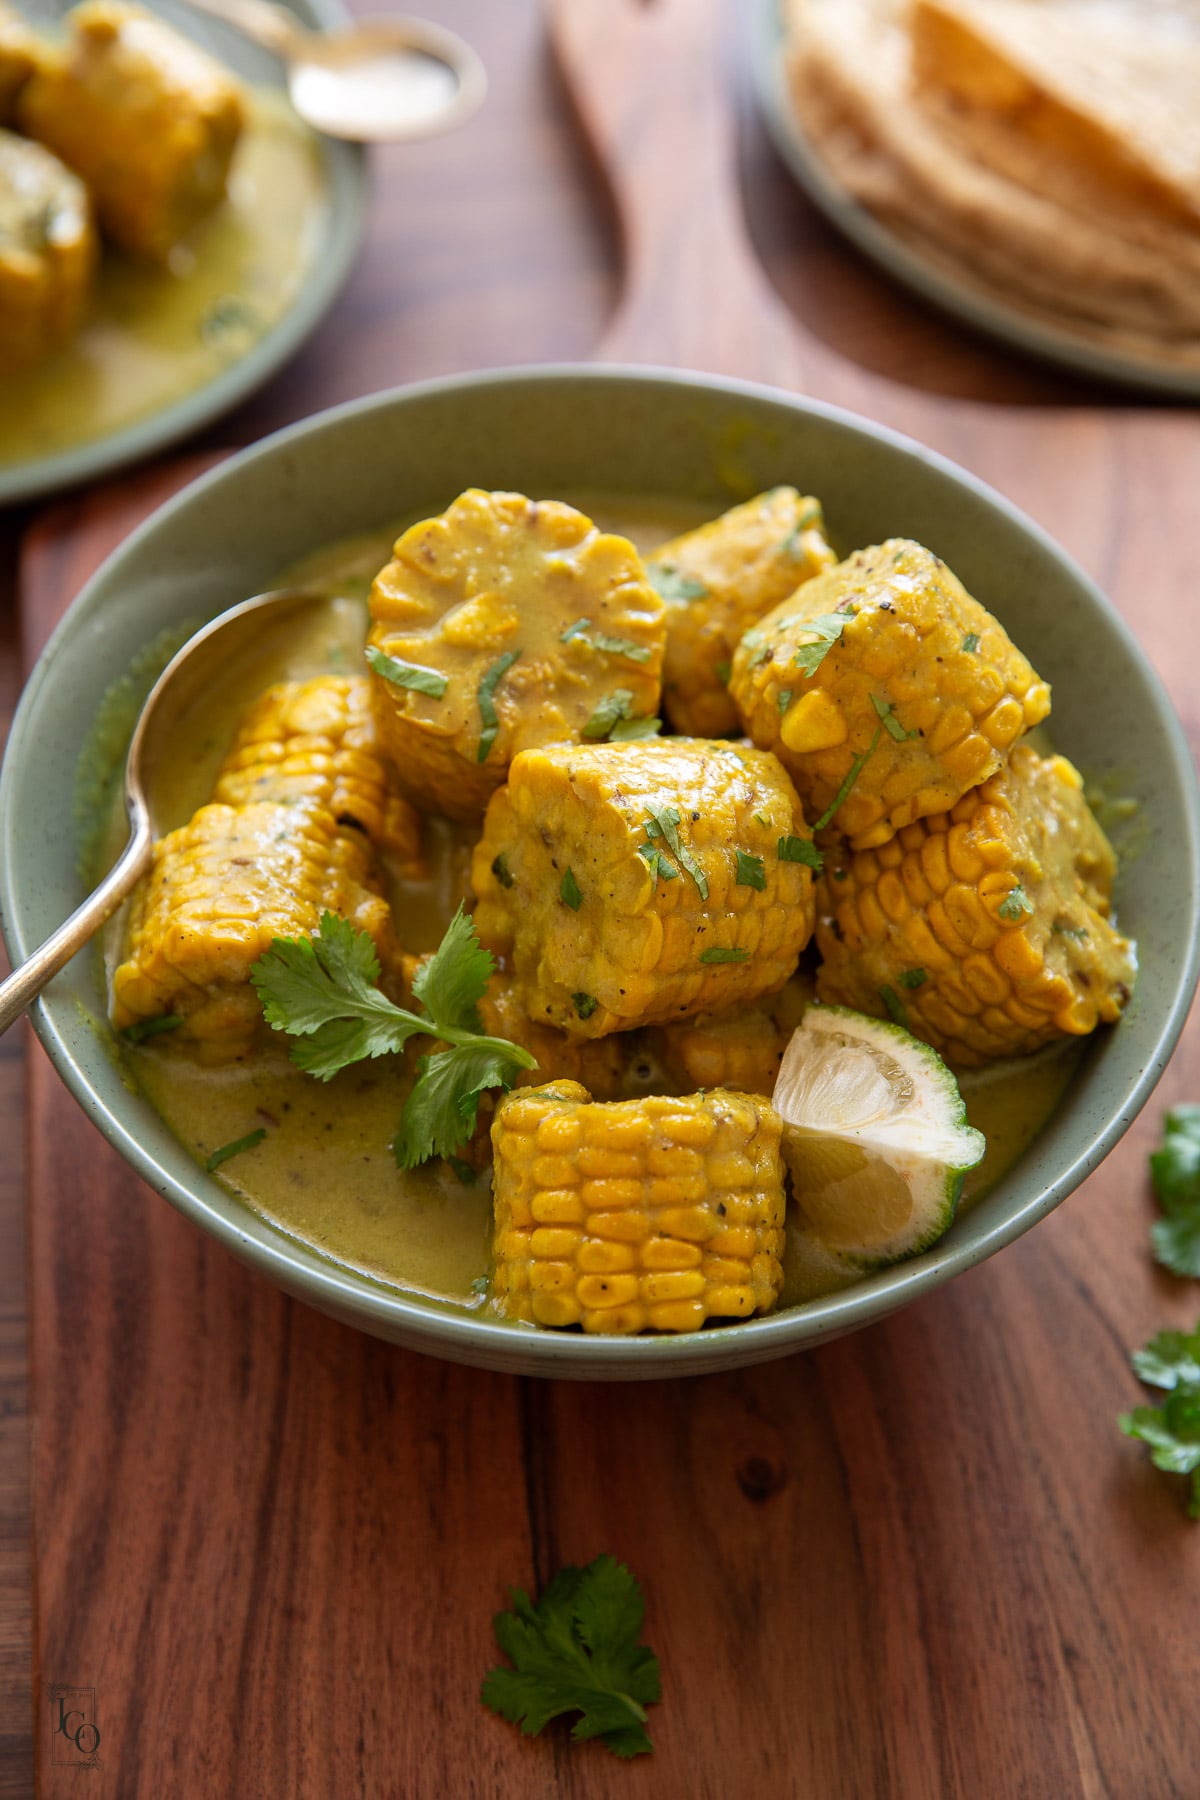
Makai Paka is a much loved East-African specialty. Fresh corn on the cob is simmered in a creamy coconut gravy with fresh ginger, garlic, green chillies and whole spices. I add a little besan to help the fragrant gravy cling to every piece of corn.
SUMMARIZE & SAVE THIS CONTENT ON
This recipe is inspired by East African Indian flavours and is an update of my older Instant Pot corn on the cob curry. I now make it on the stove rather than in the Instant Pot.
This makai paka is made with coconut milk, fresh onion-garlic-ginger-chilli paste and no tomato. The flavour is creamy and balanced, with gentle heat from black pepper and green chilli. It is full of flavour, but not overpowering.
I also make kasoli nu shaak with a thick peanut tomato gravy which is a little different.
Full ingredients list with measurements are in the recipe card below.
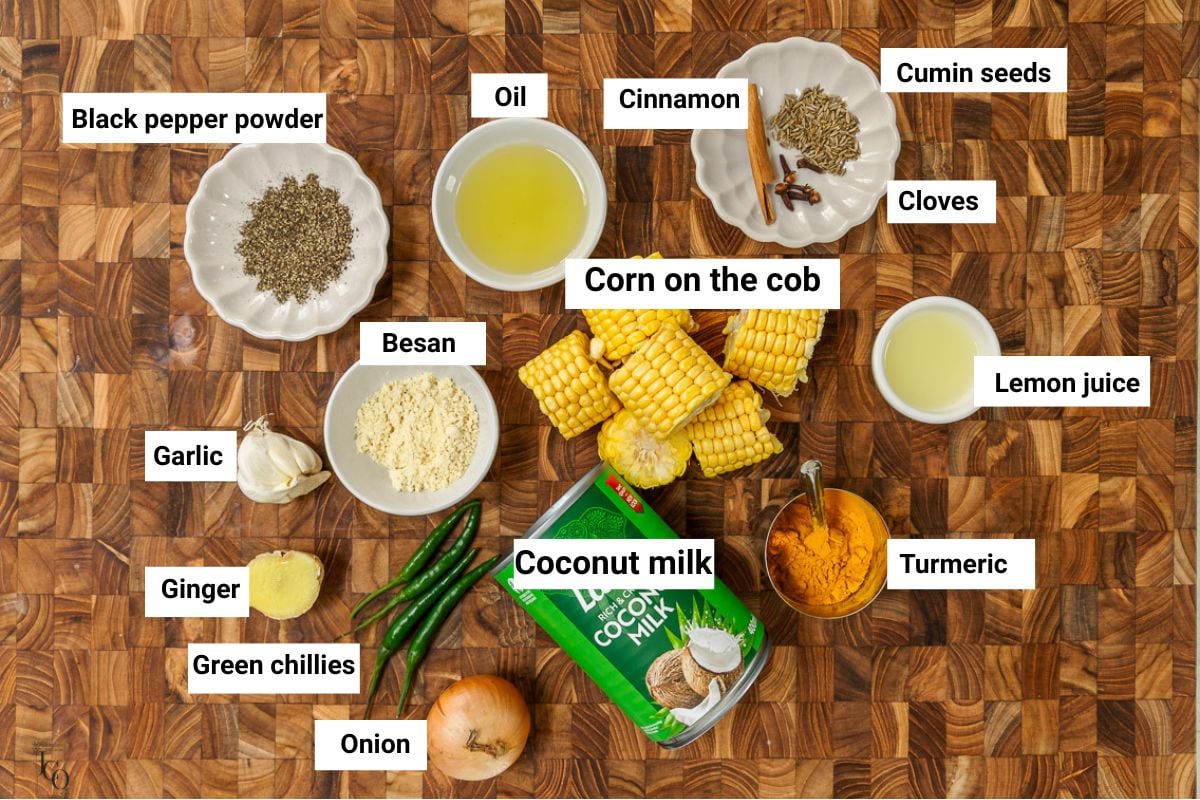
Sweetcorn - I use fresh corn on the cobs as they undoubtedly have the best sweet flavour. However, frozen corn on the cobs work also. You can also use pre-boiled corn cobs which will reduce the overall cooking time.
The base:
Coconut milk - I use tinned thick coconut milk to create a creamy gravy, however light will work too - just add a little less water when cooking.
Use leftover coconut milk to make another East African classic - maharage ya nazi.
For the base, I've used onion, garlic, green chillies and ginger - all fresh! For ease, I've simply crushed them all together in a food processor to make a puree.
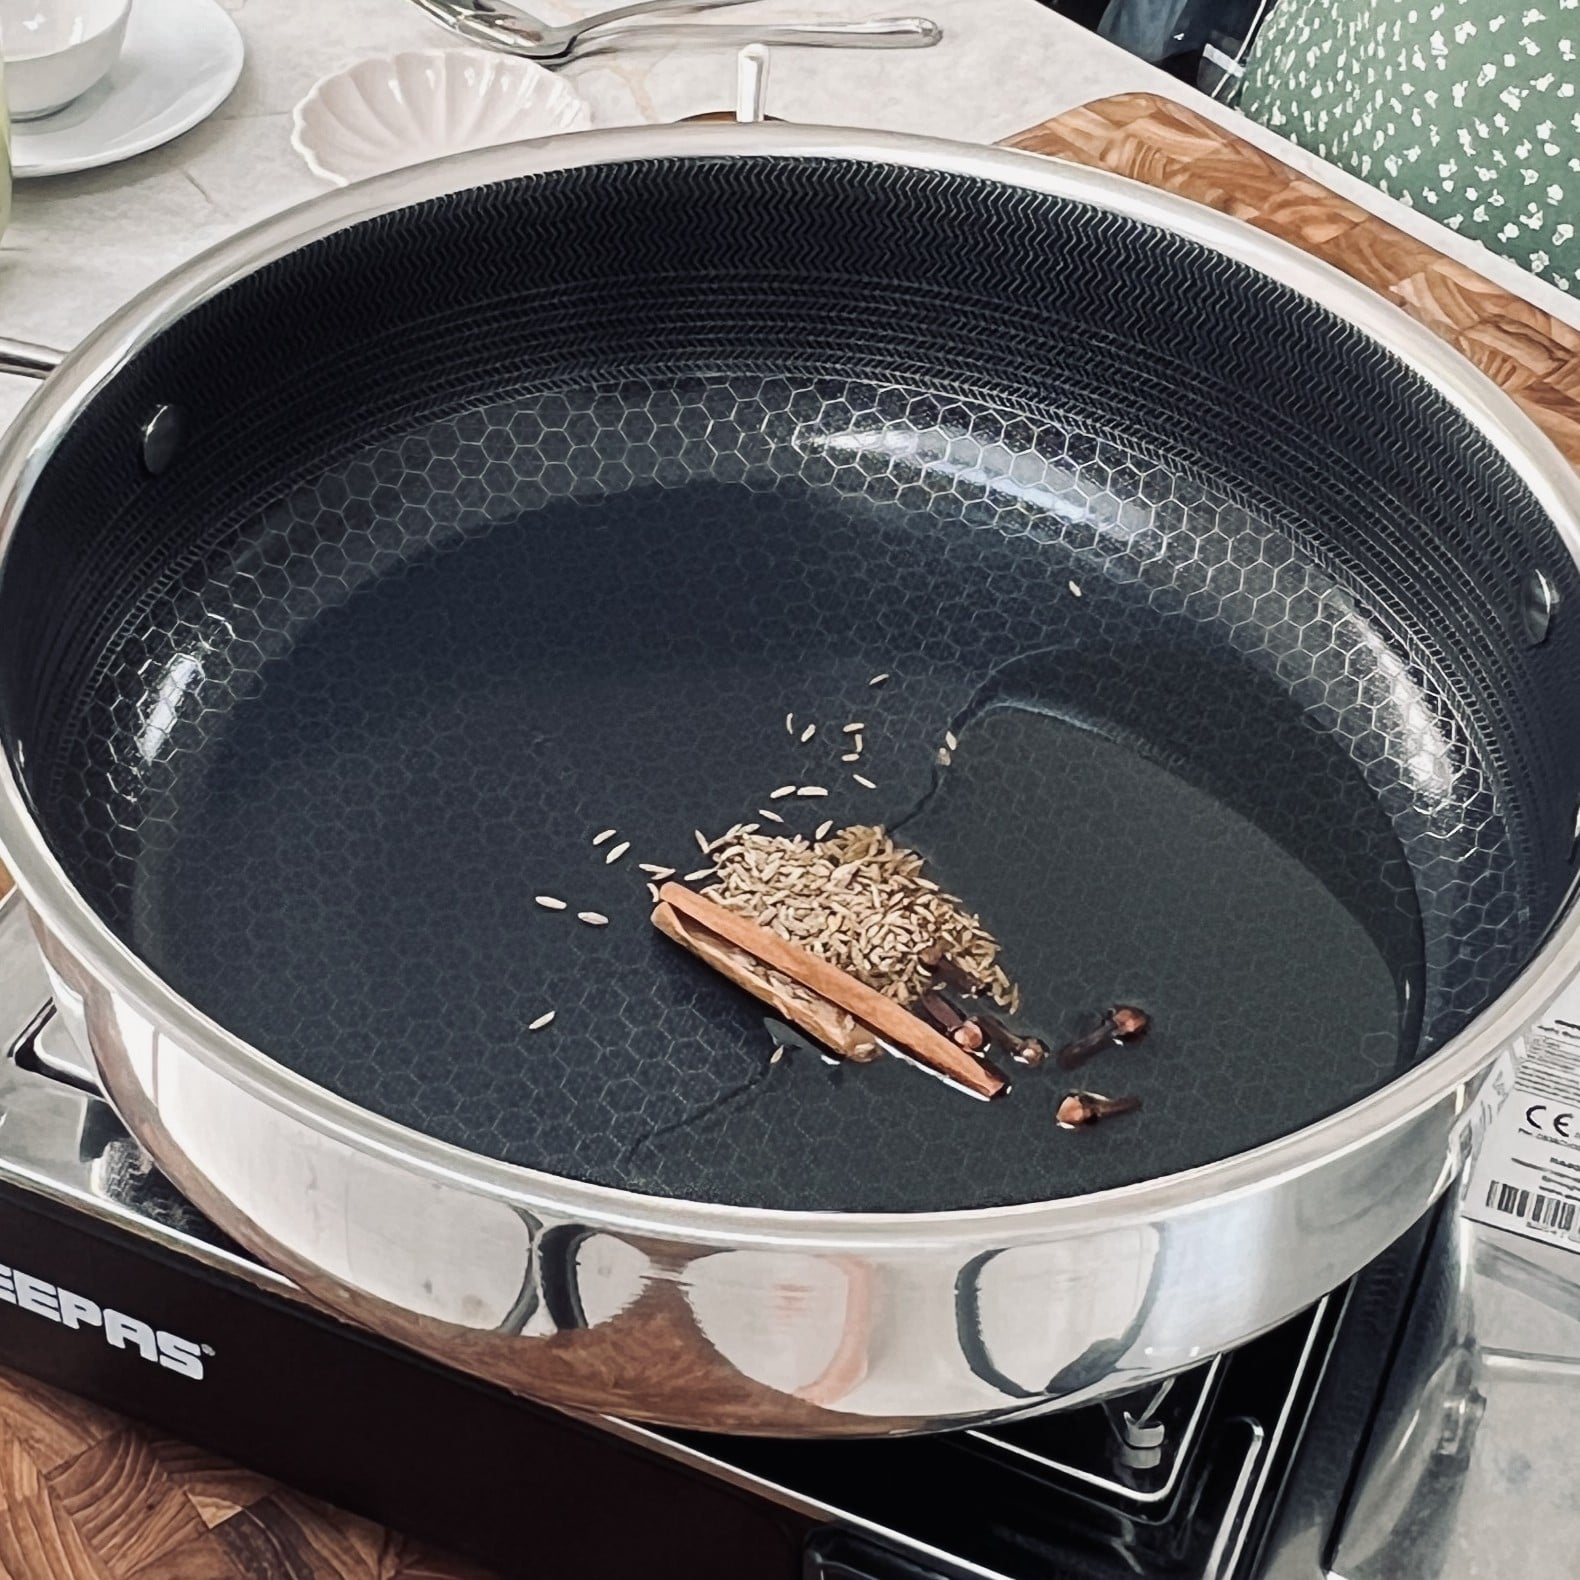
Whole spices - I find that whole spices add a little extra flavour to the gravy which is otherwise quite mild. I use cinnamon bark, cloves and cumin seeds which are tempered in hot oil to release their flavour.
Spice powders - most makai paka recipes use only turmeric and black pepper powder.
Besan - chick pea flour helps to thicken the gravy. I add it after the onion mixture is cooked and just before the corn and coconut milk goes in to prevent it burning.
Lemon juice - I finish with fresh lemon juice as it brightens up the creaminess from the coconut milk and sweetness from the corn.
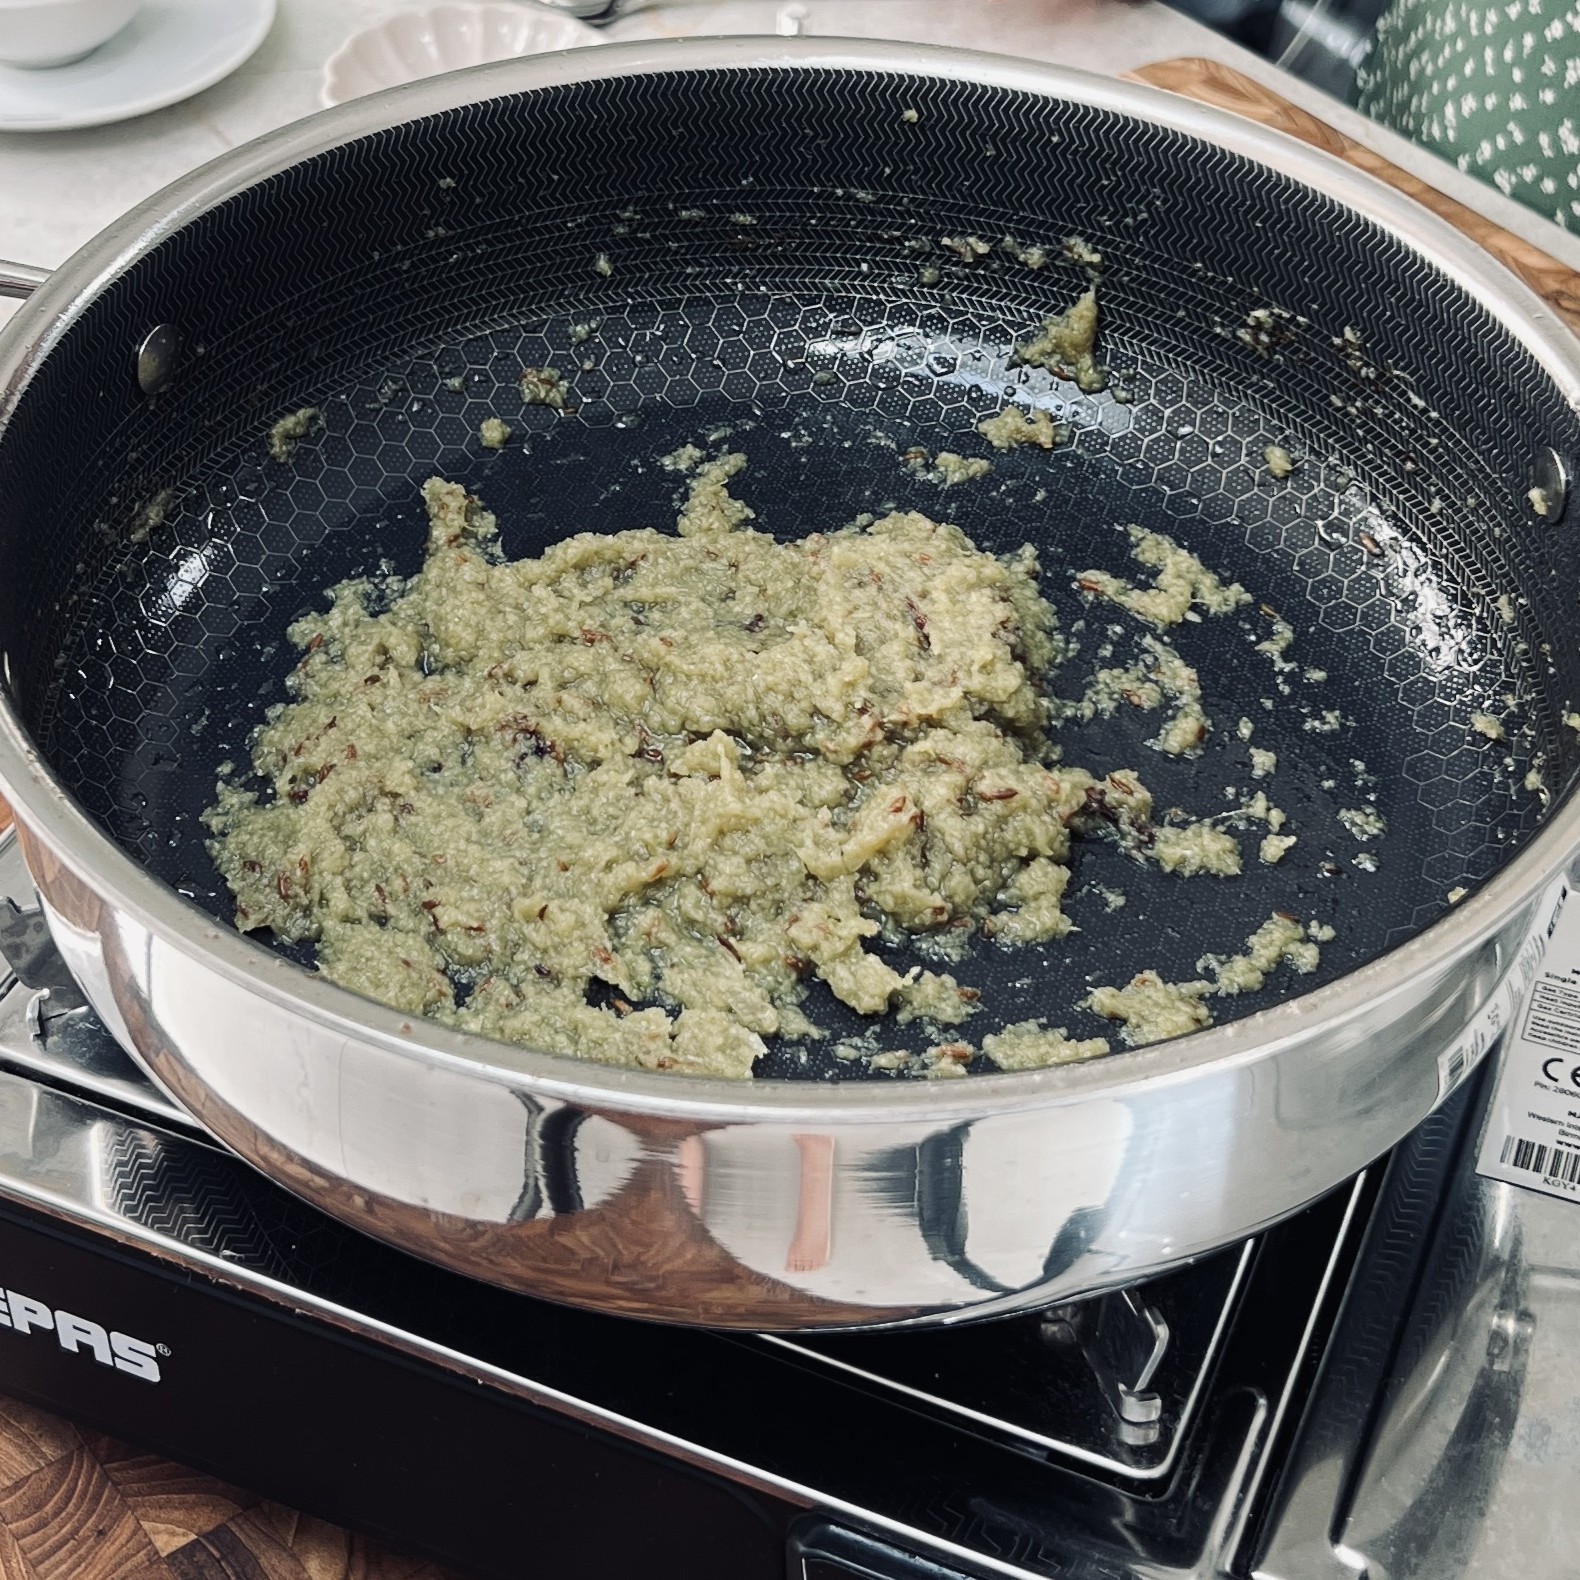
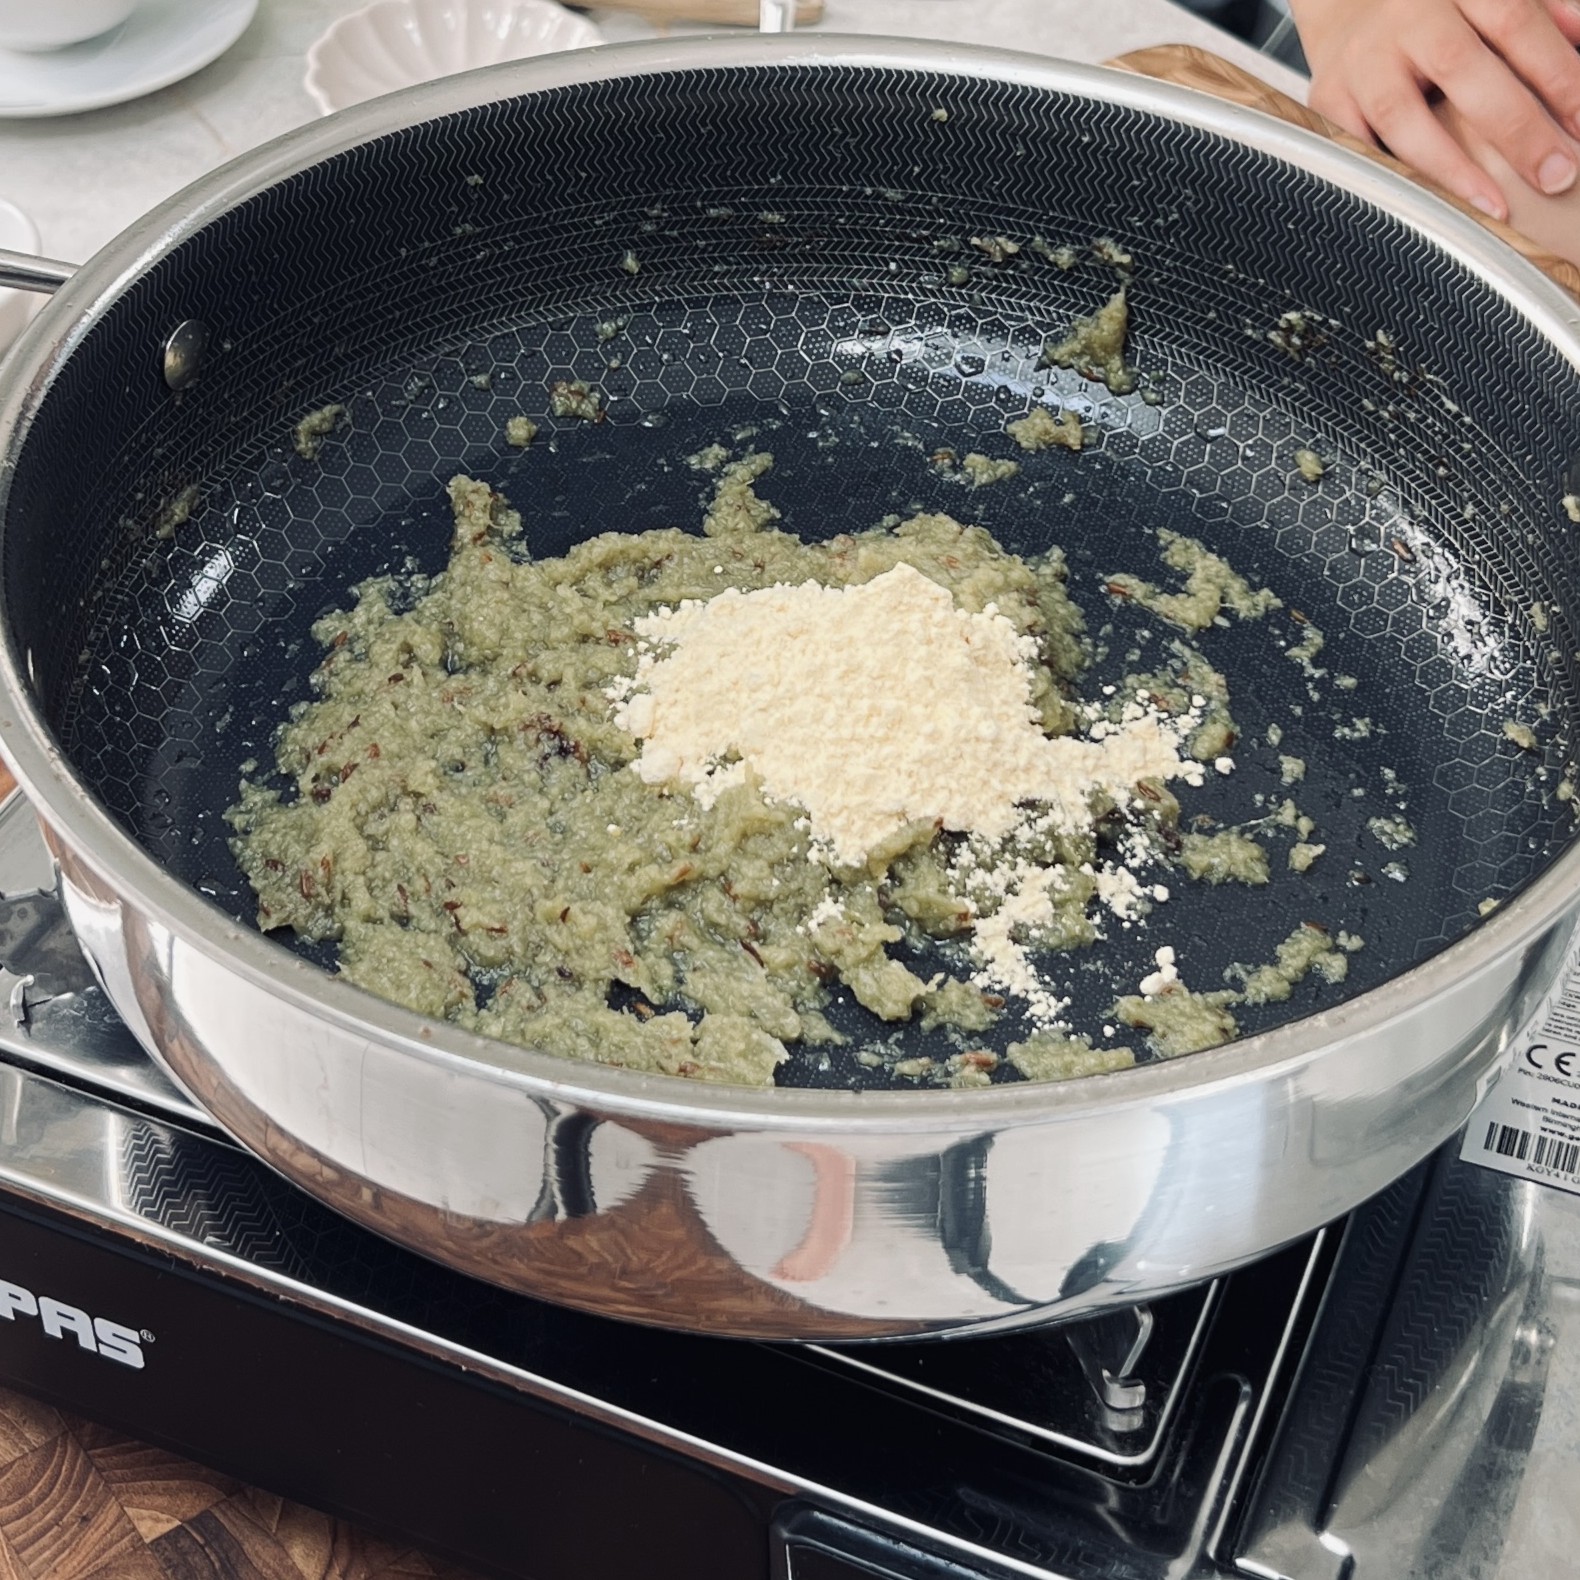
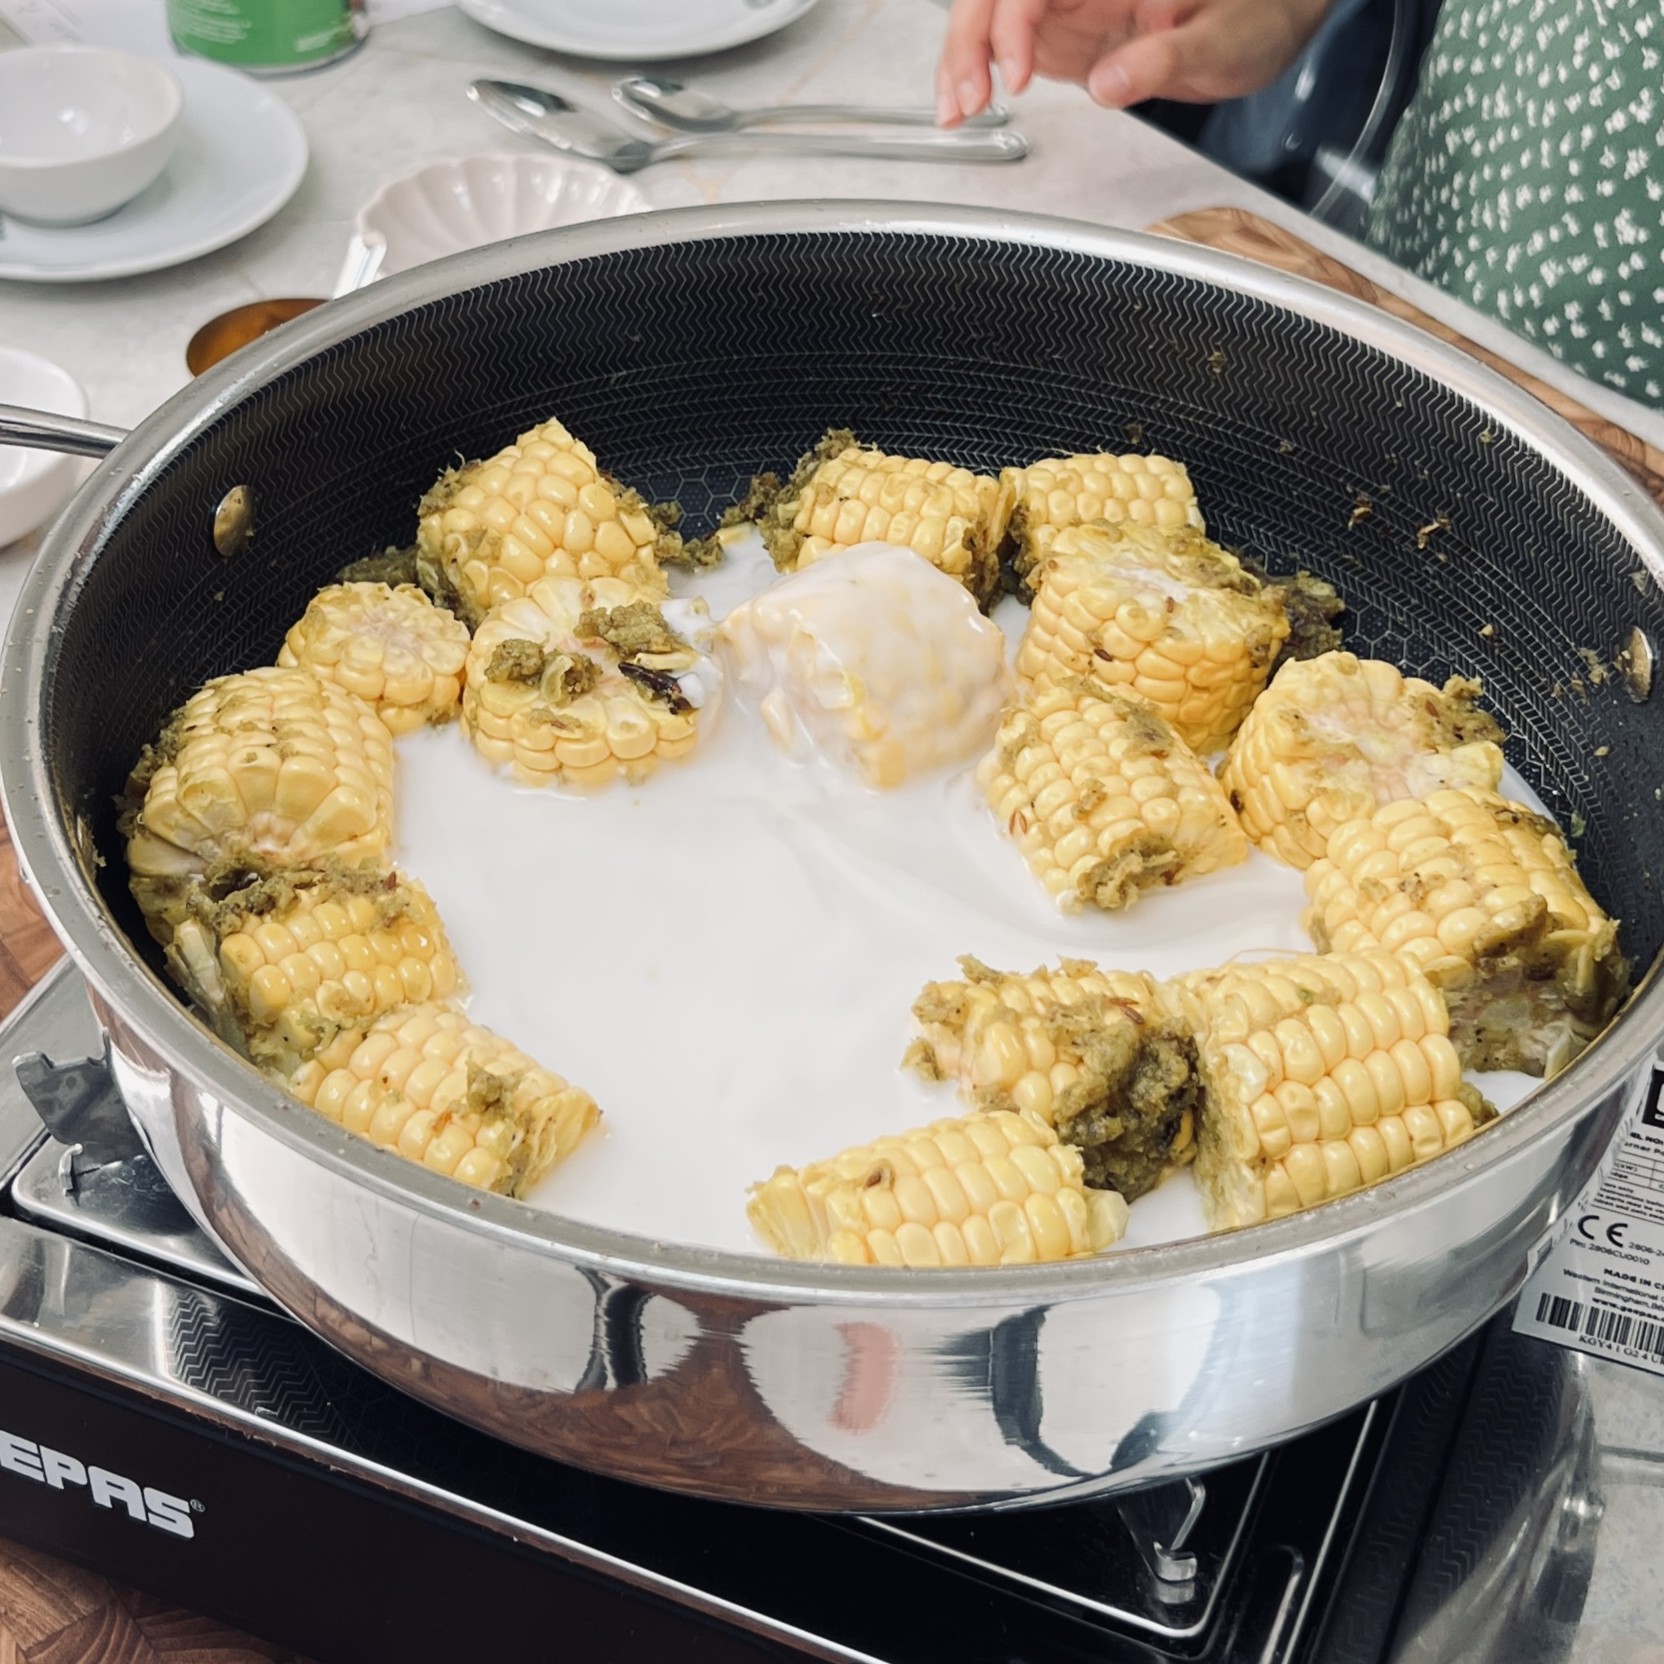
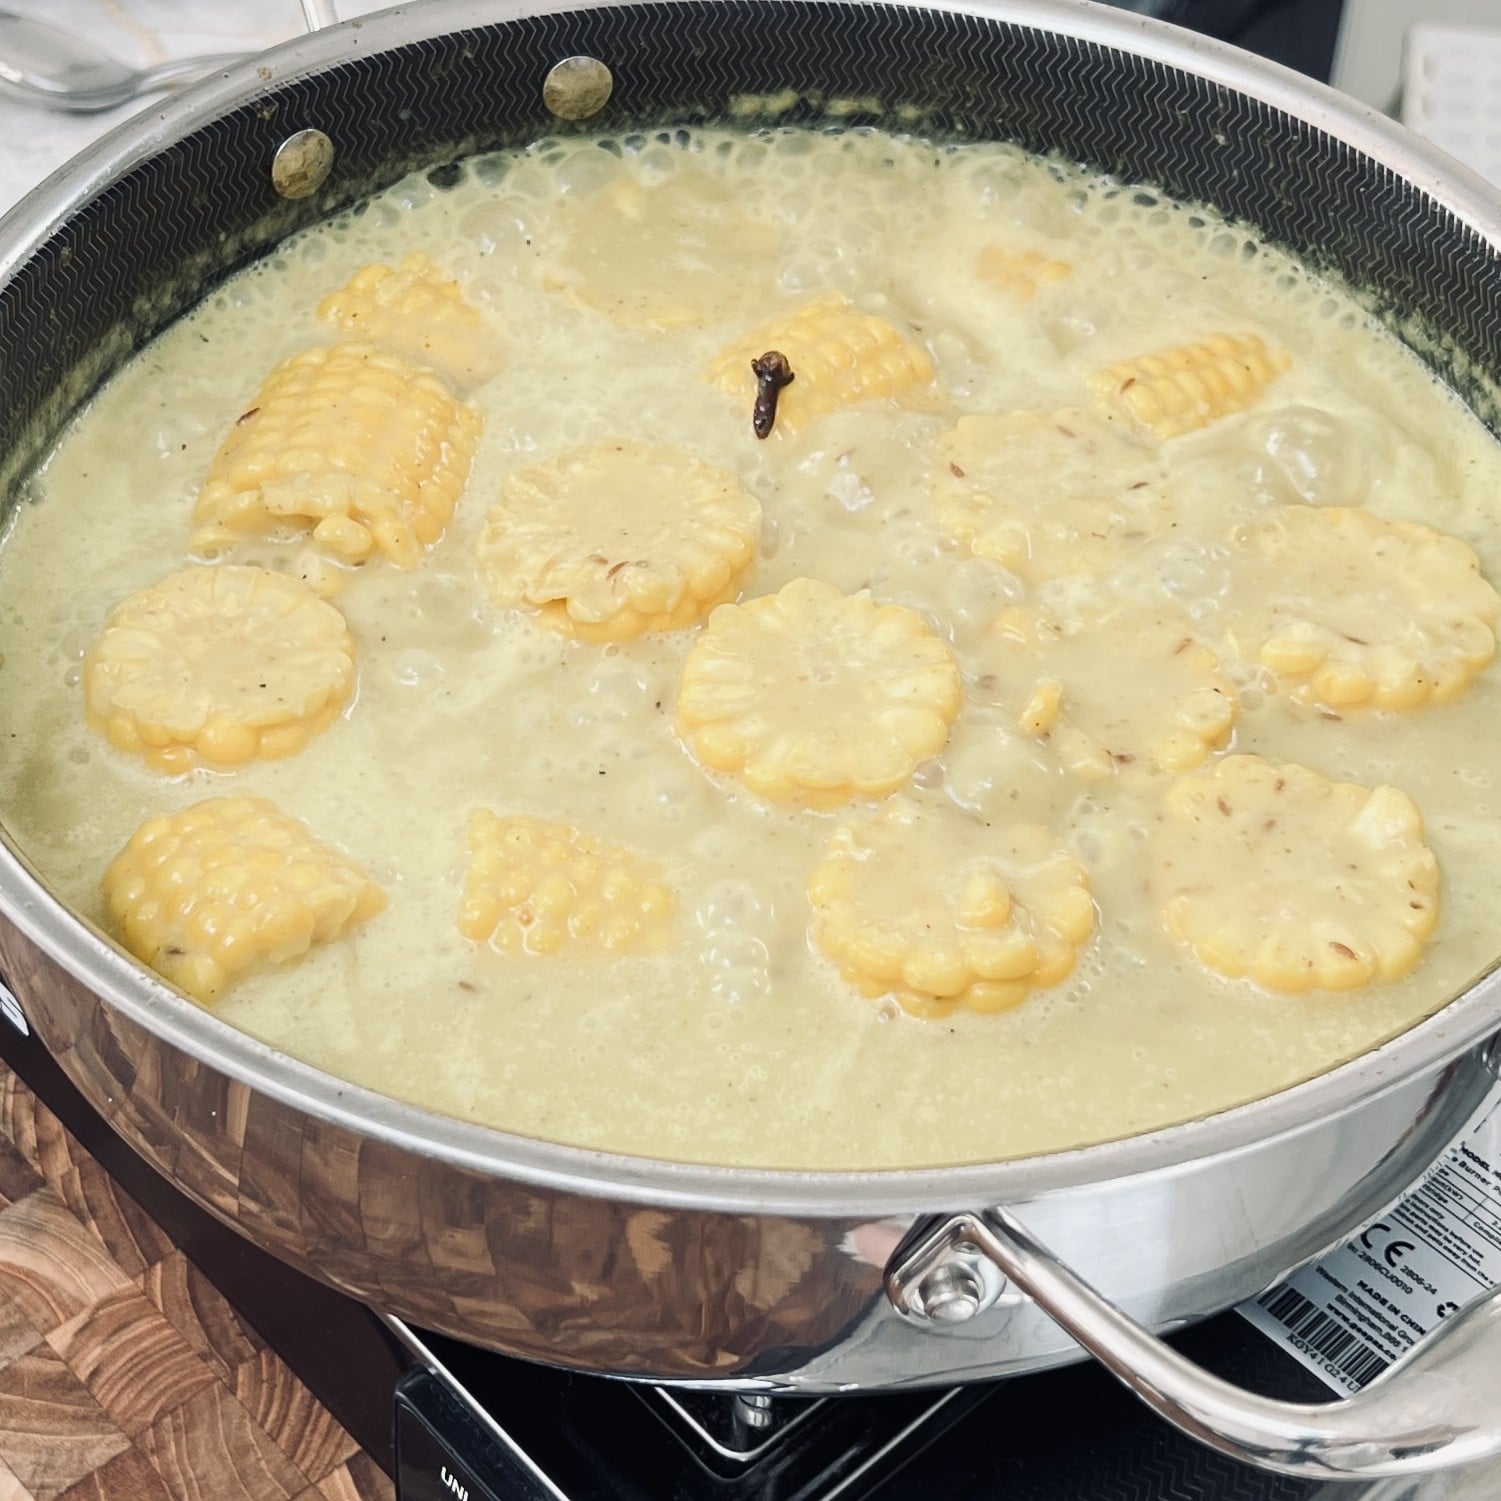
The sauce should be creamy and spoonable.
It should coat the corn, but still be loose enough to scoop up with rotli, rice or mandazi.
If it looks too thin, simmer uncovered for a few more minutes.
If it becomes too thick, add a splash of hot water and loosen it gently.
Makai Paka can be made ahead.
Store it in an airtight container in the fridge once cool for up to 3 days.
The sauce may thicken as it sits. In which case, reheat gently in a pan, adding a splash of water if needed to loosen the sauce.
The corn will continue to absorb some of the flavour as it sits, so leftovers taste lovely the next day.
As always if you make this recipe, be sure to leave me a comment, rate this recipe and tag me on Instagram @jcookingodyssey or #jcookingodyssey. I love seeing all your photos of my recipe recreations!
Don’t forget to follow me on social media using the buttons below – I can't wait to see you all there!

PLEASE NOTE: Nutritional values are estimated by a computer and may vary based on ingredients and portion sizes. For personalised dietary advice, please consult a qualified healthcare professional.
Share on Facebook Pin This Recipe
Almond Sukhdi is a delicious take on the original Gujarati Sukhdi. The traditional version is made with only 3 ingredients – atta, jaggery and ghee but this sukhdi has the addition of almond flour, providing a wonderful nutty flavour.
Minimal effort, major payoff!

Masala Mogo Chips are a close relative of Masala Chips! Air-fried cassava, yuca or mogo is tossed in a delicious East-African Kenyan masala to create an exciting side or snack!

 |
This Vegan Instant Pot Stuffed Peppers recipe is straight from the kitchens of Cyprus. A delicious medley of white rice, tomatoes, lemon, and mint is stuffed inside bell peppers and cooked directly in the Instant Pot or electric pressure cooker. Perfect for a vegetarian meal or side dish.

Lachha Rabri is an exquisite Indian dessert made with only 2 main ingredients. Using a special technique, this thickened and sweetened milk has layers of lachha or malai giving it its distinct flavour and texture.

Laccha is the name for the malai or skin that forms when full-fat milk is boiled. A large quantity of milk is gently reduced and sweetened until it reaches an almost condensed milk consistency and can then be flavoured how you desire.
If the rabdi is to be served with other sweets, it is kept plain.
If it is to be eaten alone can be flavoured with saffron, rose water, or nuts.
We love to add Kesar to our rabdi and make Kesar Lachha Rabdi which is an even richer alternative with a beautiful golden hue.

Shahi Tukda is also a delicious dessert with fried bread and rabri.
Rabri, of course, can be enjoyed on its own too and makes the perfect dessert after a spicy meal composed of Restaurant Style Garlic and Coriander Naan, Indian Vegetable Curry and Sultani Daal
Serve the rabdi chilled!
We add cream in our rabri as the full-fat milk in the UK is a lower fat percentage than that found in other countries. You do not have to add cream to yours if you do not wish.
There are no shortcuts to achieving the best Rabdi - time and patience will definitely be rewarded with this dessert!
Here are some tips to make Indian sweet shop or halwai style rabri:
A tip that my Mum taught me for separating the malai from the milk is to use little wooden skewers to collect the malai - technique is shown further in the recipe video. This is particularly useful if you have a pan that doesn't have sloping sides where you can keep pushing and collecting the malai to the side.
Make sure to keep scraping to the bottom of the pan otherwise the milk will start to burn and stick.
Keep an eye on the heat - you can keep it on high at first to heat the milk, then as it comes to a rolling boil, lower the heat to medium.
A trick that I found helps with getting the malai or lachha to form faster is to keep a desk fan angled on the milk as it boils.
If the milk does begin to burn, you can still salvage the rabri. Do not throw away but instead siphon off the milk that has not burnt and transfer to another pan to carry on cooking. If the milk does have a burnt taste, add some essense or flavouring such as saffron or rose to disguise it.
The rabdi will change colour and go creamy white rather than pure white - this is normal!
We're looking for the milk to reduce between ⅓ and ¼ for the best rabri. Remember that the mixture will thicken on cooling so it may still seem a little runny when you turn off the heat.

Whole milk
Sugar - use white granulated sugar
Cardamom powder
Optional: single or double cream
You will need:
A heavy-bottomed non-stick pan
Time, time, and time!


Other milk-based Indian desserts:
1 minute Instant Pot Sheer Khurma
If you are looking for more Indian Sweets inspiration - look no further than our 19 Best Barfi Peda Recipes
As always if you make this recipe, be sure to leave me a comment, rate this recipe and tag me on Instagram @jcookingodyssey or #jcookingodyssey. I love seeing all your photos of my recipe recreations!
Don’t forget to follow me on social media using the buttons below – I can't wait to see you all there!

PLEASE NOTE: Nutritional values are estimated by a computer and may vary based on ingredients and portion sizes. For personalised dietary advice, please consult a qualified healthcare professional.
Share on Facebook Pin This RecipeSultani Dal. Think of it as a dal that is dressed for a wedding. Toor dal is simmered with cream and yogurt and finished with saffron. It is smooth, mellow, and gently aromatic.

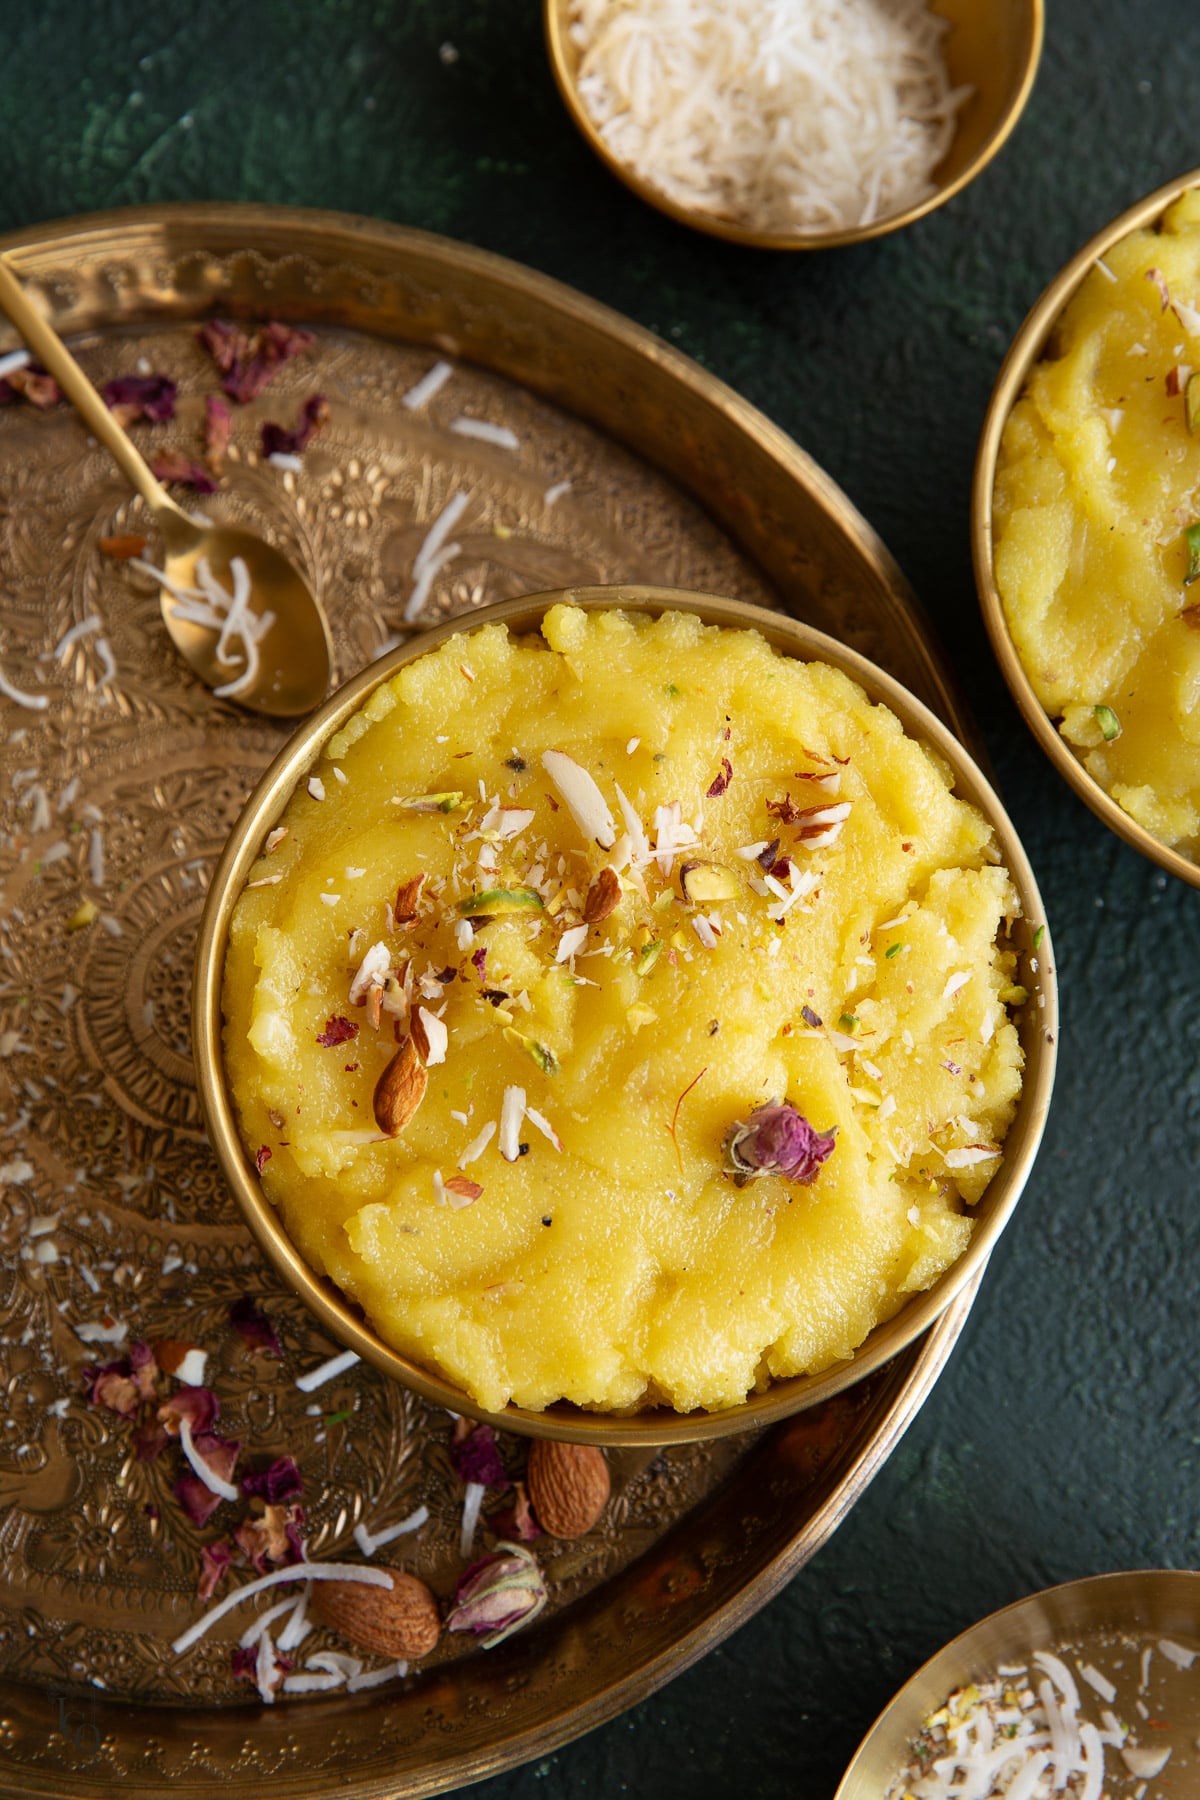
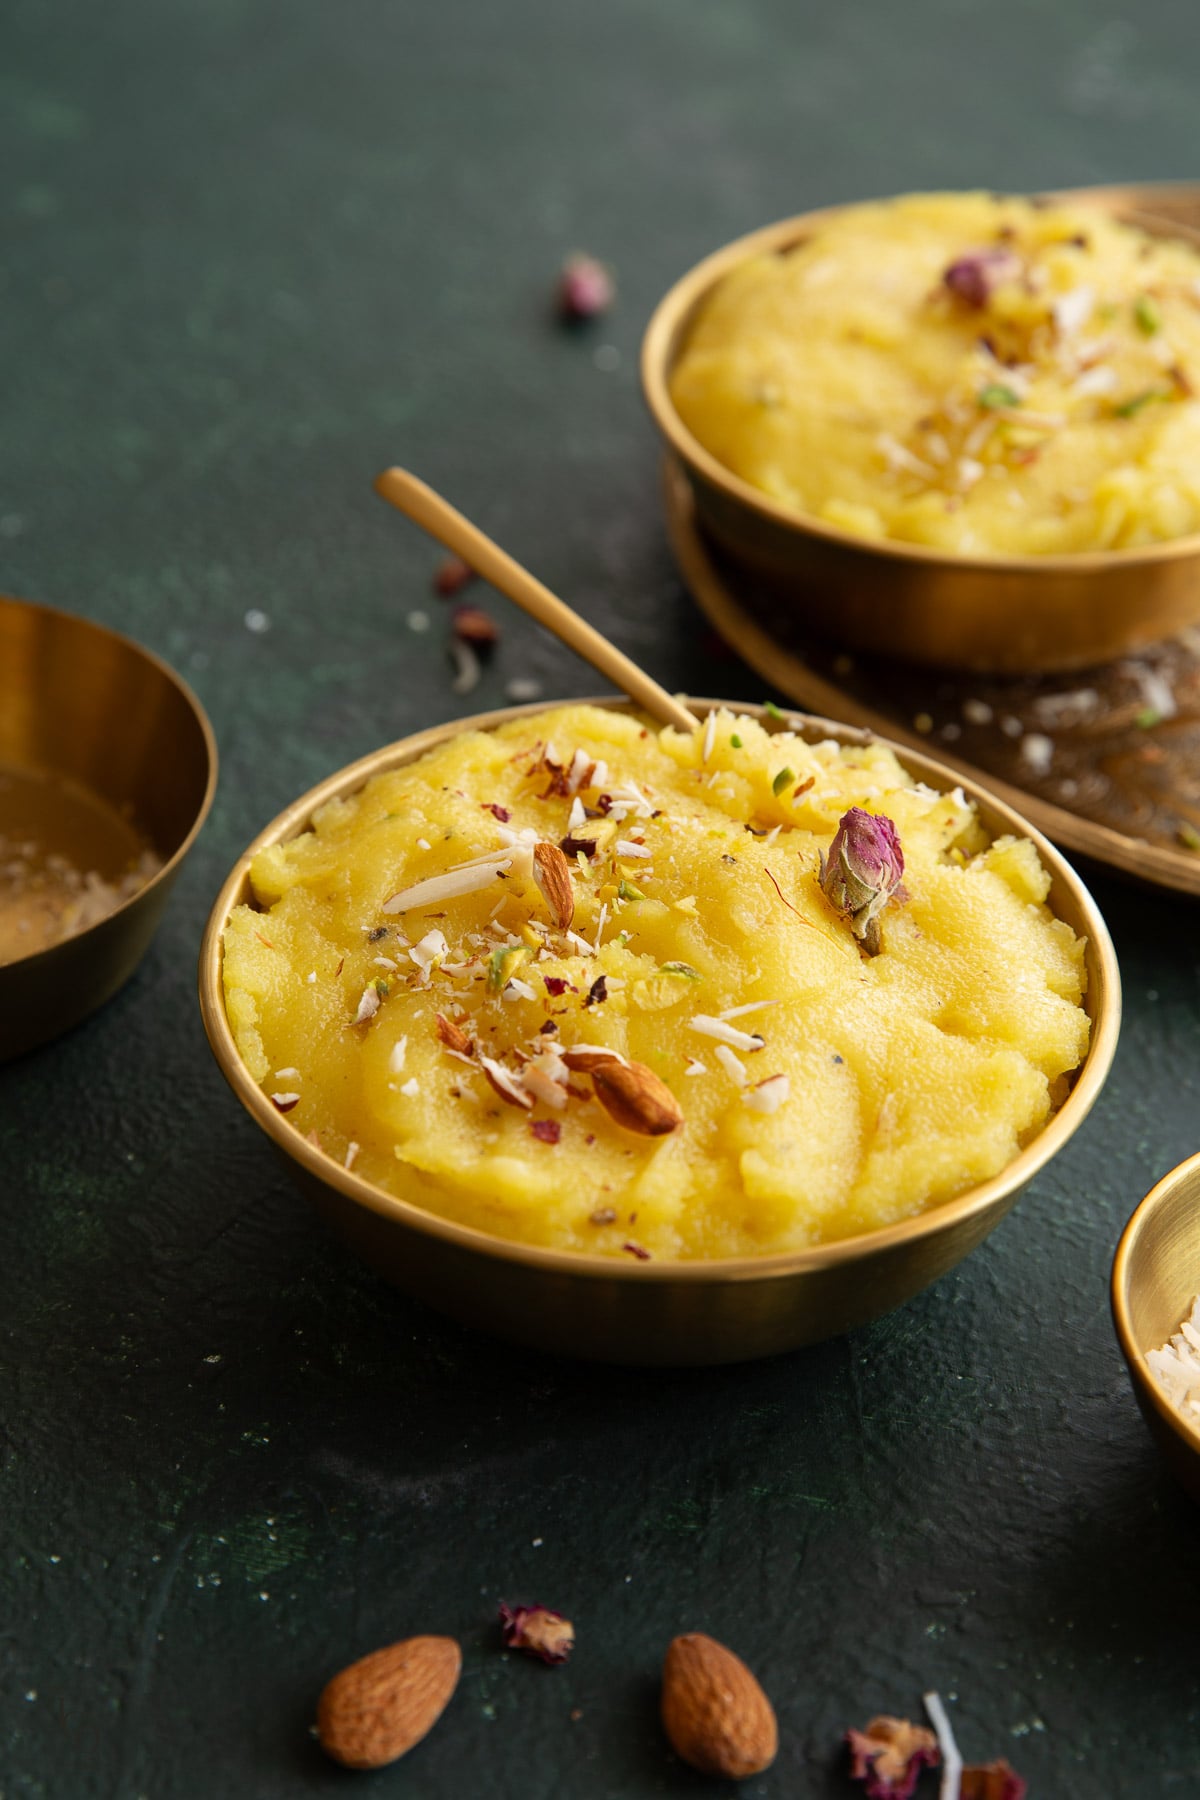
Introducing my sooji coconut halwa made with thick and creamy coconut milk. It's a twist on the classic sooji no siro. Best of all, this halwa is deliciously moist, rich and glossy and ready in less than 20 minutes!
Perfect with aloo chana made without onion garlic and puffed up poori for a delicious breakfast or brunch.
SUMMARIZE & SAVE THIS CONTENT ON
This Sooji Coconut Halwa is one of those happy kitchen accidents that became a recipe we now make on purpose. My mum and I were making regular sooji halwa when we ran out of milk, so we tested coconut milk instead. It gave the halwa such an irresistibly moist richness and gentle coconut flavour that we knew we had to make it again.
The coconut is subtle rather than overpowering. This still tastes like traditional sooji no siro, but even creamier, richer and a little more special.
We have experimented with it in several ways over the years. Sometimes I add mawa for extra milky richness, and sometimes I roast desiccated coconut with the semolina for more texture.
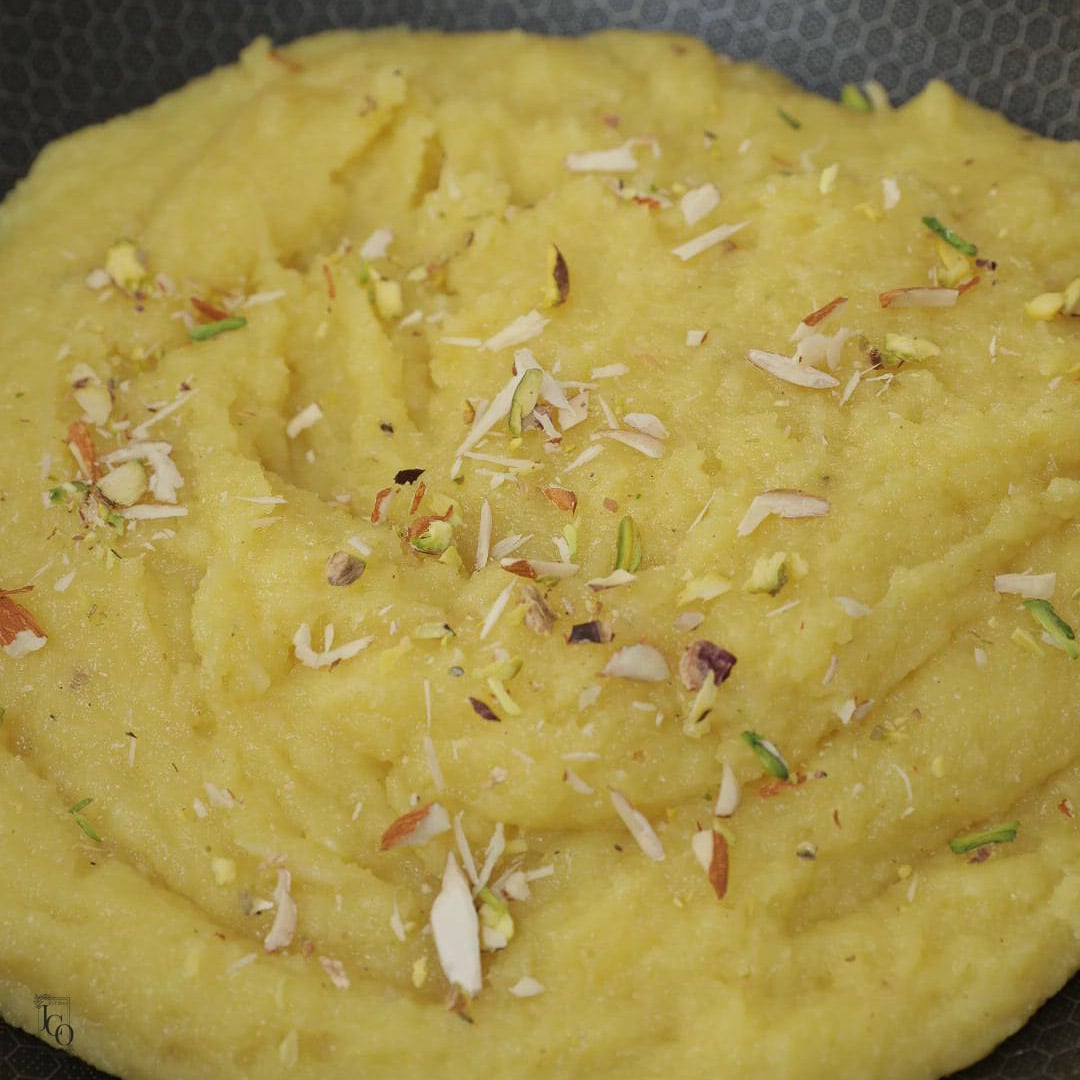
The finished halwa should be moist, glossy and gently grainy, but still smooth to eat. It should never feel dry or sticky.
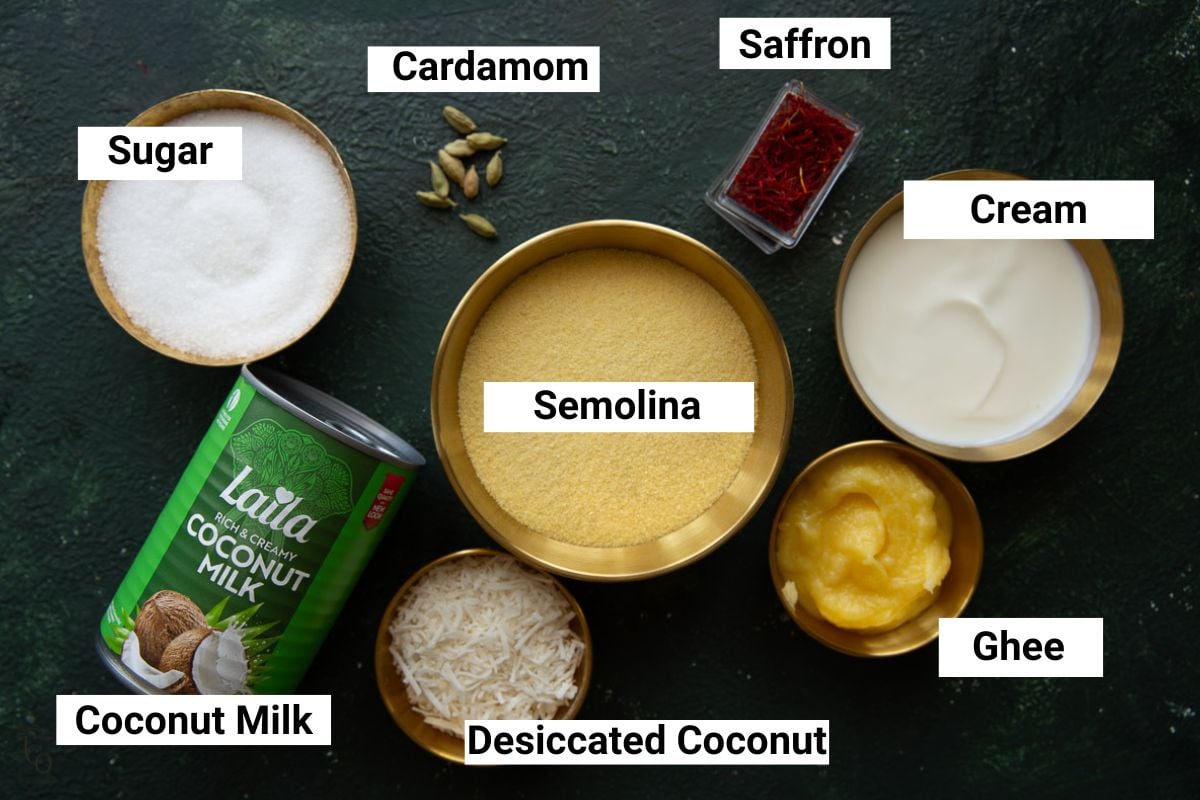
Find the full ingredients list and measurements in the recipe card below.
Semolina
Fine white or yellow semolina both work.
Coarse semolina can also be used, although it gives the halwa a slightly more textured finish.
The most important thing is roasting it properly before adding any liquid. It's the same technique I use in irmik helvasi (Turkish semolina halwa).
Coconut milk
Full-fat coconut milk gives the creamiest result.
Light coconut milk will still work, but the finished halwa will be a little less rich.
Shake or stir the coconut milk before measuring if it has separated in the tin.
Water
Do not replace all the water with coconut milk.
The water allows the grains of semolina to absorb enough liquid, swell and cook properly. Coconut milk alone is too thick.
Desiccated coconut
I use desiccated coconut because it is convenient and easy to keep in the cupboard.
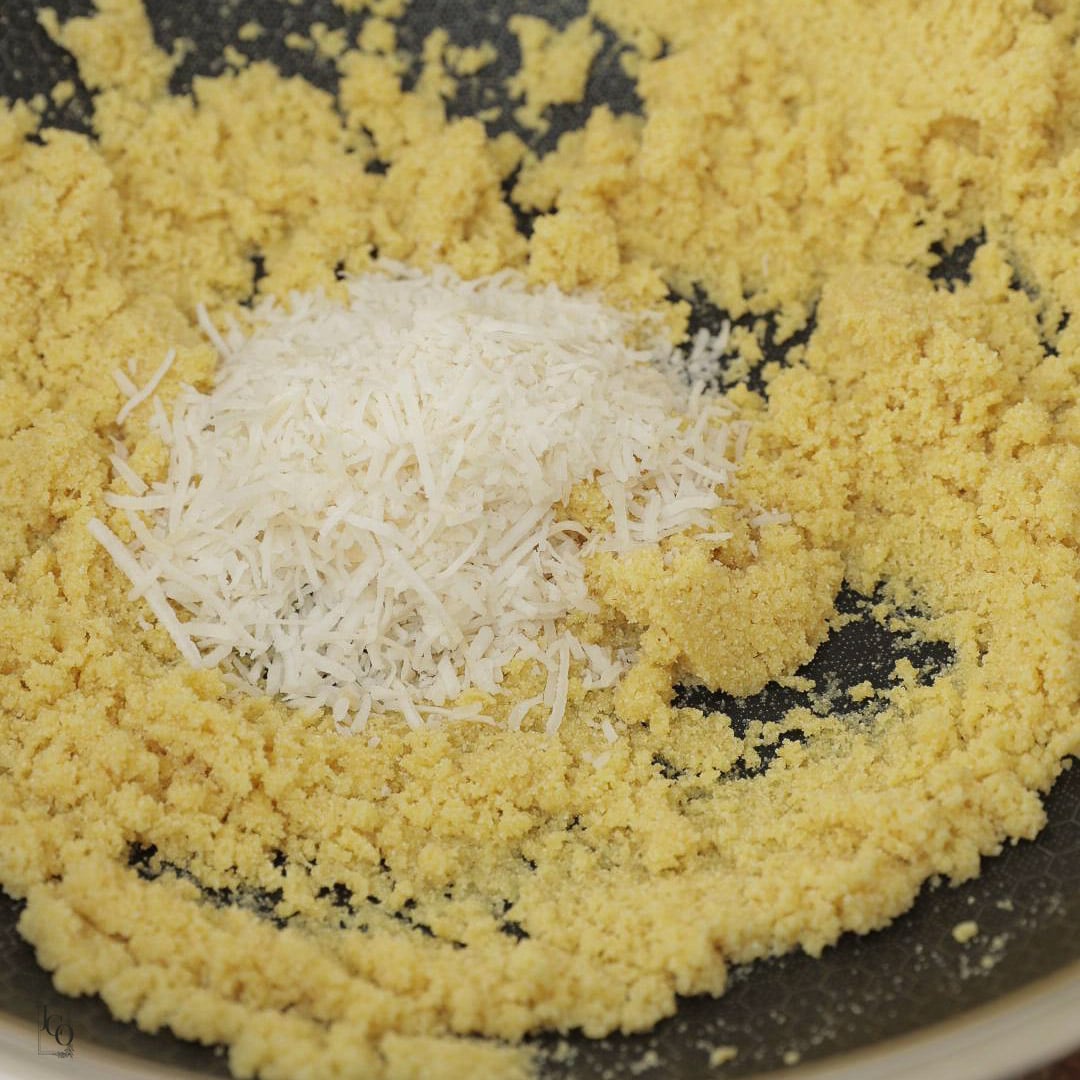
For a little more coconut flavour and texture, I sometimes add it during the final few minutes of roasting the sooji.
You can also add it later with the coconut milk for a softer texture.
Mawa
Mawa is optional, but it makes the halwa richer and more luxurious. I use it the same way in rajgira sheera.
I use either my homemade mawa made with milk powder or homemade ricotta-based mawa.
When I do not have mawa, a small splash of double cream stirred through at the end is also lovely.
Ghee
The ghee coats the grains of semolina and gives the halwa its rich, glossy texture.
I like to use homemade ghee from butter because its aroma works beautifully with the toasted sooji and coconut.
Nuts
I usually use slivered pistachios and almonds.
Charoli, also known as chironji, is traditional in our version but completely optional.
Have the hot water, sugar, coconut milk and remaining ingredients ready before you begin. The recipe moves quickly once the semolina has roasted.
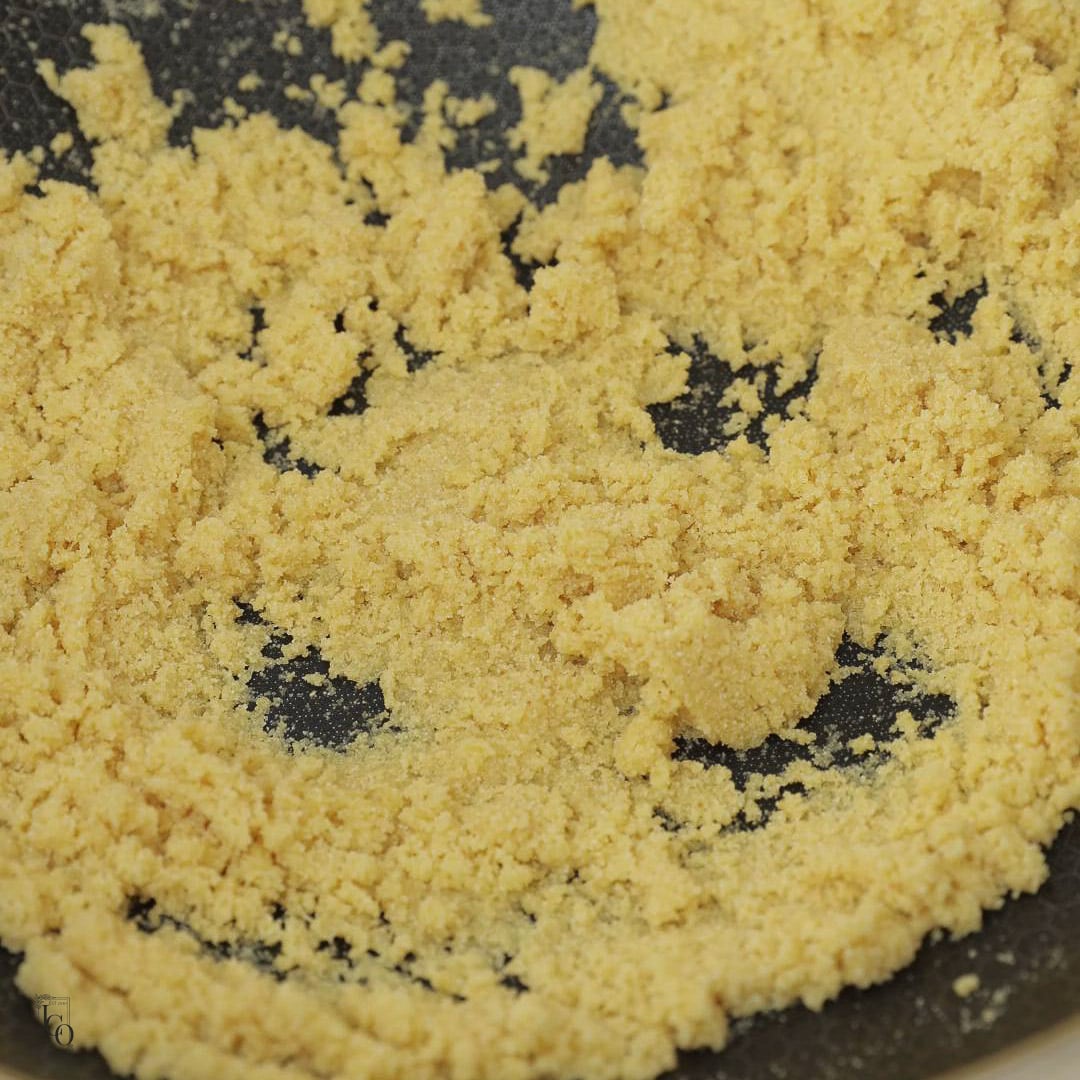
Heat the ghee in a heavy-based pan over low heat.
Add the semolina and mix well so every grain is coated in ghee.
Roast slowly, stirring regularly to prevent it catching at the bottom.
The semolina is ready when:
Do not rely on colour alone. High heat can burn the semolina before it has roasted properly.
If adding the desiccated coconut during roasting, stir it in for the final few minutes.
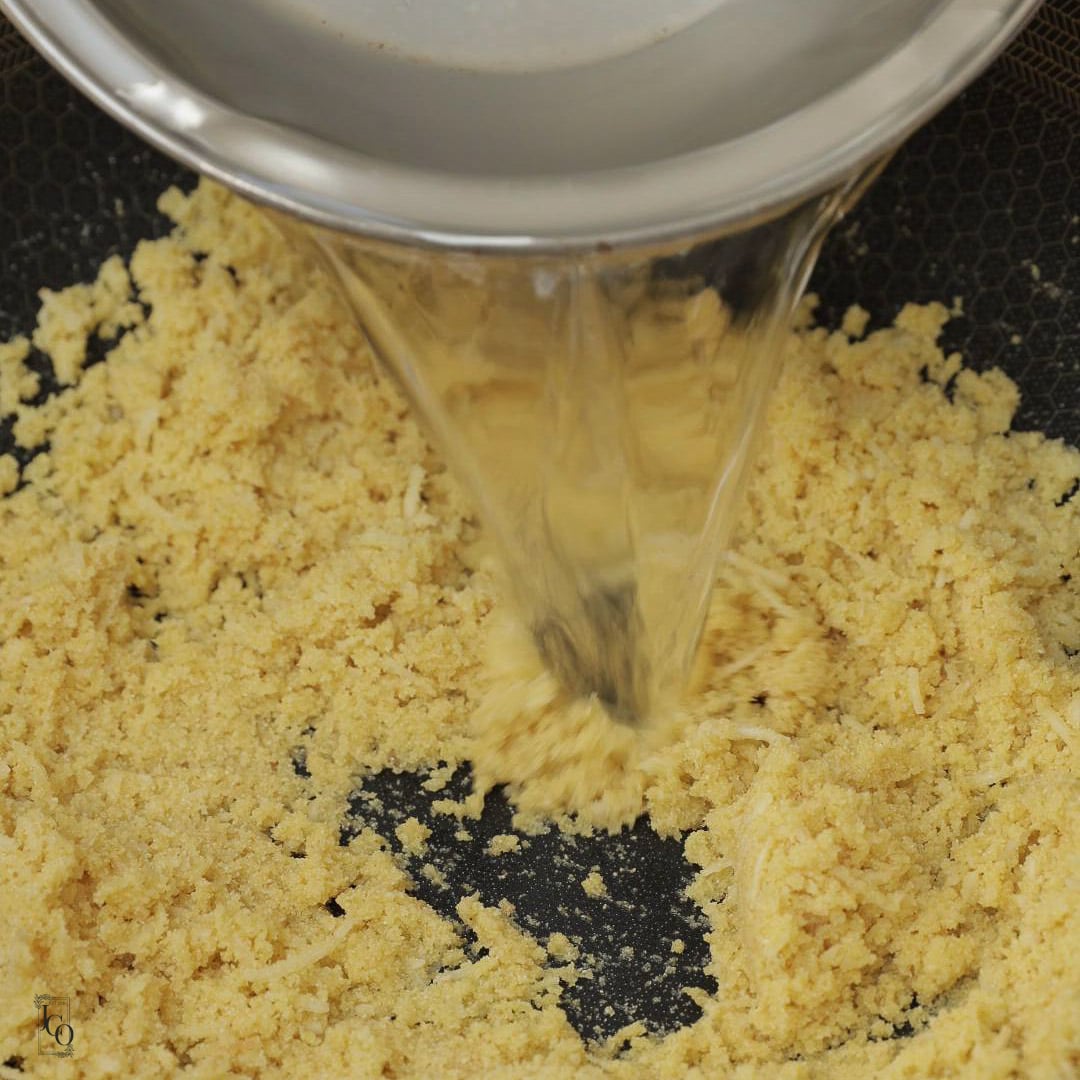
Carefully pour the hot water into the roasted semolina, stirring continuously.
The mixture will bubble and release steam, so add it slowly.
Continue stirring as the semolina absorbs the water and the grains swell.
Adding the water before the sugar helps the semolina cook evenly and reduces the chance of lumps.
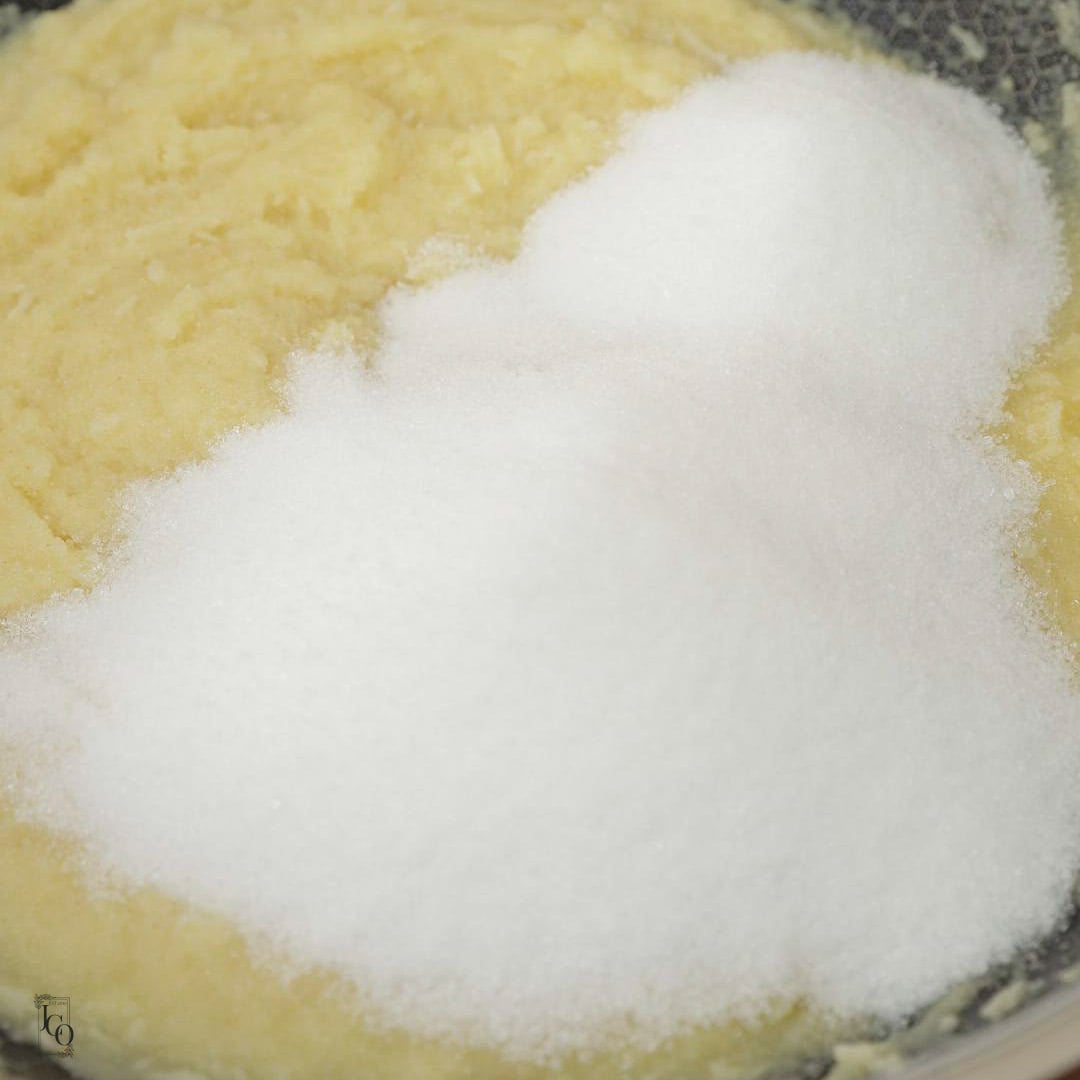
Once most of the water has been absorbed, add the sugar directly to the pan.
There is no need to make a separate sugar syrup.
The mixture will loosen again as the sugar melts. Continue cooking over low to medium heat.
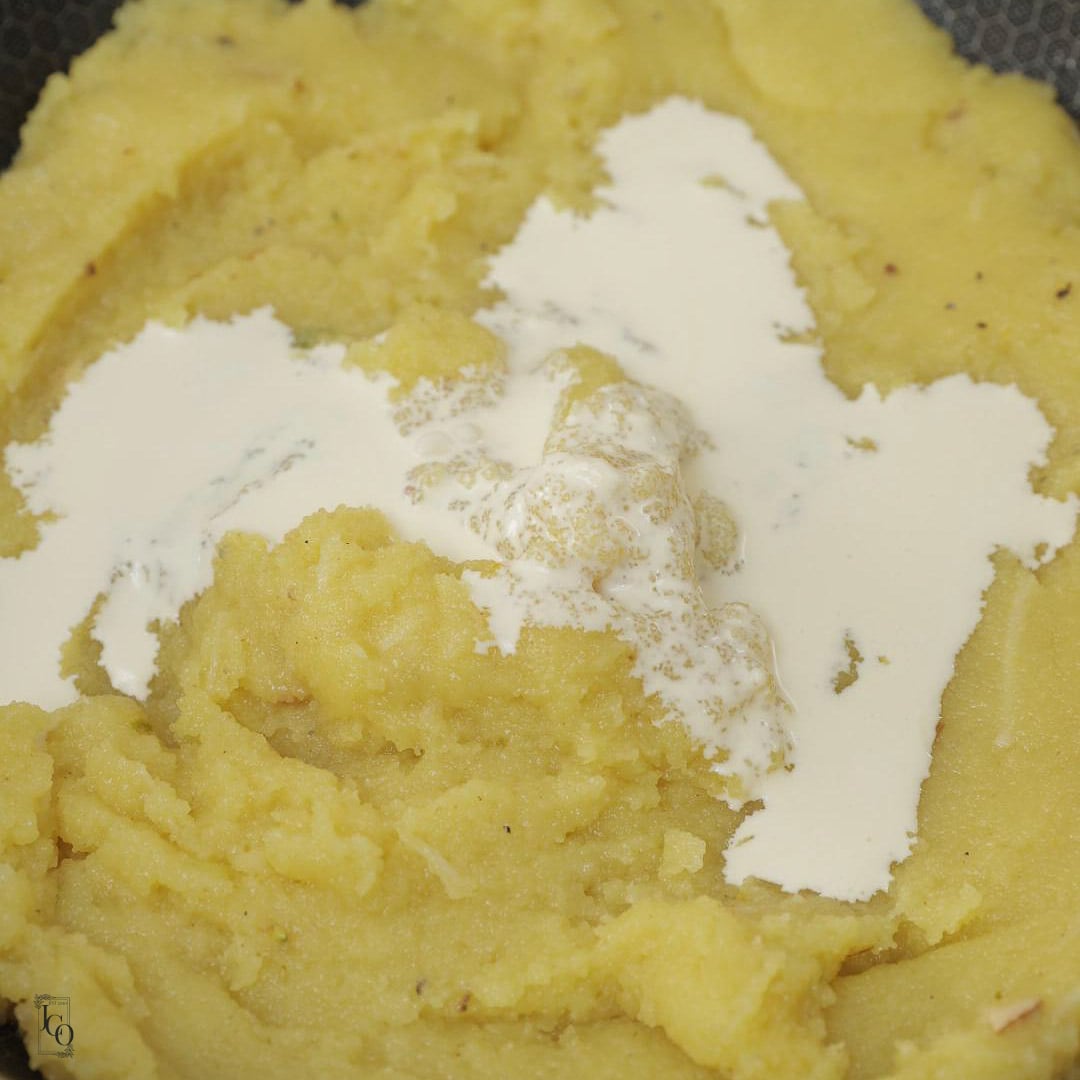
Pour in the coconut milk and add the desiccated coconut if you did not roast it earlier.
Stir in the crumbled mawa, if using, making sure there are no large lumps.
Add the saffron, cardamom and most of the nuts.
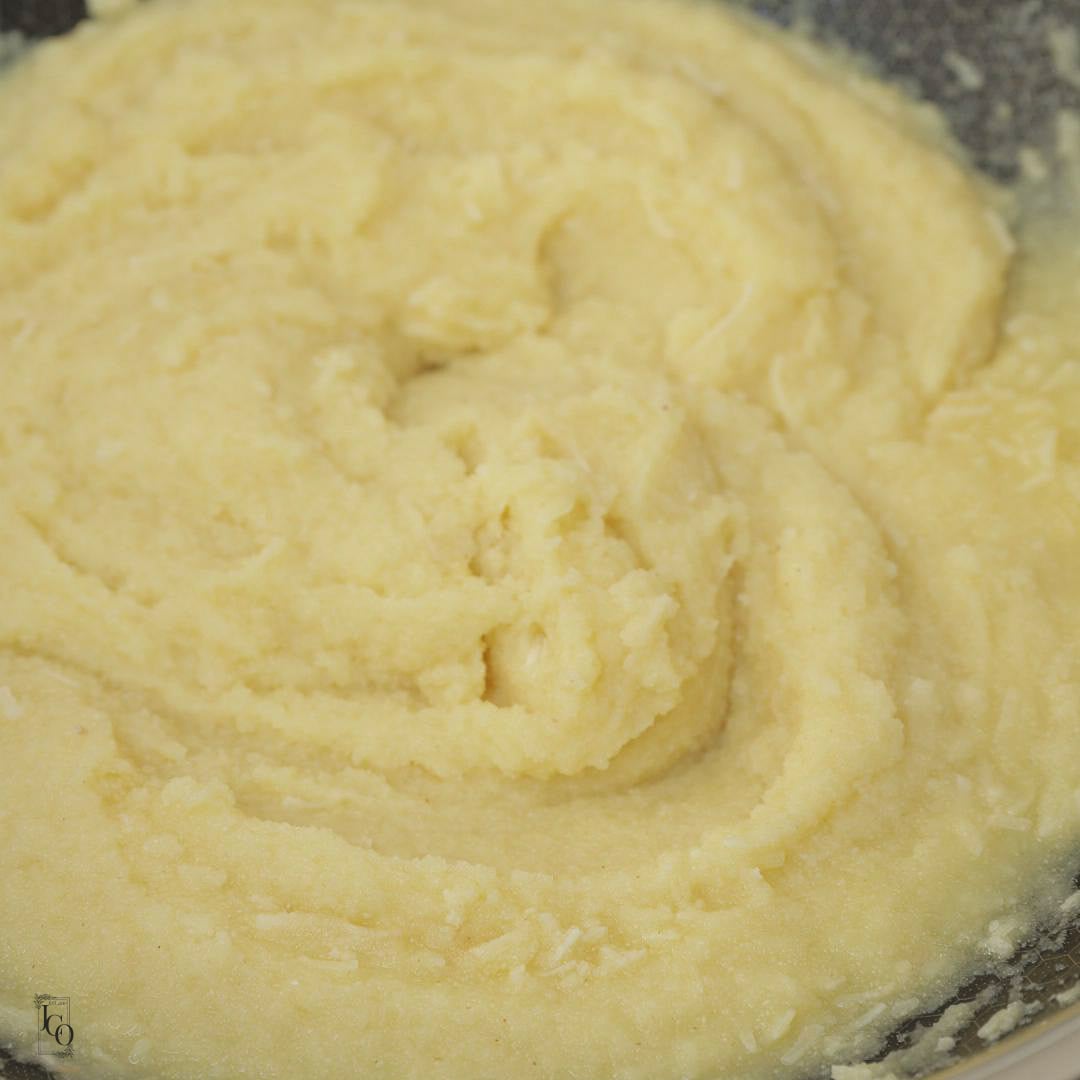
Continue cooking gently until the halwa thickens again.
It is ready when it:
I prefer this halwa warm, while the ghee is melted and the texture is at its creamiest. It is still delicious at room temperature, which makes it surprisingly useful for taking to parties or picnics.
We often serve it as part of chole, halwa and poori, but also pair it with aloo tamatar ki sabzi and freshly fried poori. This spinach poori is a great alternative.
You can also add it to a gujarati thali or serve a small bowl after a spicy Indian meal.
For more semolina sweets, try my classic Gujarati garvanu. You may also enjoy aate ka halwa, winter special gajar halwa with mawa or badam besan halwa.
As always if you make this recipe, be sure to leave me a comment, rate this recipe and tag me on Instagram @jcookingodyssey or #jcookingodyssey. I love seeing all your photos of my recipe recreations!
Don’t forget to follow me on social media using the buttons below – I can't wait to see you all there!
PLEASE NOTE: Nutritional values are estimated by a computer and may vary based on ingredients and portion sizes. For personalised dietary advice, please consult a qualified healthcare professional.
Share on Facebook Pin This RecipeNote:- This post was originally posted on 10th August 2013, since I have updated with more content and images. The recipe remains the same.

We make this delicious Rajgira Halwa during vrat or fasting season. This gluten-free dessert is prepared with rajgira (amaranth) flour, ghee, sugar, mawa and other special ingredients to give this halwa a royal twist.
Want to see more fasting or farali recipes? Check out my Must Try Vrat or Hindu Fasting Recipes.

Rajgira sheera, also known as amaranth flour halwa, is a popular Indian sweet mostly prepared during the festive season and in the month of Shravan. It is typically made with amaranth flour, sugar and milk. You can think of it as the farali, or gluten-free version of this atte ka halwa.
I like to add a few extra ingredients to make this halwa even richer and more delicious!
Firstly, I add mawa with gives an extra creamy mouth-feel. Adding medjool dates gives a deep toffee-like richness and desiccated coconut adds an extra layer of texture and flavour.
Another farali halwa you might like is this singhare ka halwa made with water chestnut flour.
Full ingredients list and measurements in the recipe card below.
Rajgira flour - aka rajagara no lot or amaranth flour. You'll find it in Indian grocery stores or online. I also use this flour to make eggless amaranth pancakes, a melt in the mouth farali rajgiro magas and rajgira til vada.
Milk - I use whole milk (full fat milk) for richness.
See my rajgira halwa without milk that is also dairy-free and super delicious!
Ghee - I use homemade desi ghee
Sugar - I've used white granulated sugar in this recipe, but I have successfully made it with jaggery too.
Mawa/Khoya - Mawa adds a subtle grainy texture which is so good in the smooth and silky rajgira halwa. I use homemade mawa made from milk powder but it is easily avaliable in the fresh dairy section of Indian grocery stores. If you don't have it, leave it out.
Finely chopped medjool dates - these give the halwa such a gorgeous caramel flavour. Definitely add them to your halwa if you have them.
Desiccated coconut - I use either desiccated coconut or shredded coconut.
Cardamom and nutmeg powder - I use my homemade green cardamom powder whenever I have it. I freshly grate nutmeg to give an extra layer of flavour.
You can either eat this siro warm or cold.
I think it tastes better warm because you can really savour the richness and sweetness of the halwa and the ghee is melted. So, so good!
We serve this halwa in a vrat thali which consists of dishes like farali ratalu, farali palak puri, farali rajgira kadhi and samo khichdi.
This halwa keeps for ⅔ days. Once cooled, store in an airtight container (to keep the odour out) in the fridge.
Eat cold or reheat in the microwave.

1. Heat ghee.
2. Add flour.
3. Roast the flour until light brown (it will take 7-8 minutes).
4. Add desiccated coconut, roast another 1-2 minutes.
5. Add milk and cook until milk dries up, then add sugar.
6. Once the moisture from the sugar dries up, add khoya, dates, cardamom and nutmeg powder and nuts, mix well.

As always if you make this recipe, be sure to leave me a comment, rate this recipe and tag me on Instagram @jcookingodyssey or #jcookingodyssey. I love seeing all your photos of my recipe recreations!
Don’t forget to follow me on social media using the buttons below – I can't wait to see you all there!

PLEASE NOTE: Nutritional values are estimated by a computer and may vary based on ingredients and portion sizes. For personalised dietary advice, please consult a qualified healthcare professional.
Share on Facebook Pin This RecipeNote- this post was originally created on 8th of September 2015, since I have updated this post with new images and content.
Divine Dudhi ka Halwa or Dudhi no Halvo with mawa is an Indian sweet made with grated bottle gourd, milk products, and sugar. Here we have how to make the best lauki ka halwa the traditional way step by step.