
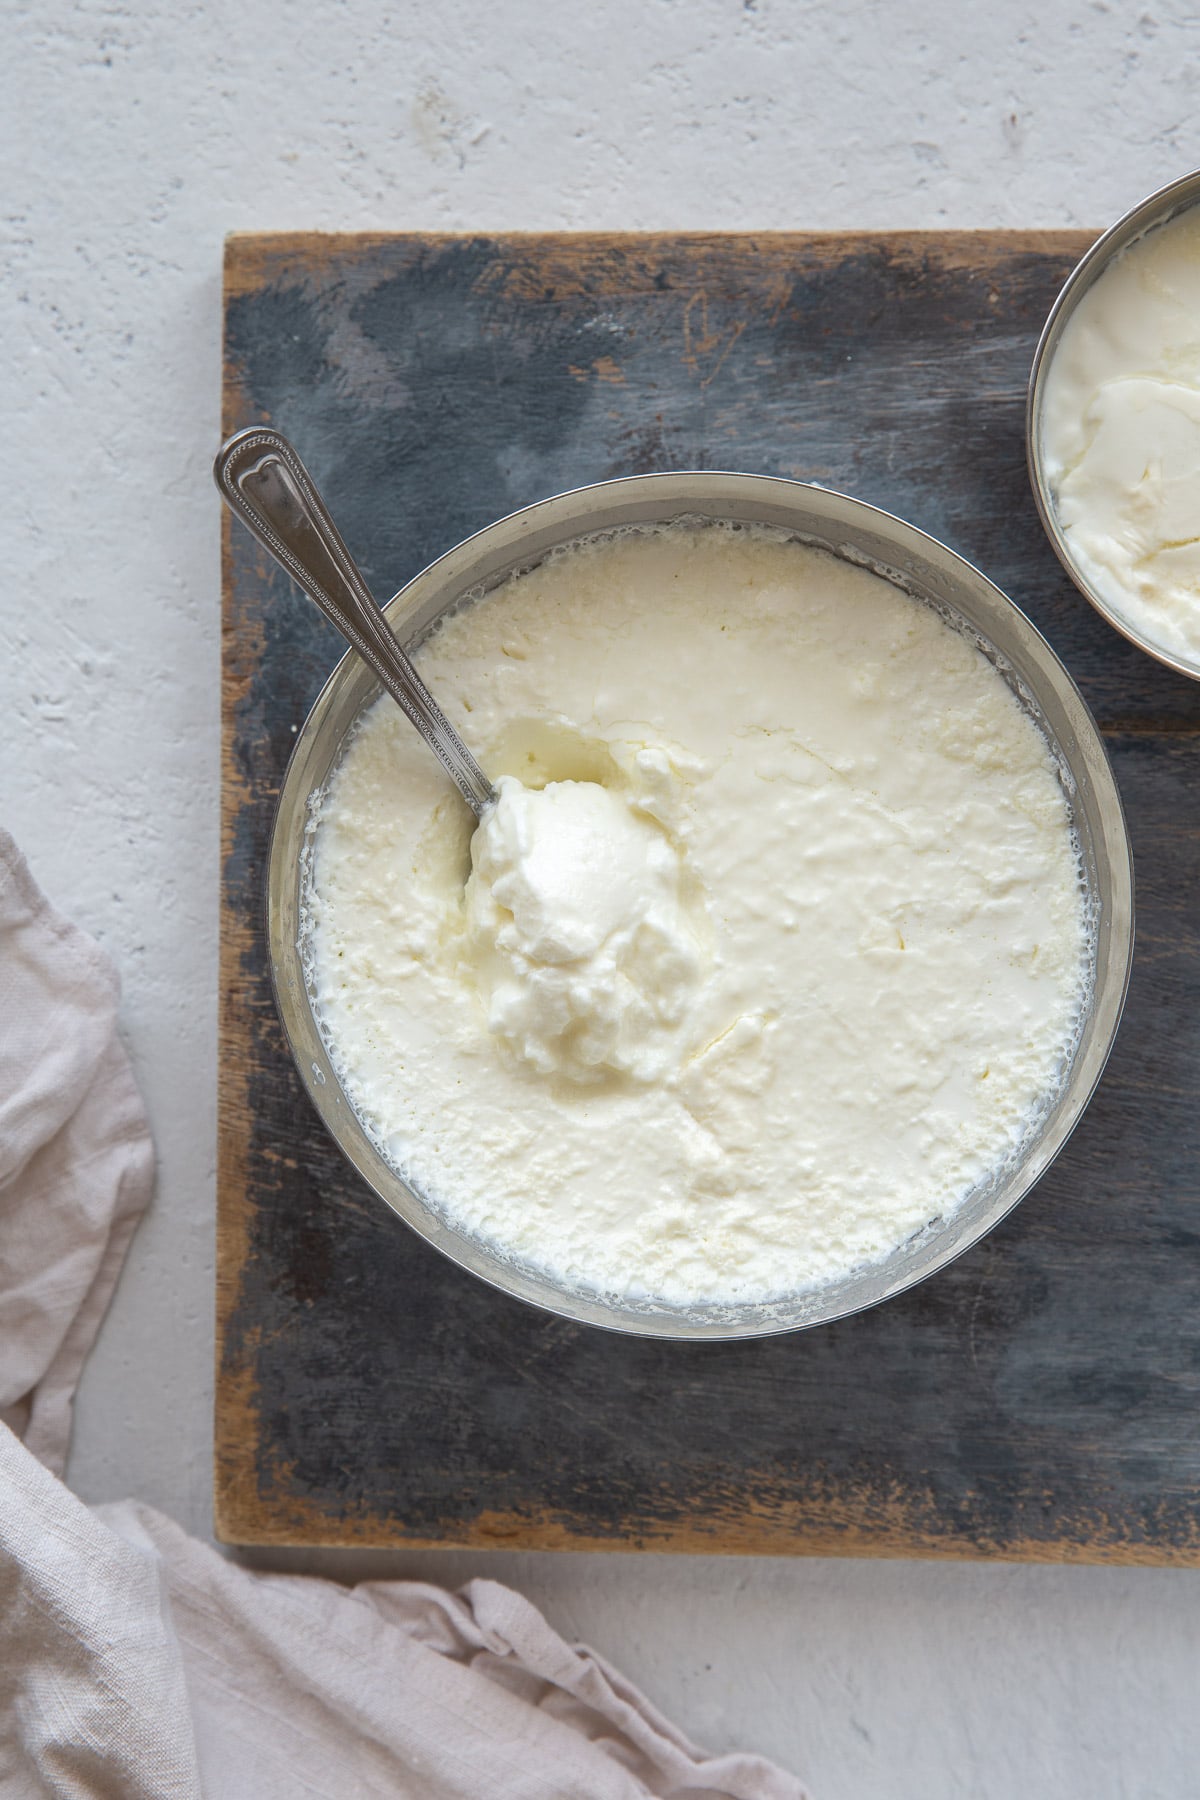
This Homemade Set Yogurt is a well-set, creamy homemade dahi made with full-fat milk and plain live yogurt. The best part? You do not need a yogurt maker! You only need the right starter, warm milk and a cosy place for the yoghurt to set.
Recipe Summary: Homemade Yogurt (Dahi)
- ✅ Recipe Name: Homemade Set Yogurt Without a Yogurt Maker
- 🕒 Ready In: 25 minutes hands on, plus 3-8 hours setting time
- 👪 Makes: approx. 500 ml
- 🍽 Calories: 69 per serving
- 🥣 Main Ingredients: full fat milk, plain live yogurt
- 📖 Dietary Info: vegetarian
- ⭐ Why You'll Love It: A tried-and-tested homemade set yoghurt made with full-fat milk and live yoghurt starter, adapted for UK kitchens without a yoghurt maker.
SUMMARIZE & SAVE THIS CONTENT ON
This is a tried-and-tested family method. My mum made dahi daily in India, then adapted the same process to work reliably in cooler UK kitchens.
No special machine.
No complicated equipment.
Just milk, live yoghurt and steady warmth.
This homemade yoghurt is well set, creamy and mild. It is not as firm or extra-thick as supermarket Greek yoghurt, but it should hold its shape when spooned.
Jump to:
- Recipe Summary: Homemade Yogurt (Dahi)
- What Makes This Method Work
- A Few Ingredients Notes Before You Start
- How to Make Homemade Set Yogurt Without a Yogurt Maker
- Where I Set Yoghurt in a UK Kitchen
- How Long Does It Take to Set?
- How to Know When DAHI Has Set
- How I Use Homemade Yoghurt
- Reusing Homemade Yoghurt as Starter
- Storage
- FAQs & Troubleshooting
- 📖 Recipe
What Makes This Method Work
- Homemade yoghurt needs two things. Warm milk and live cultures.
- The live yoghurt starter contains the bacteria needed to turn milk into yoghurt. The warm setting environment gives those cultures time to work.
- I also simmer the milk for a little longer after it comes to a boil. This reduces some of the moisture and helps the yoghurt set better. If you only bring the milk to a boil, cool it and add the starter, it will still work, but the yoghurt will usually have a softer set.
- I use the finger test, but I have also tested with a thermometer. Around 45–50°C is ideal before adding the starter.
- I tested the chilli stalk method and found it set in the same time and thickness as my usual live yoghurt starter method.
A Few Ingredients Notes Before You Start
Full-fat milk
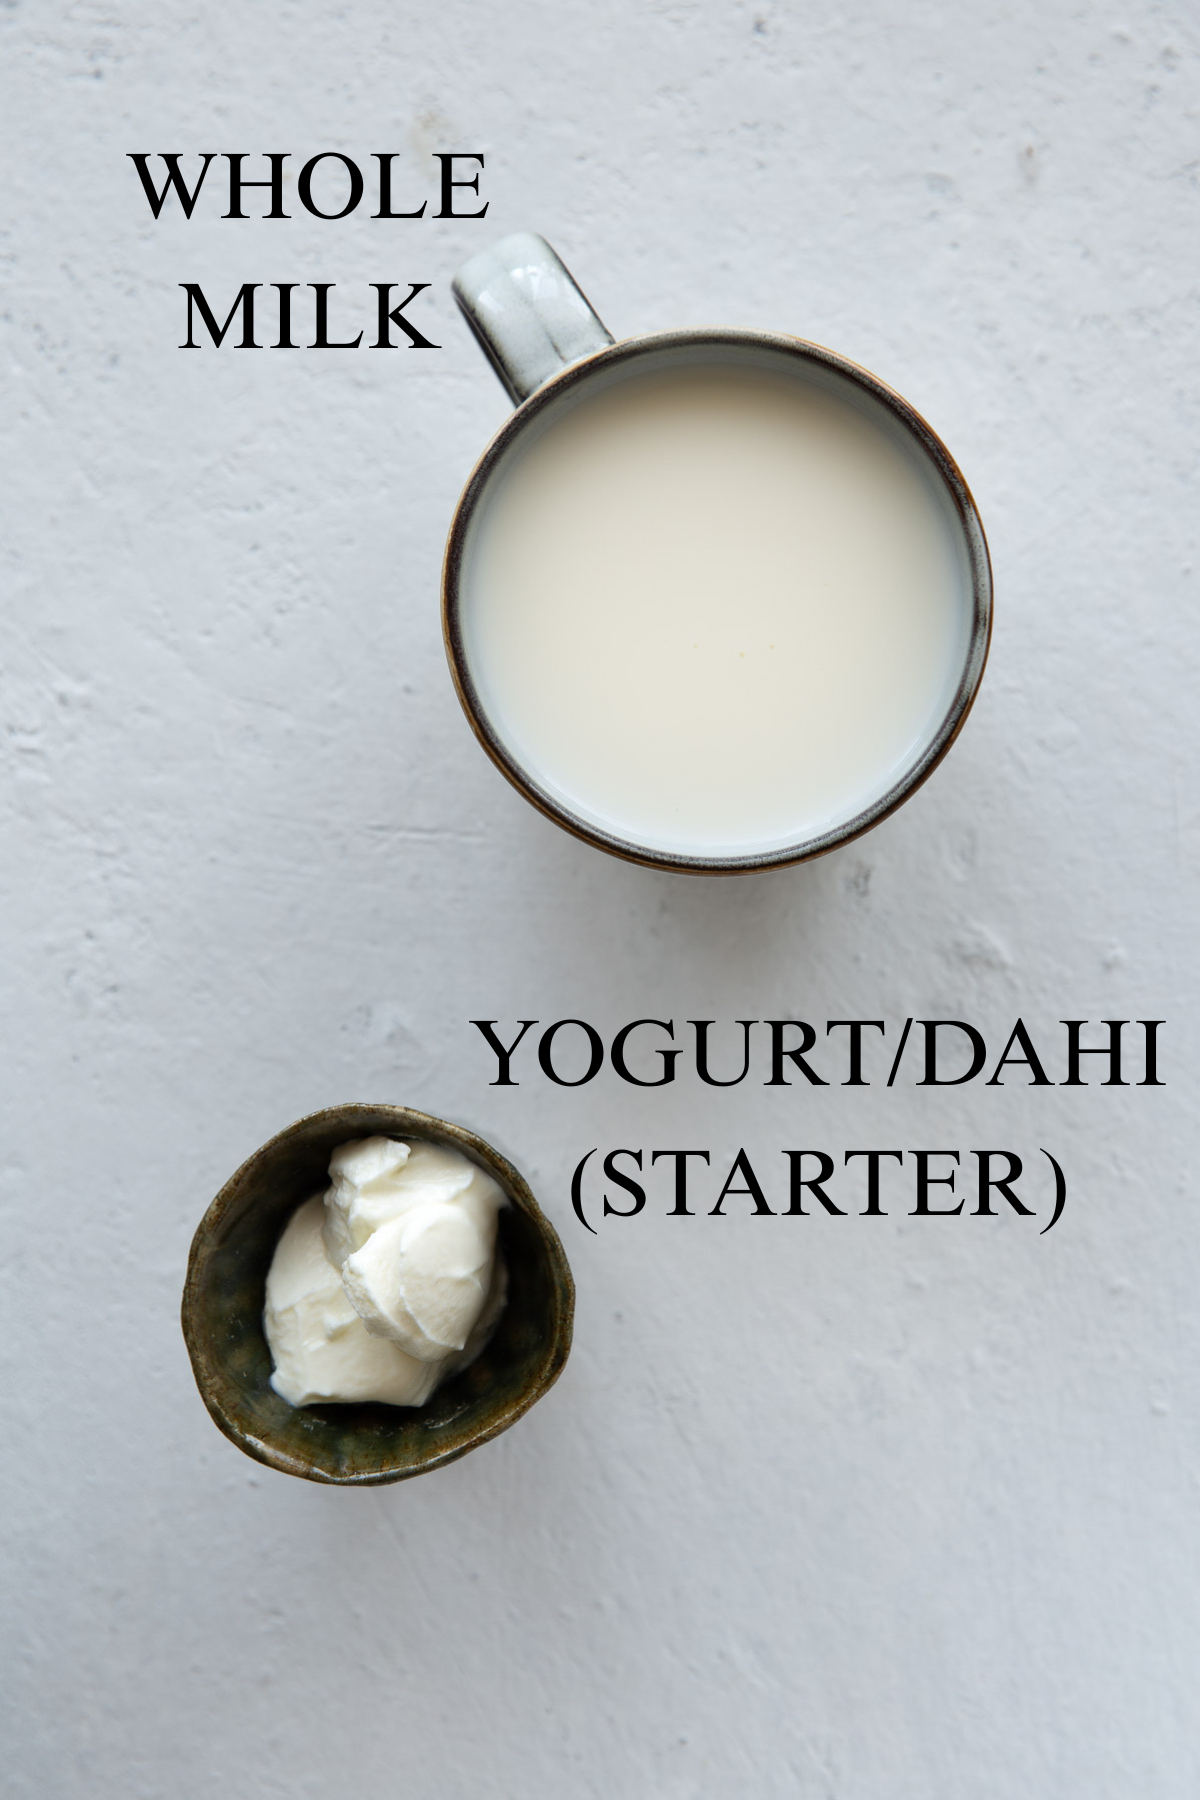
I recommend full-fat milk. I use fresh whole milk from a British supermarket. It sets better than semi-skimmed and gives a creamier yoghurt.
I have tested semi-skimmed milk, but the set was weaker, so I do not recommend it for this method.
Plain live yoghurt starter
Use plain natural yoghurt with live cultures. In the UK, I usually look for plain natural yoghurt from brands like Onken, Yeo Valley Organic or Lancashire Farm.
The brand matters less than the label. Check the back of the pot and look for words like:
- live cultures
- bio-live cultures
- live and active cultures
- active cultures
- contains live bacteria
You may also see bacteria names such as:
- Streptococcus thermophilus
- Lactobacillus bulgaricus
- Lactobacillus acidophilus
- Bifidobacterium
Avoid flavoured yoghurt, sweetened yoghurt or anything that does not mention live cultures.
How to Make Homemade Set Yogurt Without a Yogurt Maker
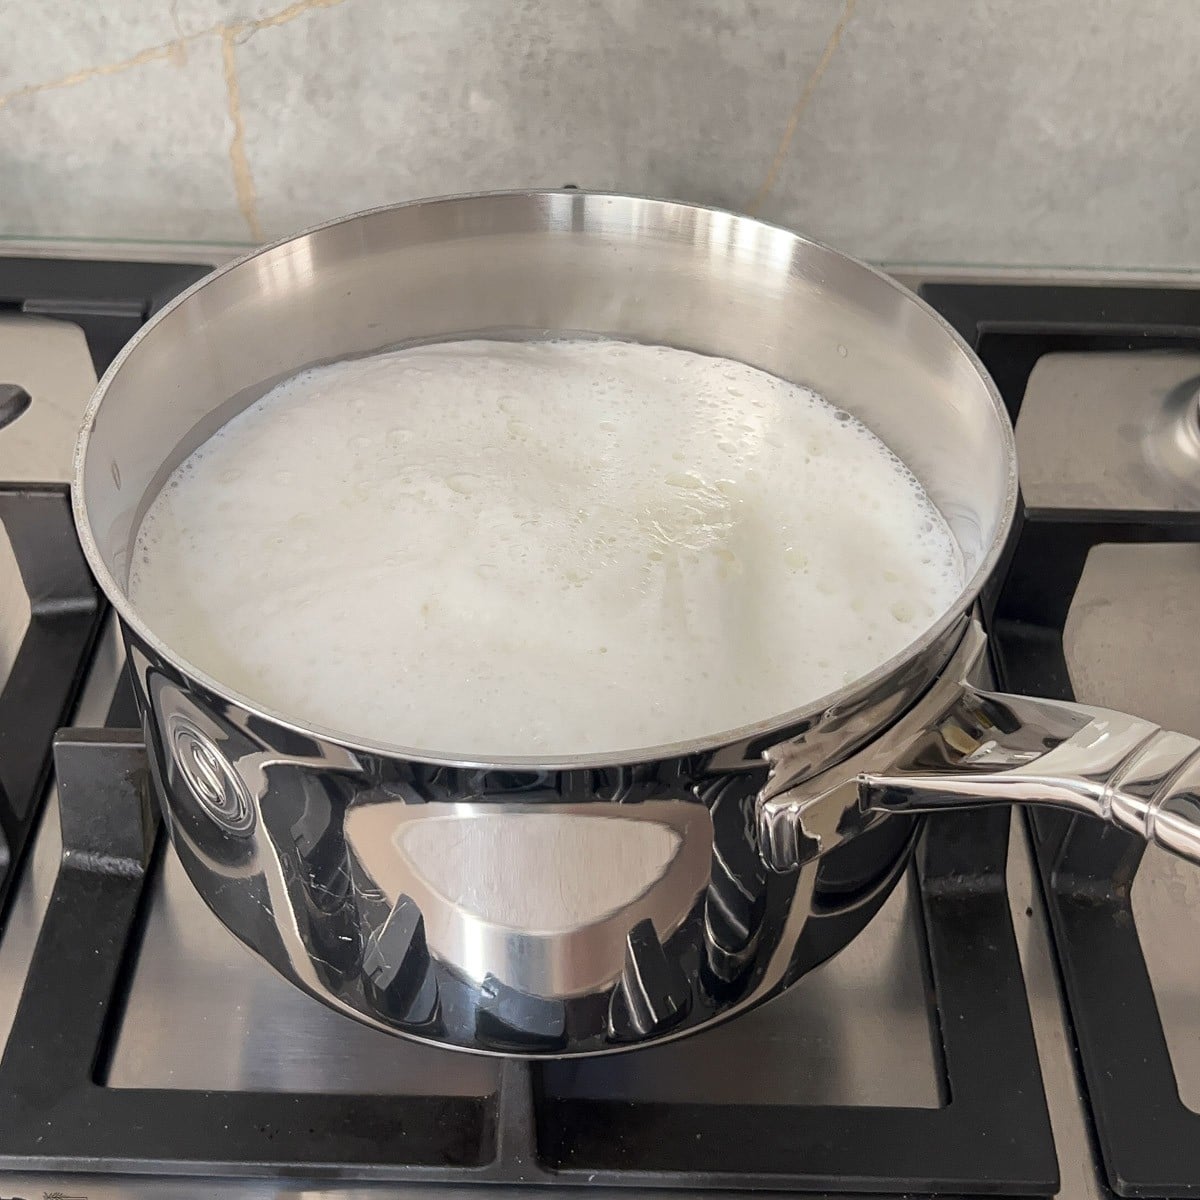
- Step 1: Bring full fat milk to a boil and then reduce to a simmer for 5-6 minutes.
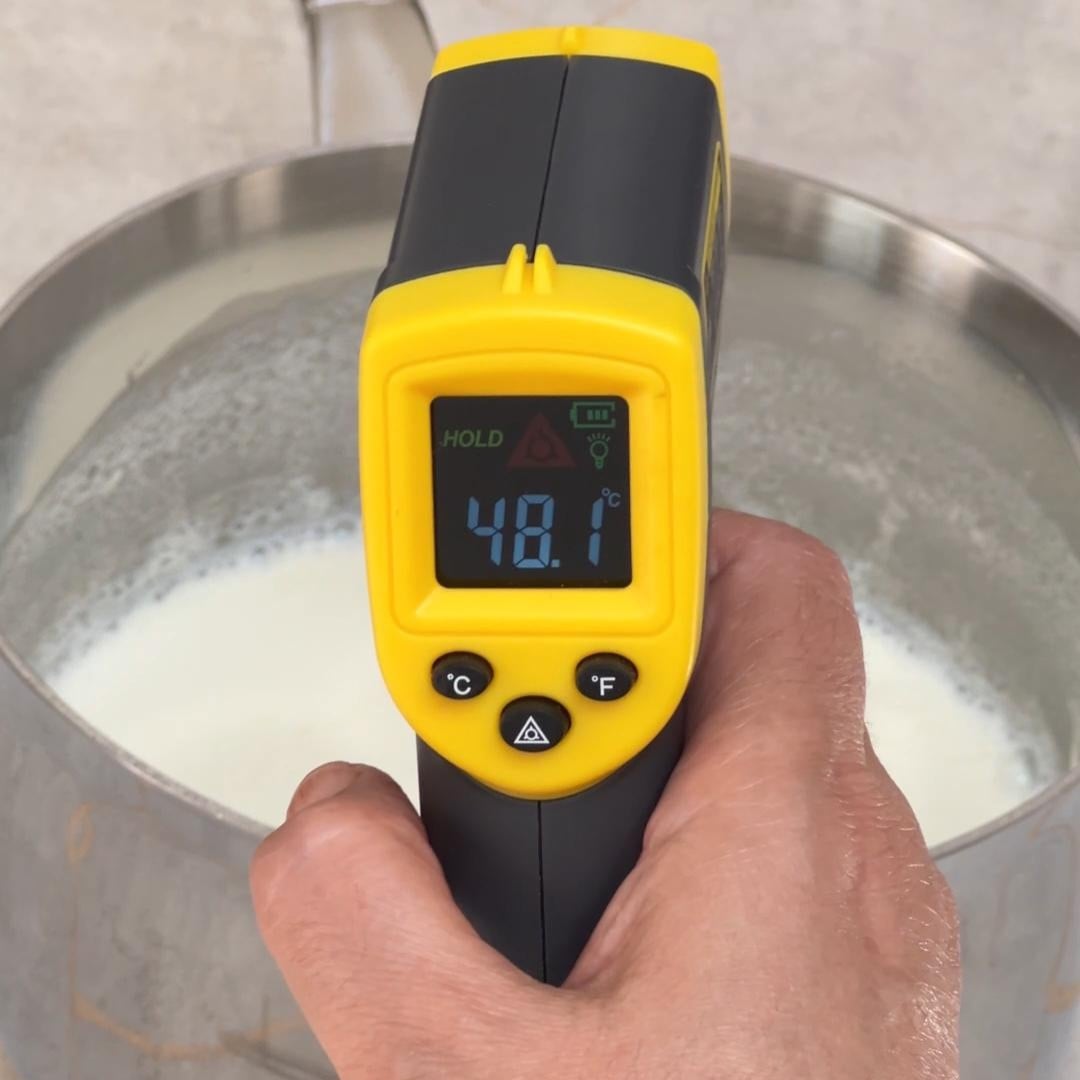
- Step 2: Turn off the heat and let the milk cool until cool to touch or between 45-48C on a thermometer.
1.Add the full-fat milk to a heavy-based pan. Bring it to a boil, stirring often so it does not catch at the bottom. Once the milk comes to a boil, reduce the heat and simmer for 5-6 minutes. This helps reduce some of the moisture and gives a better set.
2. The milk should be warm, not hot, before you add the yoghurt starter. I usually use the finger test. The milk should feel comfortably warm, like a warm bath. If you use a thermometer, aim for around 45–48°C. If the milk is too hot, it can damage the live cultures and the yoghurt may not set properly.
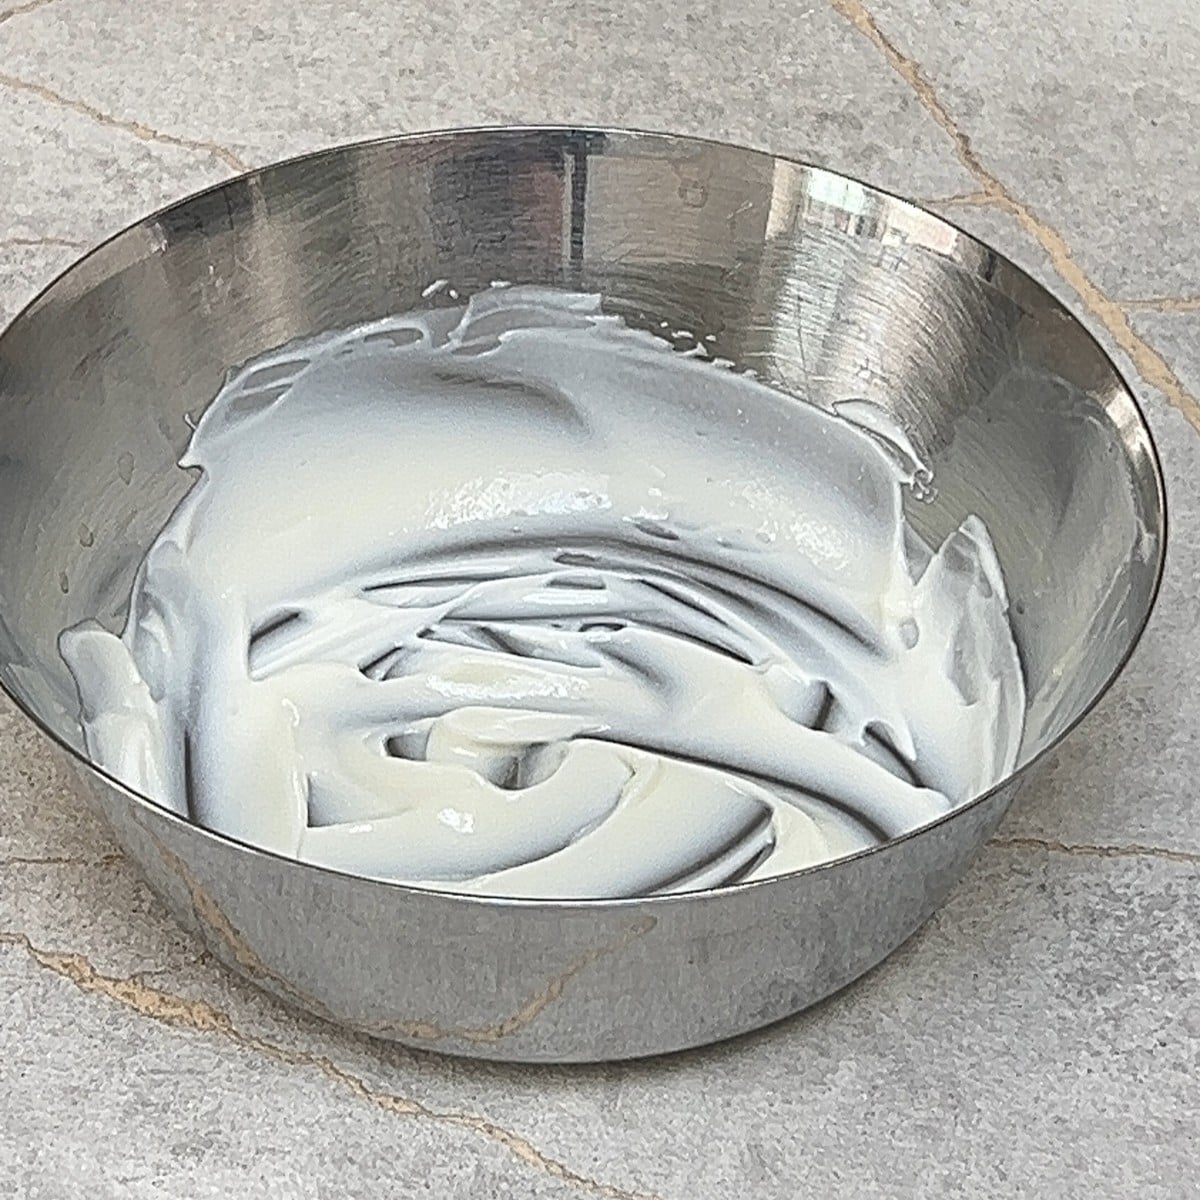
- Step 3: Whisk yogurt until smooth.
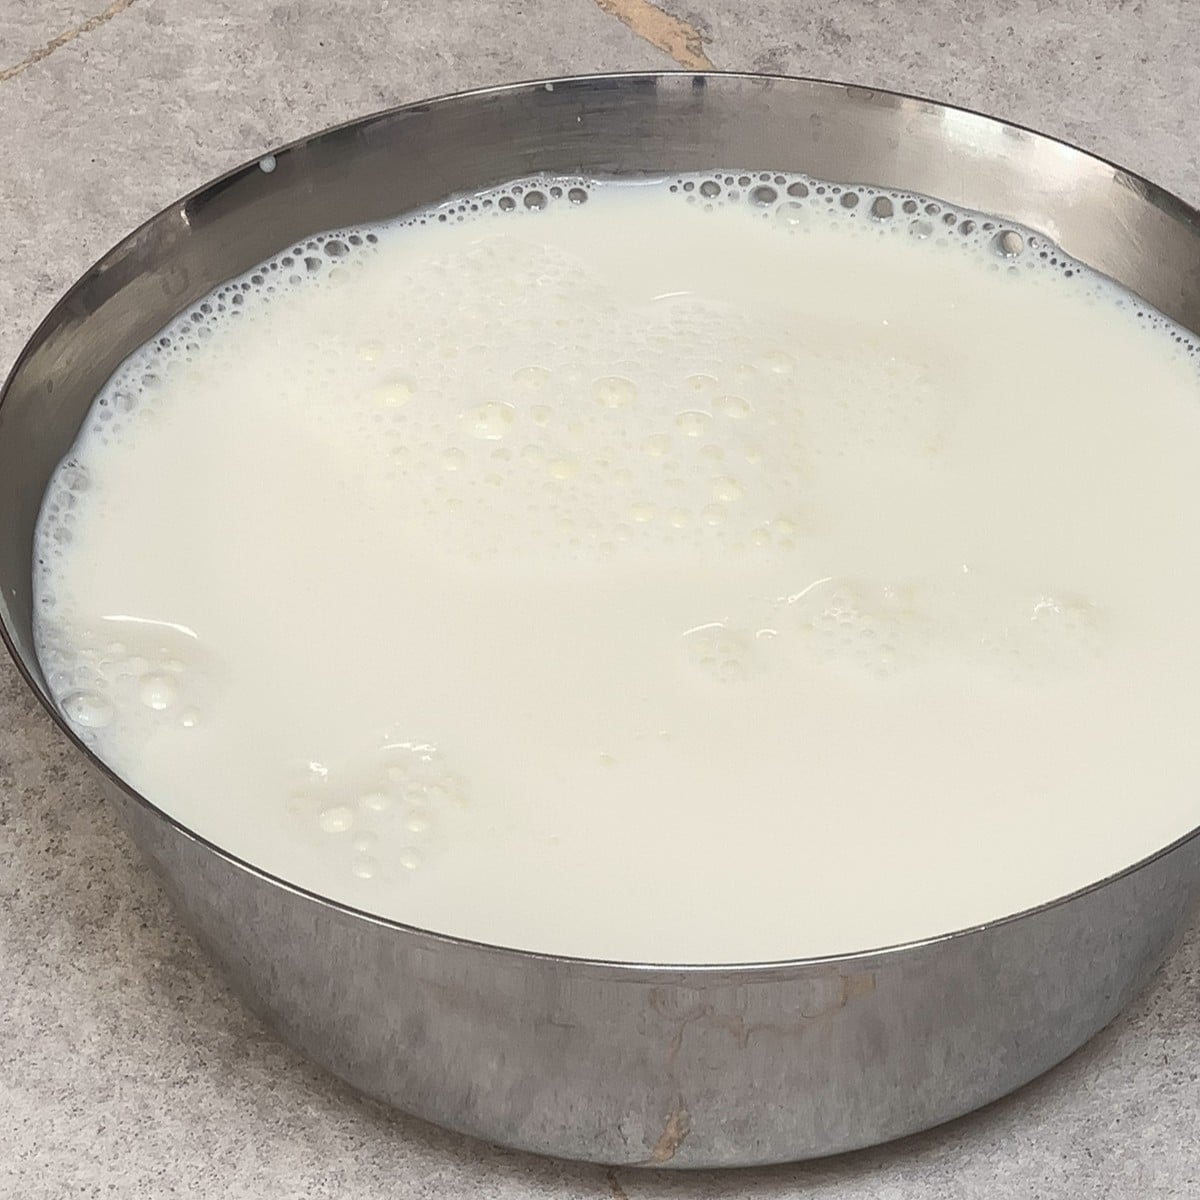
- Step 4: Pour over the warm milk and stir until just combined.
3+4. Beat the plain live yoghurt starter (it should be at room temperature) until smooth. Add it to the warm milk. Stir gently, just until combined. Do not vigorously whisk it.
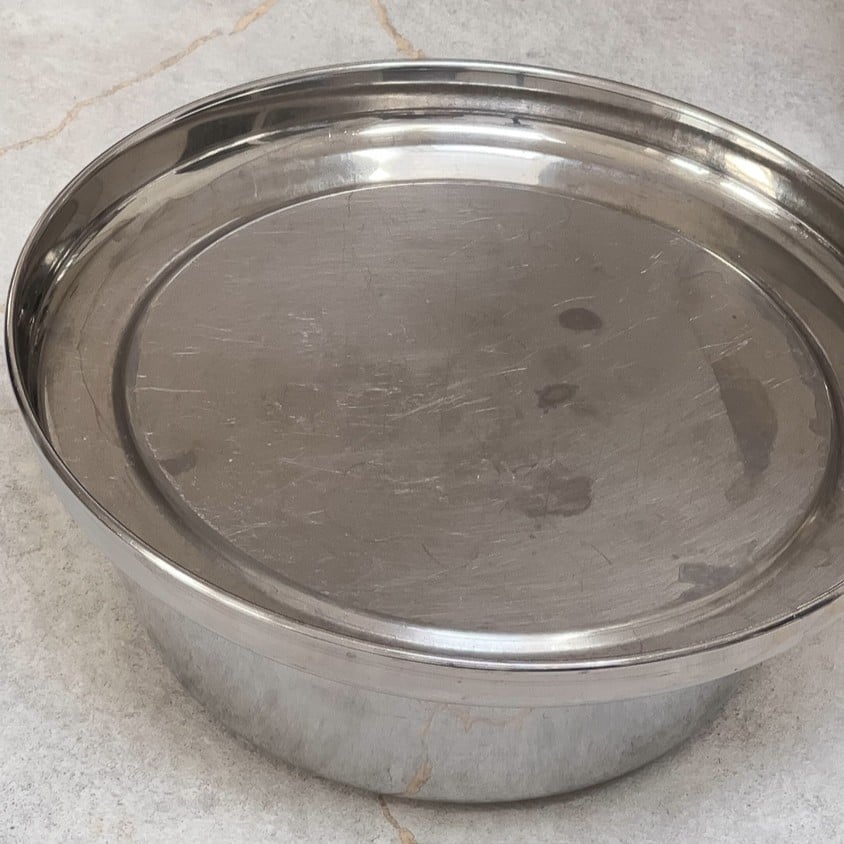
- Step 5: Cover the pan or container with a lid. Keep it somewhere warm and undisturbed until set.
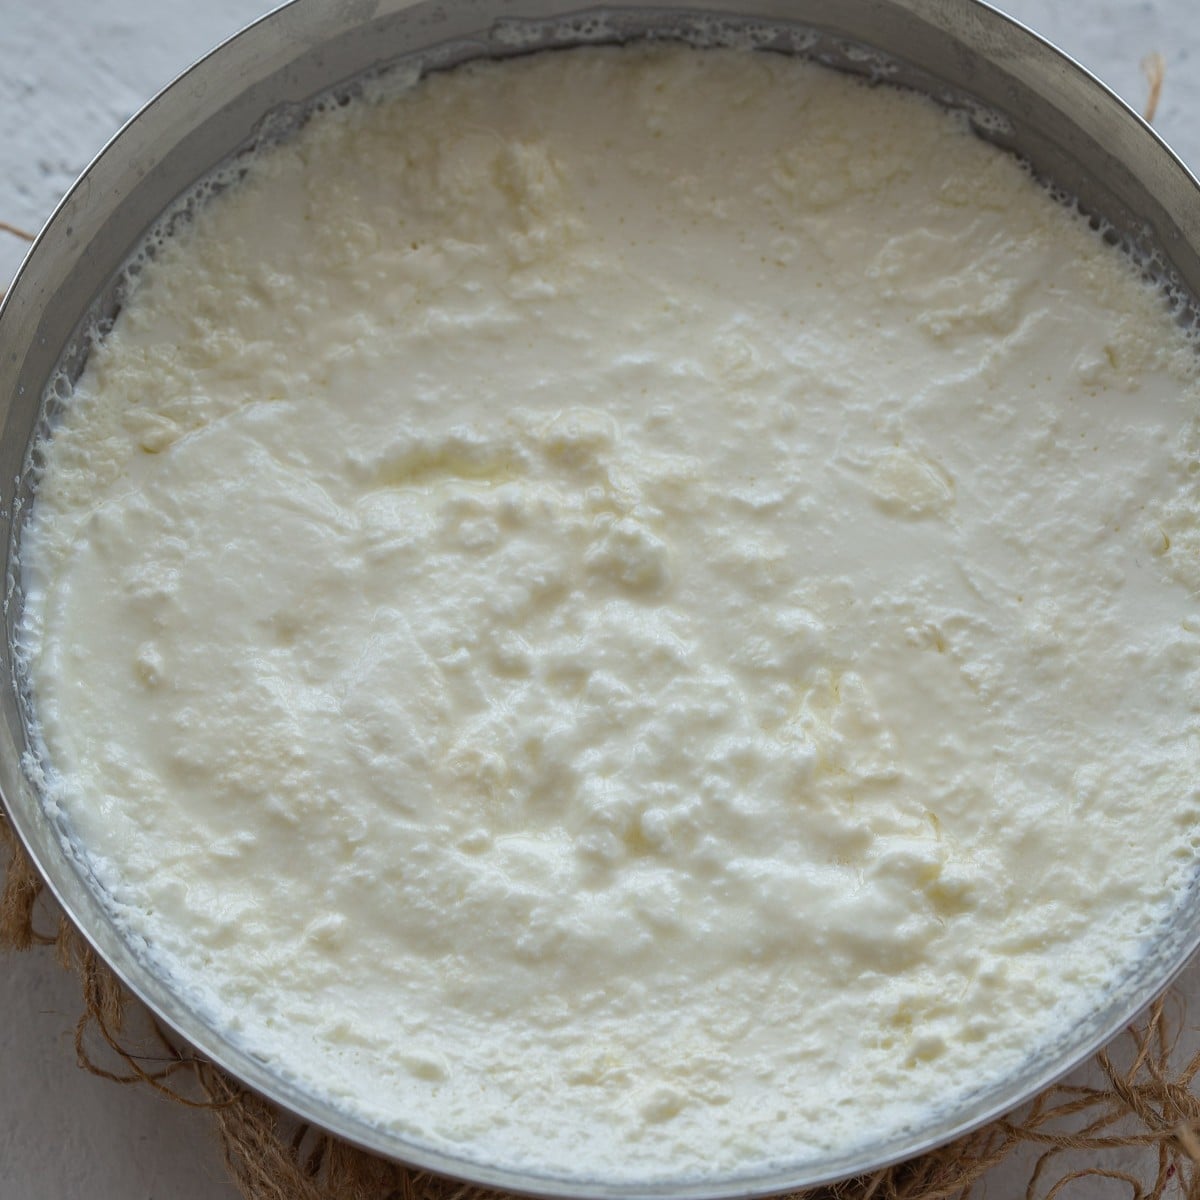
- Step 6: Allow to set until the yogurt holds together. Place in the fridge to chill and set further.
Where I Set Yoghurt in a UK Kitchen
I usually set yoghurt during the day.
If I am cooking, I keep the covered pan near the hob so it benefits from the gentle warmth in the kitchen.
After that, I place it in a switched-off warm oven.
You can also use an insulated container. This helps trap heat and keeps the yoghurt warmer for longer, especially on a cool UK day.
Do not keep moving or shaking the yoghurt while it sets. Just leave it alone and check later.
How Long Does It Take to Set?
The setting time depends on the weather, your kitchen temperature, the amount of milk used and how active your starter is.
In a UK heatwave, my yoghurt has set in 3–4 hours.
On a cooler UK day, it usually takes around 7–8 hours using the hob and switched-off oven method.
If using an insulated container, the yoghurt may hold warmth better and set more reliably.
I prefer setting yoghurt during the day so I can check it.
How to Know When DAHI Has Set
The yoghurt should look well set and creamy. It should hold together when you tilt the container gently and should spoon cleanly from the pot.
It will not be as firm as extra-thick Greek yoghurt, but it should not look runny. A little whey on top is normal.
Once set, transfer it to the fridge. Chilling helps the yoghurt firm up a little more.
How I Use Homemade Yoghurt
I mostly eat homemade dahi with everyday Indian meals. It's mild and creamy taste is perfect for masala chaas.
It usually is part of our everyday thali with Indian rice dishes, simple Indian vegetable curries and spicy food.
I also use it directly in curries like dahi aloo or Kashmiri dum aloo.
It's a great mild and creamy addition to Indian yogurt mint sauce, a sweet and refreshing pineapple raita. and butternut squash raita.
For Gujarati kadhi, I personally prefer a slightly sourer yoghurt, but that depends on your taste. See the FAQs below on how to achieve a tangier tasting yogurt.
Add it to desserts or make creamy rose lassi with rose syrup.
Reusing Homemade Yoghurt as Starter
Once you have made a batch, save a small amount to use as the starter for your next batch.
I usually reuse homemade yoghurt as starter for around 5–7 batches.
After that, I prefer to buy a fresh pot of plain live yoghurt.
I also like using the starter within a day or two, while it is still fresh and active.
Storage
Once the yoghurt has set, store it in the fridge. I prefer using it within 2 days.
Keep it covered and chilled.
FAQs & Troubleshooting
Simmering the milk reduces some of the moisture.
This helps the yoghurt set better and gives a creamier texture.
The milk should be warm, not hot, before adding the starter.
I use the finger test, but if using a thermometer, aim for around 45–48°C.
If the milk is too hot, it can damage the live cultures and the yoghurt may not set properly.
This usually happens if the starter did not contain live cultures, the milk was too hot when the starter was added, or the yoghurt was not kept warm enough.
If it is still warm and smells fresh, you can leave it a little longer.
If it still has not set properly after several more hours, I prefer to start again with fresh milk and a fresh live yoghurt starter.
Use full-fat milk and simmer it for a little longer next time.
Also make sure the yoghurt sets somewhere warm and undisturbed.
If your kitchen is cool, use a switched-off warm oven or an insulated container.
I have not had this happen with this method.
If it does happen, it is usually linked to the starter or contamination. Start again with fresh milk, a fresh plain live yoghurt starter and clean utensils.
Do not reuse a sticky or stringy batch as your next starter.
This yoghurt is naturally mild and creamy.
If you prefer a tangier yoghurt, you can let it set a little longer, as long as it still smells fresh and has been kept safely warm.
Yes, you can easily strain homemade yogurt using a clean cheesecloth or paper towel and a fine mesh strainer to drain the whey. I use strained yogurt in my dahi sandwich.
As always if you make this recipe, be sure to leave me a comment, rate this recipe and tag me on Instagram @jcookingodyssey or #jcookingodyssey. I love seeing all your photos of my recipe recreations!
Don’t forget to follow me on social media using the buttons below – I can't wait to see you all there!
📖 Recipe

Homemade Yogurt (Dahi) without Yogurt Maker
Instructions
- Pour milk into a heavy-bottomed saucepan and bring it to a boil over medium heat.
- Reduce the heat and simmer gently for another 5–6 minutes, stirring occasionally to prevent the milk from catching on the bottom.
- Remove the pan from the heat and let the milk cool until it is warm but not hot. You should be able to comfortably touch the outside of the pan or dip a clean finger into the milk for a few seconds (about 45–48°C / 113–118°F).
- Add 1 tablespoon of yogurt (curd) starter to the pot or bowl you'll use to set the yogurt. Stir it well with a spoon until smooth, then gently spread it across the bottom of the bowl. This helps the starter mix evenly with the warm milk.
- Add remaining yogurt (starter culture) to the warm milk. Stir just once to evenly distribute the starter—avoid overmixing.
- Pour the milk into the bowl or pot, cover the pan or pot with a lid.
- Place it in a warm, draft-free spot for at least 3-4 hours, or until the yogurt has set. In colder weather, it may take up to 12 hours.
- Once set, refrigerate for at least 2 hours before serving.
Video
Notes
- Use plain yogurt with live cultures as your starter.
- I keep the covered pan near the hob so it benefits from the gentle warmth in the kitchen. After that, I place it in a switched-off warm oven.
- You can also use an insulated container. This helps trap heat and keeps the yoghurt warmer for longer, especially on a cool UK day.
- Avoid moving or disturbing the yogurt while it is setting.
- Chilling helps the yogurt firm up and develop its creamy texture.
- Reserve 2–3 tablespoons of your homemade yogurt to use as the starter for your next batch.
Nutrition
PLEASE NOTE: Nutritional values are estimated by a computer and may vary based on ingredients and portion sizes. For personalised dietary advice, please consult a qualified healthcare professional.
Share on Facebook Pin This Recipe


Hayley Dhanecha says
Homemade Indian dahi is one of those kitchen staples I make again and again because it tastes so much better than shop-bought. Thick, creamy and beautifully tangy, it's surprisingly easy to make with just milk and a little starter culture. I love having a fresh batch in the fridge to enjoy with curries, parathas or simply on its own.
Nikhil says
What brand of beaten yogurt would you prefer? I live in UK and tried a few local brands, all of which resulted in sticky yogurt which I do not like!
jcookingodyssey says
Hi Nikhil
ONKEN set yogurt !