
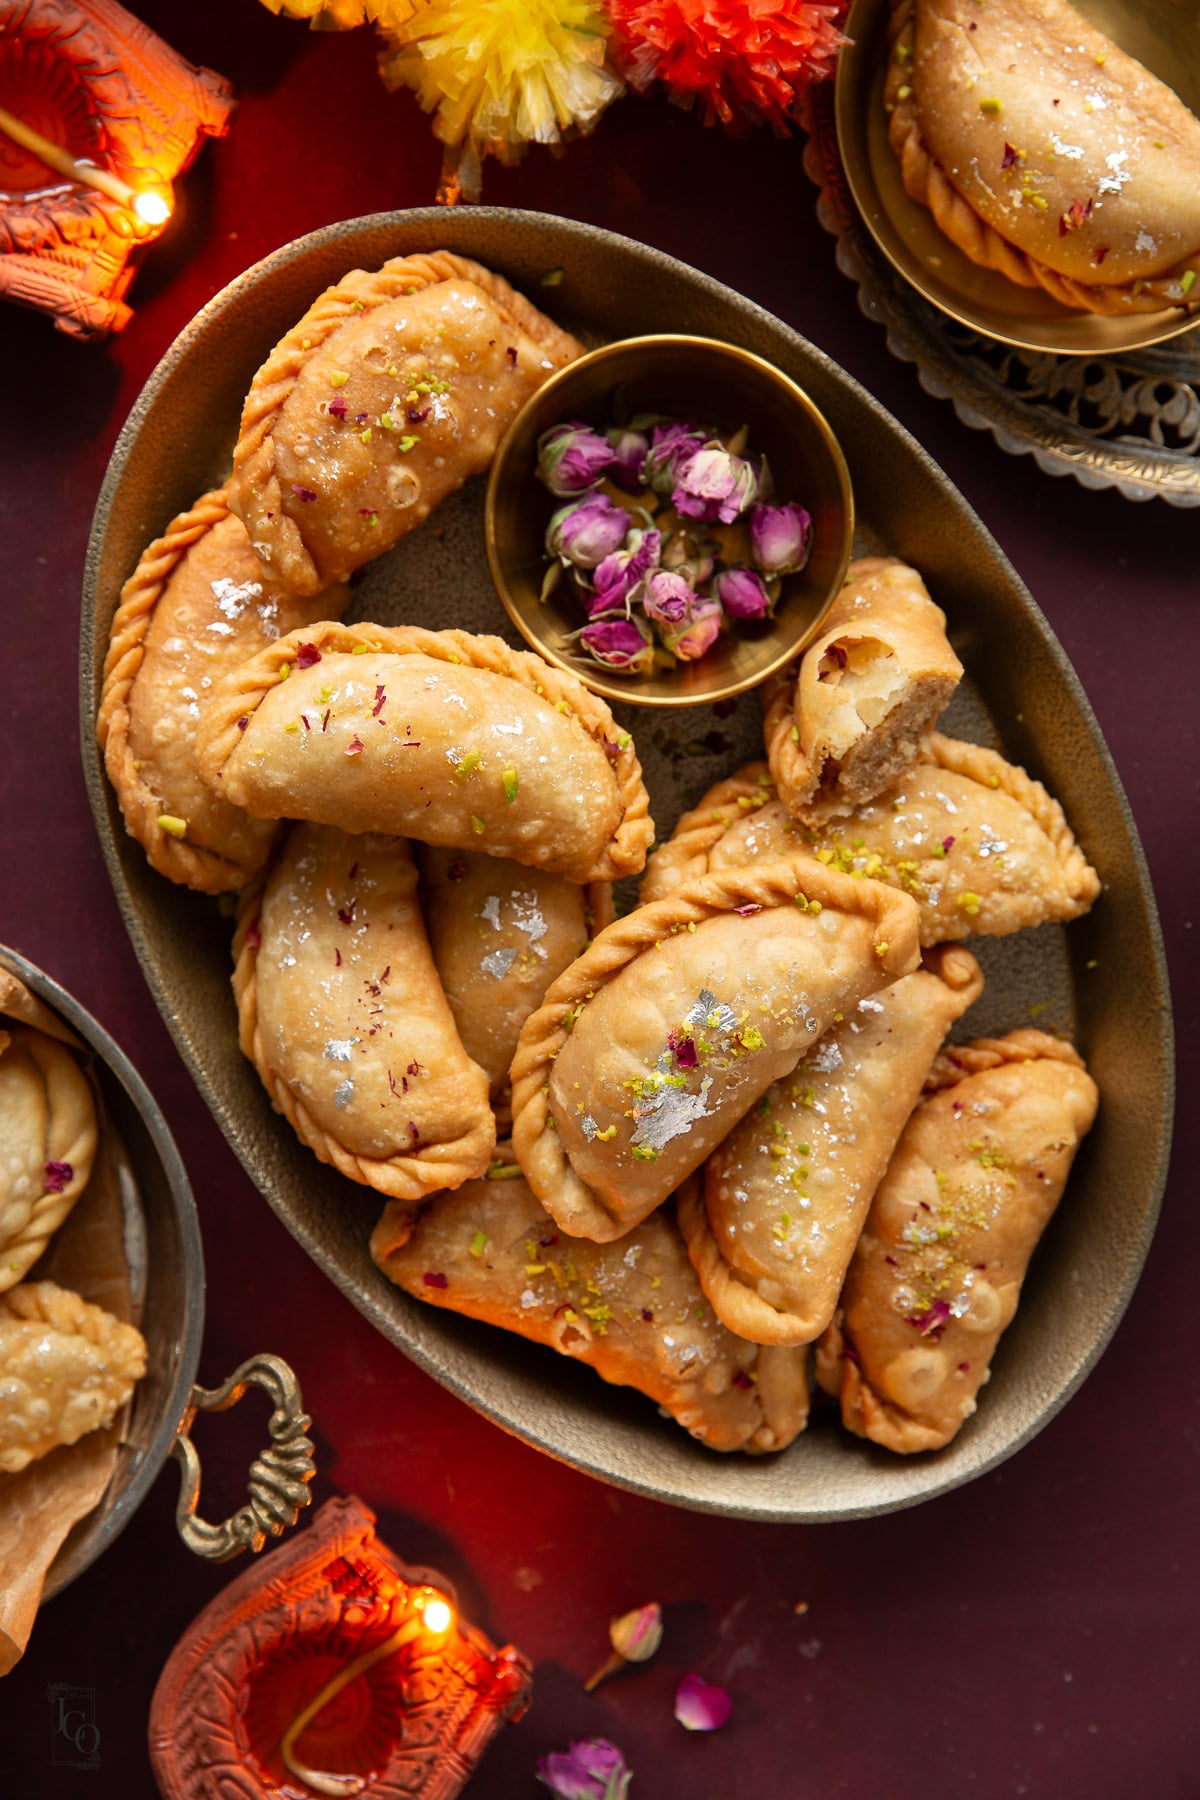
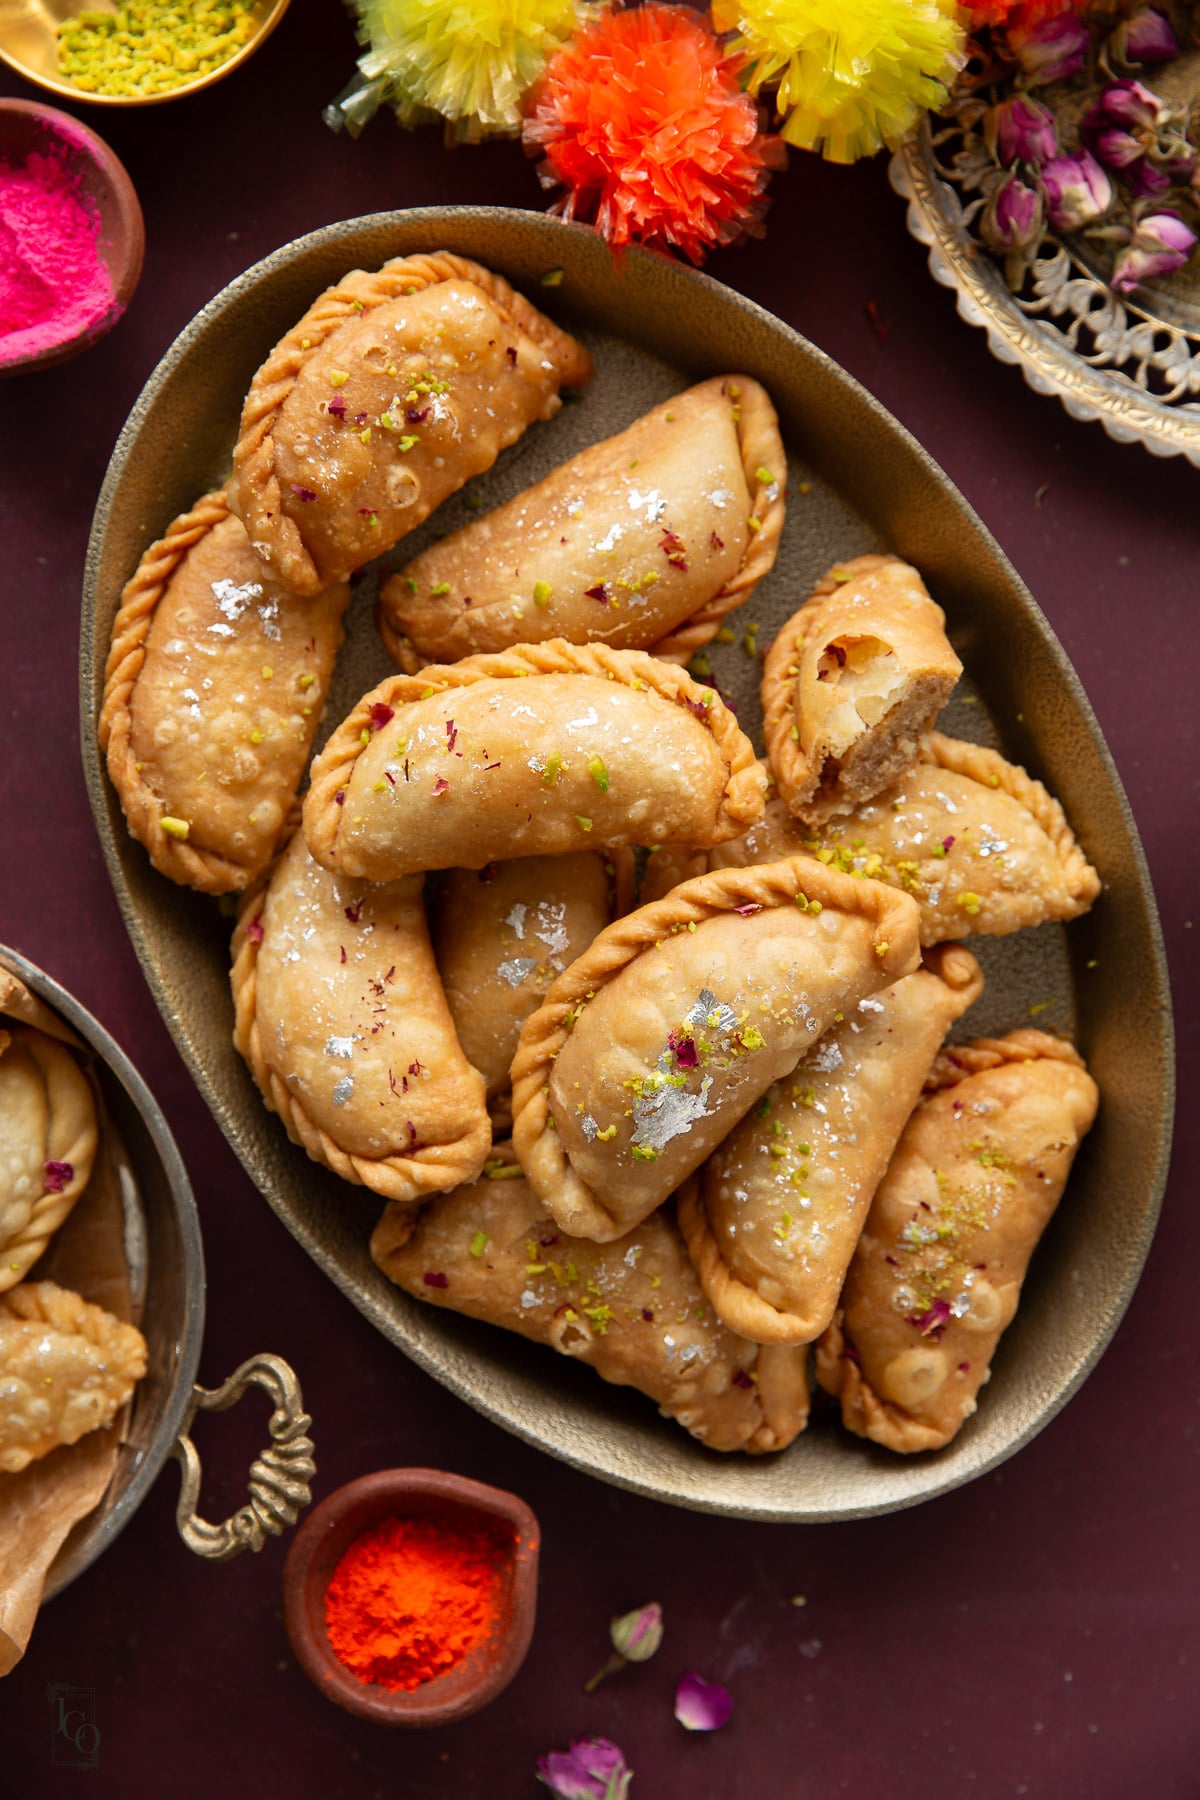
Sooji Gujiya, or sooji ghughra as we call them in Gujarati, are delicious little pastries filled with sweet, fragrant semolina, coconut and nuts. The pastry is beautifully crisp and flaky, while the filling is soft and delicately crumbly.
Jump to:
In our family, we make both sooji and mawa gujiya for Diwali and Holi. This recipe has been passed down from my grandma to my Mum, and it's one we've continued making over the years. The semolina version is a more economical and pantry friendly alternative to mawa gujiya, but every bit as enjoyable!
We traditionally deep-fry our ghughra and finish them with hand-crimped edges, known as kangri. It's a little extra work, but I love the beautiful finish it gives them. If you're short on time, a pastry wheel works well too.
The Sooji GHughra Filling
The filling is what makes sooji gujiya different from the traditional mawa version. It's sweet, nutty and fragrant, with a delicate, slightly crumbly texture from the roasted semolina, coconut and nuts.
I like the filling to be slightly moist from the ghee, so it holds together loosely when pressed, but it shouldn't be sticky or dense like halwa. Equally, you don't want it so dry that it falls apart as soon as you bite into the gujiya.
You’ll find the full ingredients list with measurements in the recipe card below, but a few things are worth knowing first.
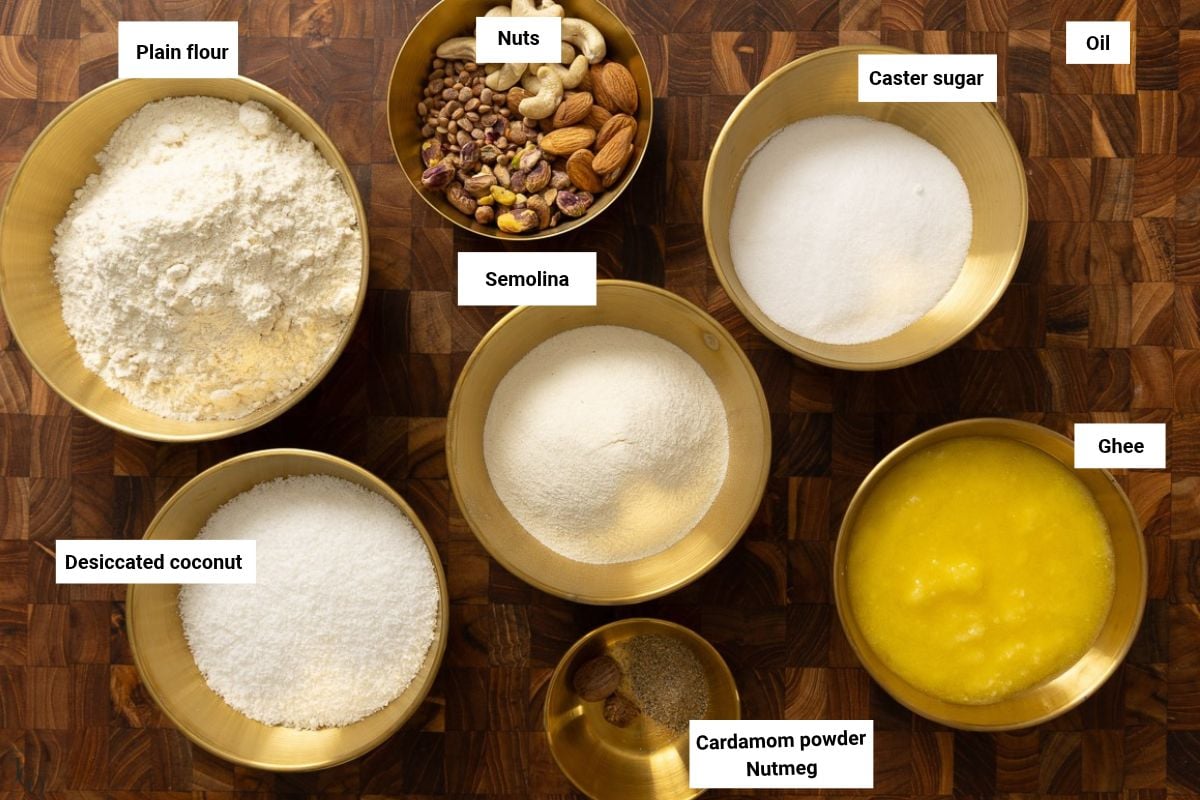
- Semolina (sooji/rava) – This is the main ingredient. You can use fine or coarse semolina, although the texture will vary slightly. I prefer roasting it gently to bring out its nutty flavour without browning it too much.
- Coconut – I use desiccated coconut to add a little sweetness and texture to the filling.
- Nuts – I use a mixture of nuts (almonds, pistachios, cashews and charoli) for a little crunch and richness.
- Sugar - You'll specifically need caster sugar which has a fine grain. Granulated sugar will release moisture when added to the filling and we don't want that to happen as the ghooghra fry!
- Nutmeg and cardamom – These give the filling its fragrance.
Let's Shape Semolina Ghughra Together
For the full recipe, check out the recipe card below which includes the recipe video.
Once the pastry dough and semolina filling are ready, it's time to assemble the ghughra. We traditionally finish ours with hand-crimped edges, known as kangri, but a pastry wheel works well if you're making a large batch.
My nails were long here, so my Mum is handling the dough - after all, we don't want any accidental holes!!!
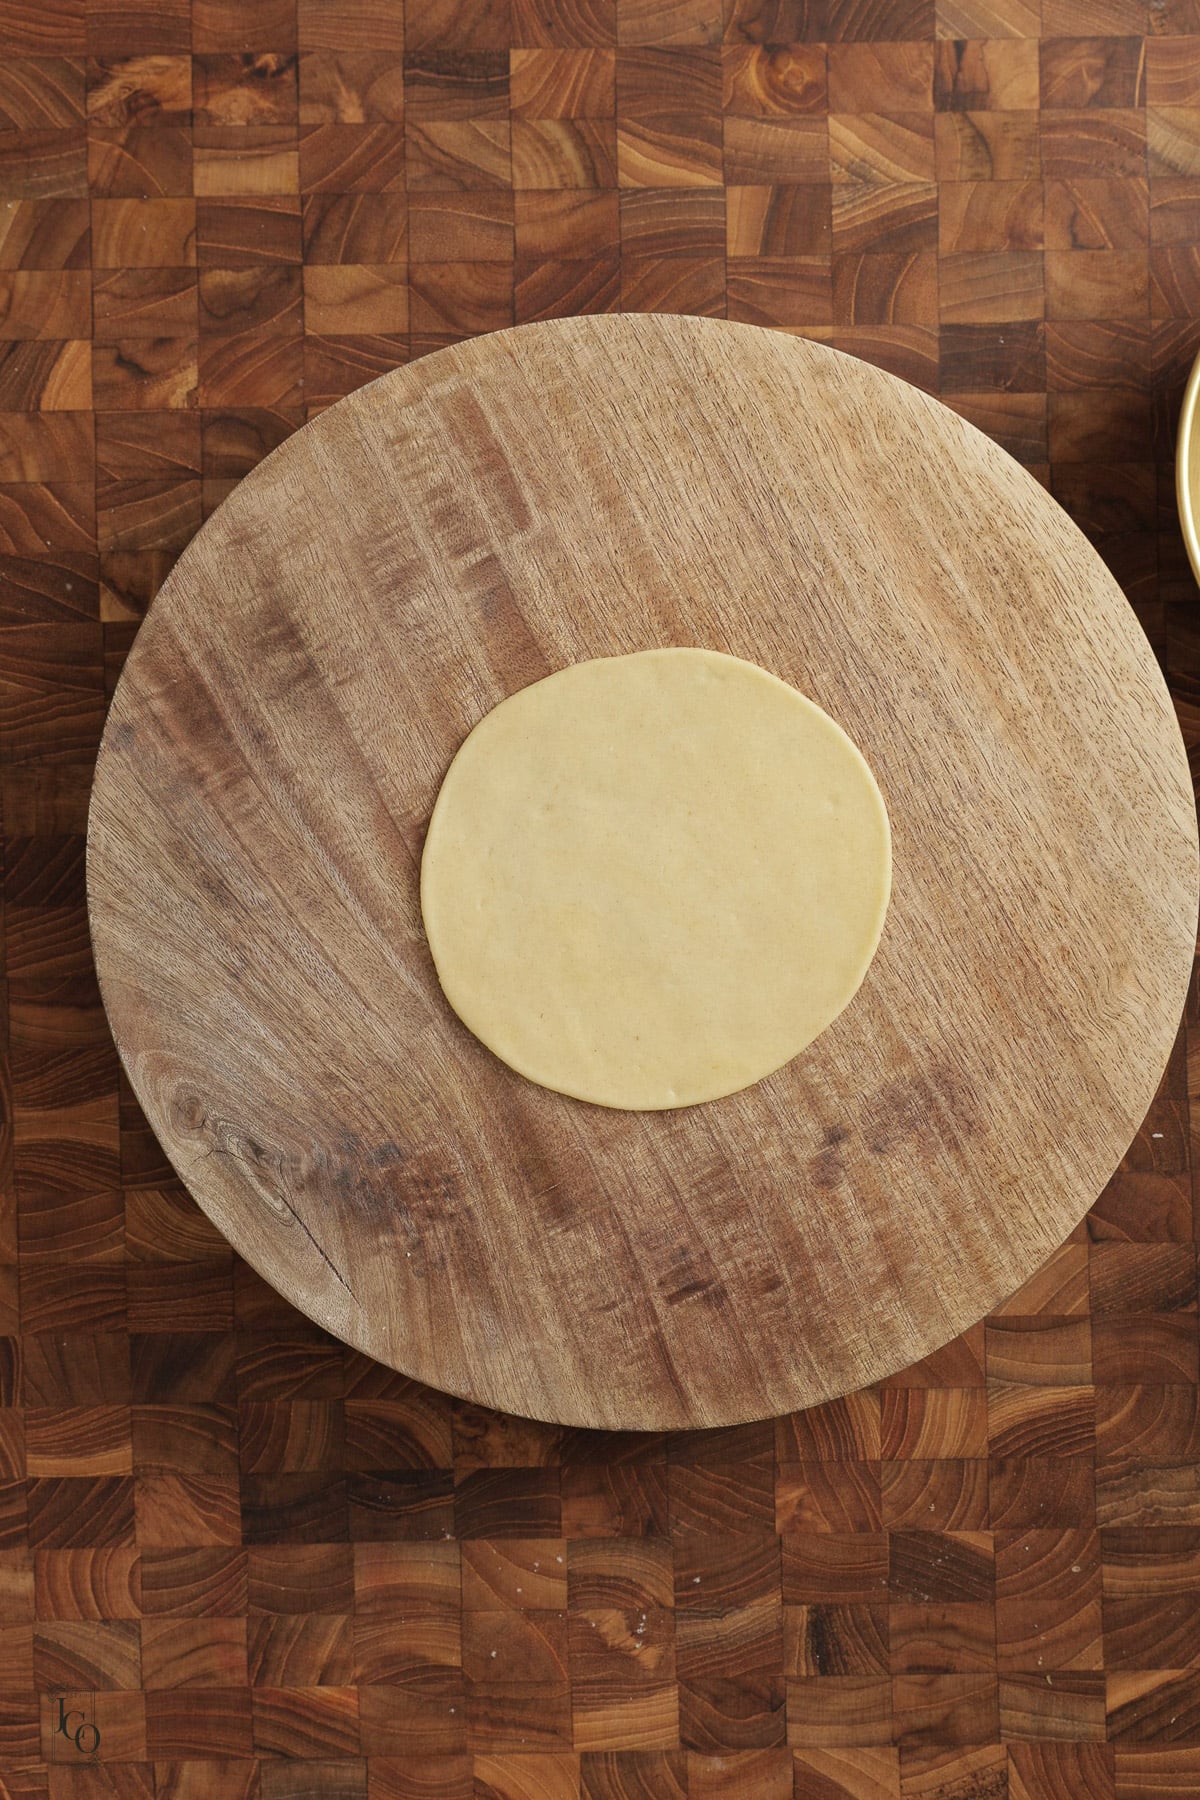
- Roll the pastry: Divide the dough into small portions and roll each into a thin, even circle, approximately 10-12cm across. Keep the remaining dough covered to prevent it from drying out.
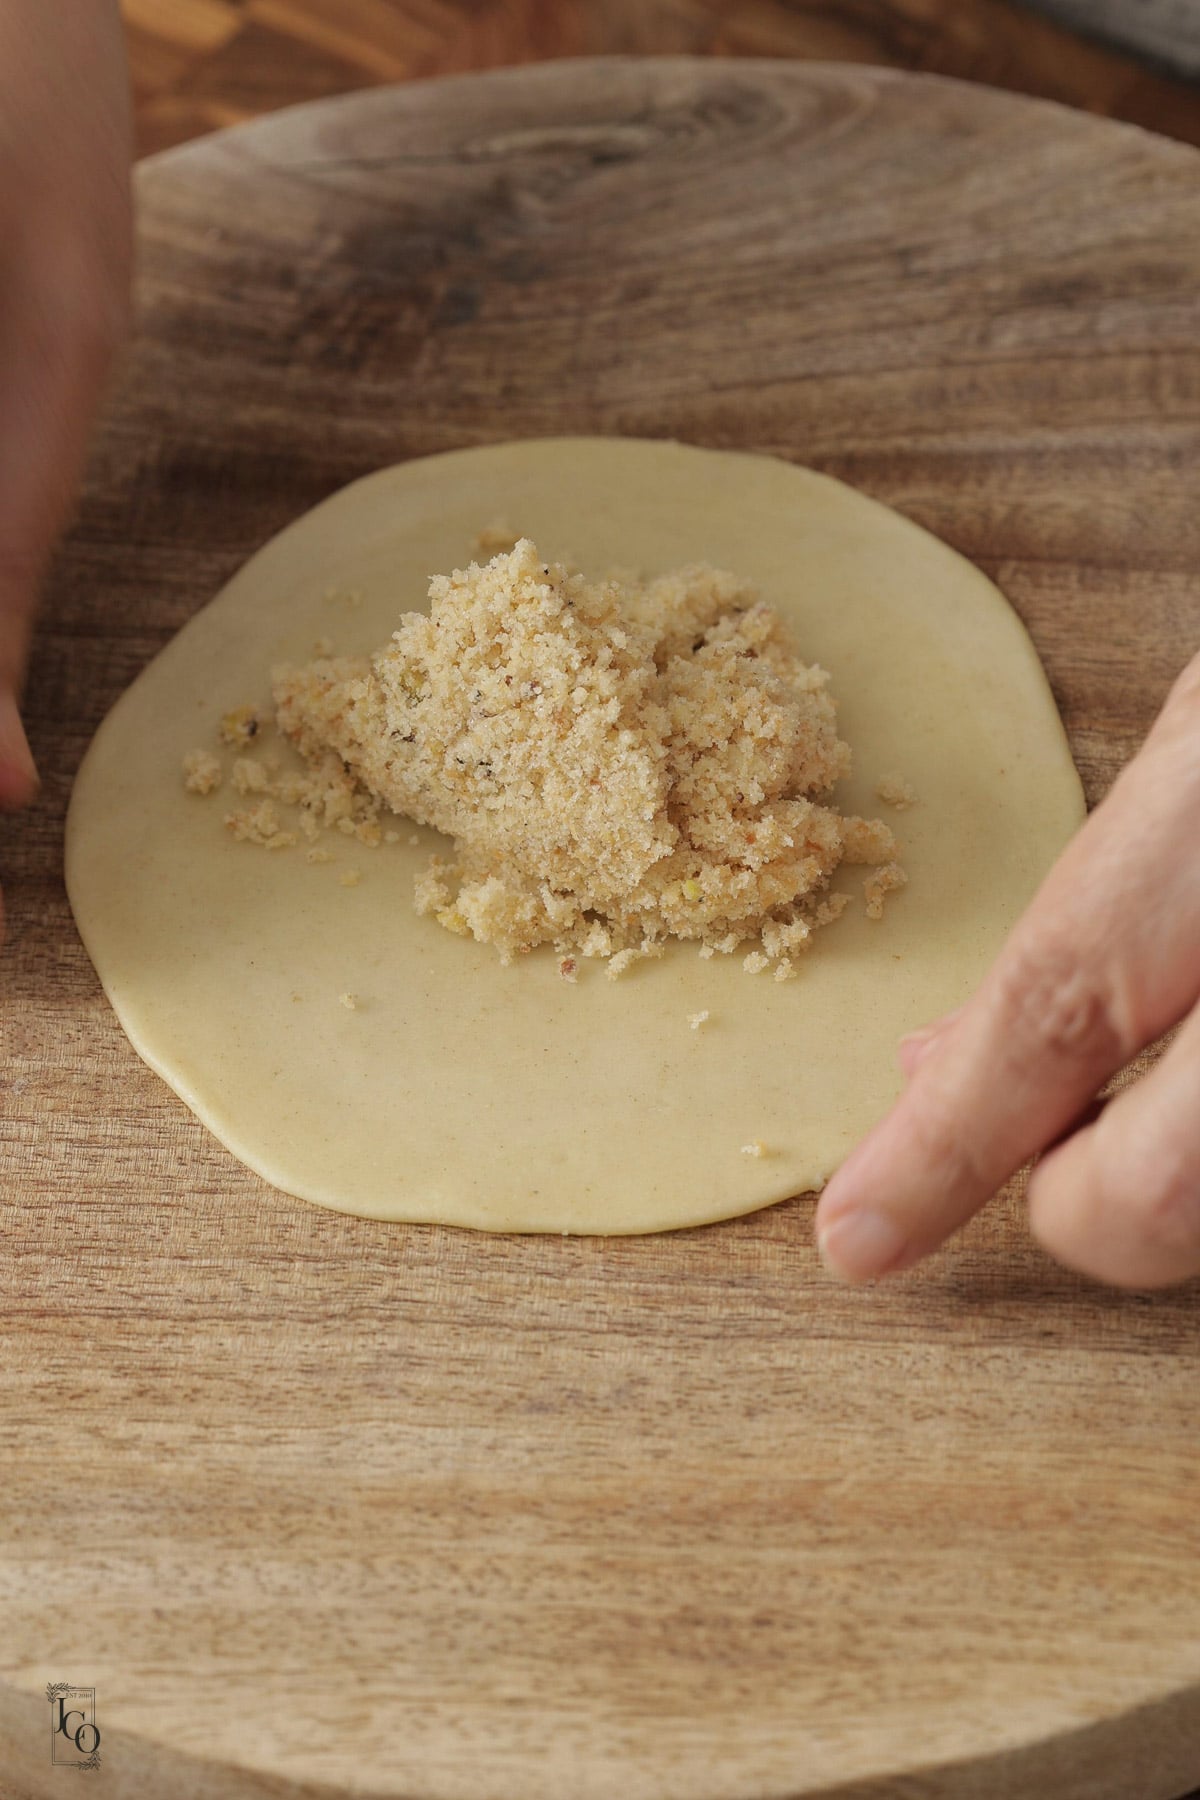
- Add the filling: Place a little cooled semolina filling in the centre of each pastry circle. Leave enough space around the edges to fold and seal the pastry without the filling spilling out.
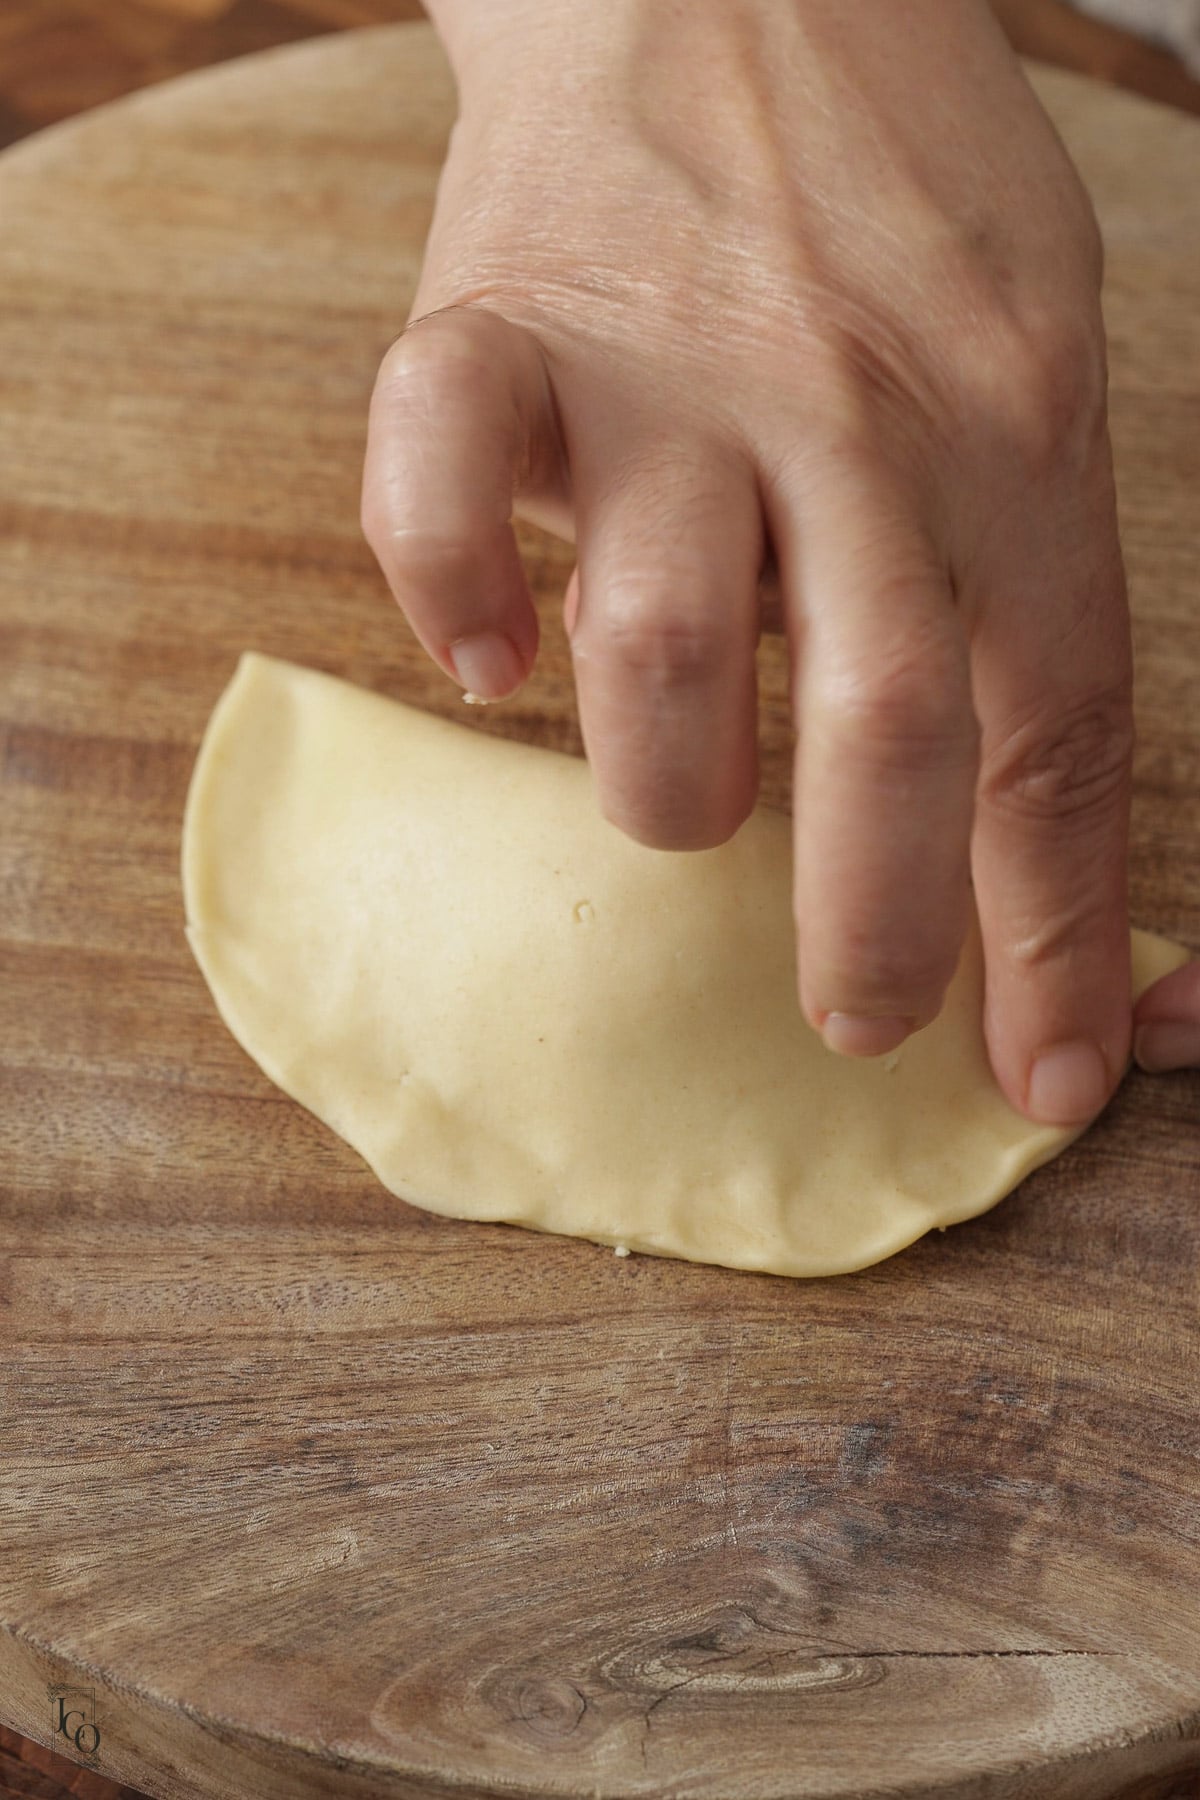
- Fold and seal: Fold the pastry into a half-moon shape and press the edges firmly together. Make sure there are no gaps where the filling could escape during frying.
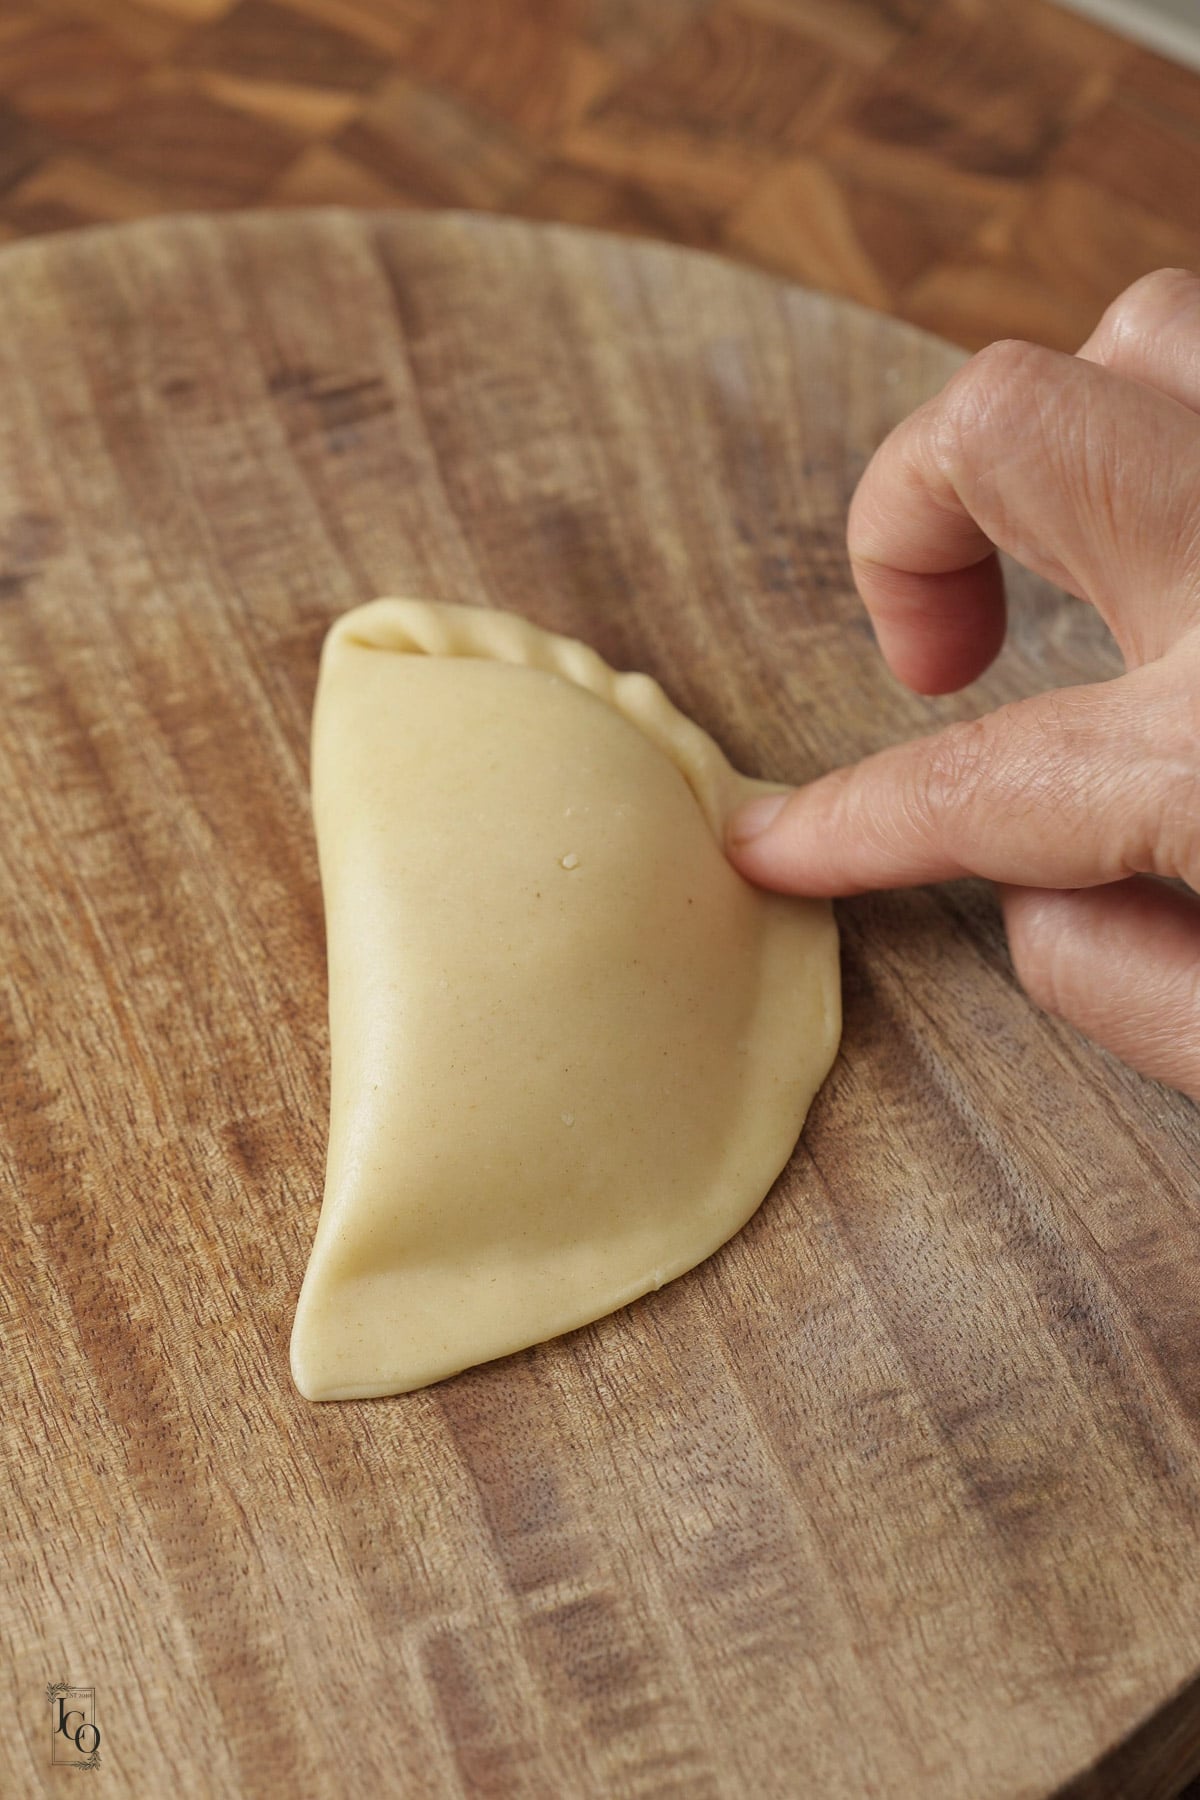
- Make the kangri edges: For the traditional finish, pinch and fold small sections of the sealed edge to create the decorative kangri pattern. Alternatively, trim and seal the edges with a pastry wheel. Keep the assembled ghughra covered with a clean kitchen towel while you prepare the remaining batch.
Technique
My Tips For Crisp, Flaky Ghughra
Don't reduce the ghee in the pastry.
The fat is important for creating the flaky, crisp texture. Reducing it can change how the pastry cooks and feels when you bite into it.
Let the filling cool before shaping.
Prepare the filling first so it has time to cool. You can even make it the day before if that makes your cooking day easier.
Seal the edges properly.
This is particularly important when deep-frying. Take your time pressing the pastry together before making the kangri pattern. We haven't had problems with our ghughra opening during frying when they've been sealed securely.
Don't overfill the pastry.
It's tempting to squeeze in a little more filling, but you need enough space to seal the edges properly. Too much filling can make shaping difficult.
Fry gently, not over a high heat.
The pastry needs time to cook through and become crisp without browning too quickly on the outside. Keep the heat low to medium and fry in small batches.
Serving and Storing Sooji Gujiya
We usually make ghughra for Diwali and Holi, alongside other traditional Indian sweets and snacks such as boondi chevdo and dahi vada. They're lovely served at room temperature with a cup of karak chai, cardamom chai or coffee.
Allow the ghughra to cool completely before transferring them to an airtight container. Keep them in a cool, dry place and avoid refrigerating them, as moisture can affect the crisp pastry.
Frequently Asked Questions
Can I use fine or coarse semolina?
Yes. Both can be used, although the filling will have a slightly different texture. Fine semolina produces a more delicate crumb, while coarse semolina gives a more noticeable graininess.
Can I make the filling ahead of time?
Yes. Preparing the filling in advance is useful because it needs to cool before you shape the ghughra. Store it appropriately until you're ready to assemble them.
Can I bake or air-fry sooji gujiya?
Deep-frying is our family's traditional method and the one I prefer for the crisp, flaky finish. I haven't yet tested the baked or air-fried versions myself, so I'll update this section once I've compared the results.
As always if you make this recipe, be sure to leave me a comment, rate this recipe and tag me on Instagram @jcookingodyssey or #jcookingodyssey. I love seeing all your photos of my recipe recreations!
Don’t forget to follow me on social media using the buttons below – I can't wait to see you all there!
📖 Recipe

Sooji Ghughra
Ingredients
Pastry-outer layer
- 2 cup plain flour
- 1 tablespoon semolina optional
- 3 tablespoon ghee semi solid
Filling
- ½ cup semolina
- ¼ cup ghee
- ¼ cup coconut
- ⅓ cup caster sugar adjust to suit your taste
- ⅓ cup nuts in total almond, cashews, pistachio, charoli
- 1 teaspoon cardamom powder
- ½ teaspoon nutmeg powder
Frying
- oil
Instructions
Pastry
- Combine flour and semolina in a big plate. Add the ghee and rub into the flour.
- Gradually add water to knead a stiff but pliable dough.
- Set it aside for 10-15 minutes covered with a clean damp kitchen towel.
Stuffing
- Heat ghee in a heavy based pan then add the nuts. Fry on low heat until just changing colour. Remove and crush coarsely. Set aside.
- Add more ghee and add semolina. Roast on low heat whilst stirring.
- Once it's light brown, add coconut and roast until the coconut just changes colour.
- Turn off the heat, add the crushed nuts and cardamom and nutmeg powder.
- Once the semolina mixture cools down to room temperature, add sugar and mix well.
Shape and seal Gujiya
- Divide the pastry dough into equal portions.
- Roll each portion into ball and roll out to a 10-12 cm circle. Keep the remaining dough covered so it doesn't dry out.
- Now with a finger gently dab a little water on one half of the circle. You don't need too much.
- Place about 2 tablespoons of the filling on the rolled circle (don’t overfill) and fold over the other half to make a crescent shape.
- Crimp the edges, twisting them slightly as you go. Ensure there are no holes or gaps for the filling to escape from whilst frying.
- Cover the prepared ghughra with a damp cloth and repeat with the remaining dough and filling.
Deep frying Gujiya
- Heat oil in a kadai on low heat.
- Gently slip gujiya in the oil, and fry them on low heat until the dough turns golden brown. Remove with a slotted spoon and repeat with the remaining gujiya.
- Optionally garnish with chopped nuts and edible foil.
Video
Notes
- Pastry: Don't reduce the ghee. It helps create the crisp, flaky texture.
- Filling: Let the roasted semolina mixture cool before adding the sugar. Use caster sugar or finely ground granulated sugar, not icing sugar.
- Shaping: Approximately 2 tablespoon filling works for a 10-12cm pastry circle. Seal the edges firmly before making the kangri pattern.
- Frying: Keep the heat low to medium so the pastry cooks through without browning too quickly.
- Make ahead: Prepare the filling in advance to save time on the day.
Nutrition
PLEASE NOTE: Nutritional values are estimated by a computer and may vary based on ingredients and portion sizes. For personalised dietary advice, please consult a qualified healthcare professional.
Share on Facebook Pin This Recipe

Leave a Reply