Learn how to make perfectly crispy, puffed-up puris for pani puri with my tried-and-tested recipe and easy tips. Basically, the right amount of crunch without being so hard they hurt the roof of your mouth!
All that’s left is to load them up with the pani puri stuffing and water, and you’re all set for a crunchy, spicy explosion of flavour!

Note – This recipe has been updated from the archives – first published in January 2012. I’ve added new images and helpful content, with some changes to the recipe that I've highlighted below.
Over time, I’ve refined the recipe to make it more beginner-friendly without loosing the signature crunch. (I bet you're replaying that sound in your head right now).
My biggest change to the method - no more double frying. Initially, we thought that frying the puris twice gave them extra crunch. While it worked, it also added time and effort. Now, I’ve found that a well-kneaded dough and a good single fry are all you need for that same crispy texture.
Another small update - I now add a pinch of baking soda to the dough. This helps the puris puff up better while frying, making them light and airy without affecting the crunch.
You can use these for other chaat recipes too - Dahi Sev Puri is one of my favourites.
Ingredients
Be sure to check out the full recipe and exact ingredient list below in the recipe card.
Semolina - use regular semolina, NOT the fine or coarse variety. The semolina we get in Britain is yellow in colour, whereas in India you can get white semolina. This affects the colour of my puri - making them look a little darker. This is totally normal.
Chapati atta - good old chapati flour here.
Baking soda - just a small pinch goes a long way. I always check my baking soda is in date before using
Oil - whilst I generally cook with olive oil, I like to deep fry in a lighter oil such as sunflower oil.
How to make them + Tips
Mix together the semolina, chapati flour and the baking soda. For me, a ratio of 1:0.5 semolina to chapati flour works best. I add the water bit by bit to form a stiff yet pliable dough, similar to puri. I always need to adjust how much water I add - every packet of semolina is a little bit different.
Place the kneaded dough to rest in an airtight container - it prevents moisture loss and the dough drying out. Rest for around 15-20 minutes.


Take the dough out and give it another quick knead. Section into equal sized pieces pieces and then in turn, section each piece into further small balls.
I've found that keeping the dough both 4 and 5 grams work best. This is especially helpful as you get a little variation in the sizes of the puri - smaller mouths need smaller puris!
Place the little dough balls back into the container and sprinkle over a small amount flour to coat them.
Now I sprinkle over a little flour on a working surface and roll out each ball into a round. Keep the container closed and only take out one ball at a time.
I've tested out the best thickness to roll out the puri. I suggest aiming for 1-2mm thickness.


You can see from this picture that the more thinly rolled out puri has puffed up a bit more than the thicker puri.
Wet a clean kitchen towel then wring it out until it's just damp. Fold in half and place each rolled out puri under the wet kitchen towel.
You may want to test the thickness of your puri by frying a few first, before rolling out the rest.
Heat a generous amount of oil in a large kadai to give the puri enough space to rise. Heat the oil on medium high and maintain the heat at this temperature throughout cooking.


Drop a puri into the hot oil and gently press down on it to help it to puff up. Some of my puri puffed up by themselves. Turn them around a few times until golden brown brown all over.
Remove from the heat using a slotted spoon and take out into a large plate.
Out of the 40 + puri that I fried only 4 puris didn’t puff. Those were during the first few tests while I was figuring out the right oil temperature and dough thickness. Once that’s sorted, this recipe is super reliable. Proof below.


Storage Tips
As soon as the puri are cooled to room temperature, place in an airtight container until ready for use.
In all honesty, while you can store these for a few days longer, the crispiness will not be the same as the first day. Remember, these are homemade not shop bought which are often made with machines!

As always if you make this recipe, be sure to leave me a comment, rate this recipe and tag me on Instagram @jcookingodyssey or #jcookingodyssey. I love seeing all your photos of my recipe recreations!
Don’t forget to follow me on social media using the buttons below – I can't wait to see you all there!

Pani Puri Puri Recipe
Equipment
- 2 Air tight container
- 1 Kadai
- 1 Rolling Pin
- 1 Slotted spoon
- 2 Kitchen towel clean
Ingredients
- ½ cup semolina regular variety
- ¼ cup whole wheat flour chapati atta
- small pinch baking soda
- ¼ cup water at room temperature
- oil for deep frying
- 2 teaspoon whole wheat flour for dusting
Instructions
- In a mixing bowl or wide plate add the semolina and whole wheat flour and pinch of baking soda.
- Mix it with your hands and add water little by little to knead the dough. This dough supposed to be like regular puri dough, a little stiff but pliable.
- Place the dough in an airtight container, close the lid and set a side for 15-20 minutes.
- Remove the dough and knead it for a minute or so.
- Make a cylinder and cut into equal portions. Place the pieces back into the container.
- From one piece, make very small balls (roughly 5 gram each). Keep them in another airtight container with the lid closed.
- Once all the balls are made, sprinkle over a little flour and shake them in the container to coat well. Take out one ball at a time to roll.
- Roll out one ball on a flat surface using a rolling pin.
- Lay it on a damp towel, cover it using another towel. Make all the puris and keep covered.
- Heat oil in a pan or kadai on medium heat.
- Add a couple of puris into hot oil, and very gently press the puri with a slotted spoon.
- They will puff up quite quick. Gently turn them a few times until golden all over.
- Repeat for all the remaining puri.
Video
Notes
Nutrition
PLEASE NOTE: Nutritional values are estimated by a computer and may vary based on ingredients and portion sizes. For personalised dietary advice, please consult a qualified healthcare professional.
Share on Facebook Pin This Recipe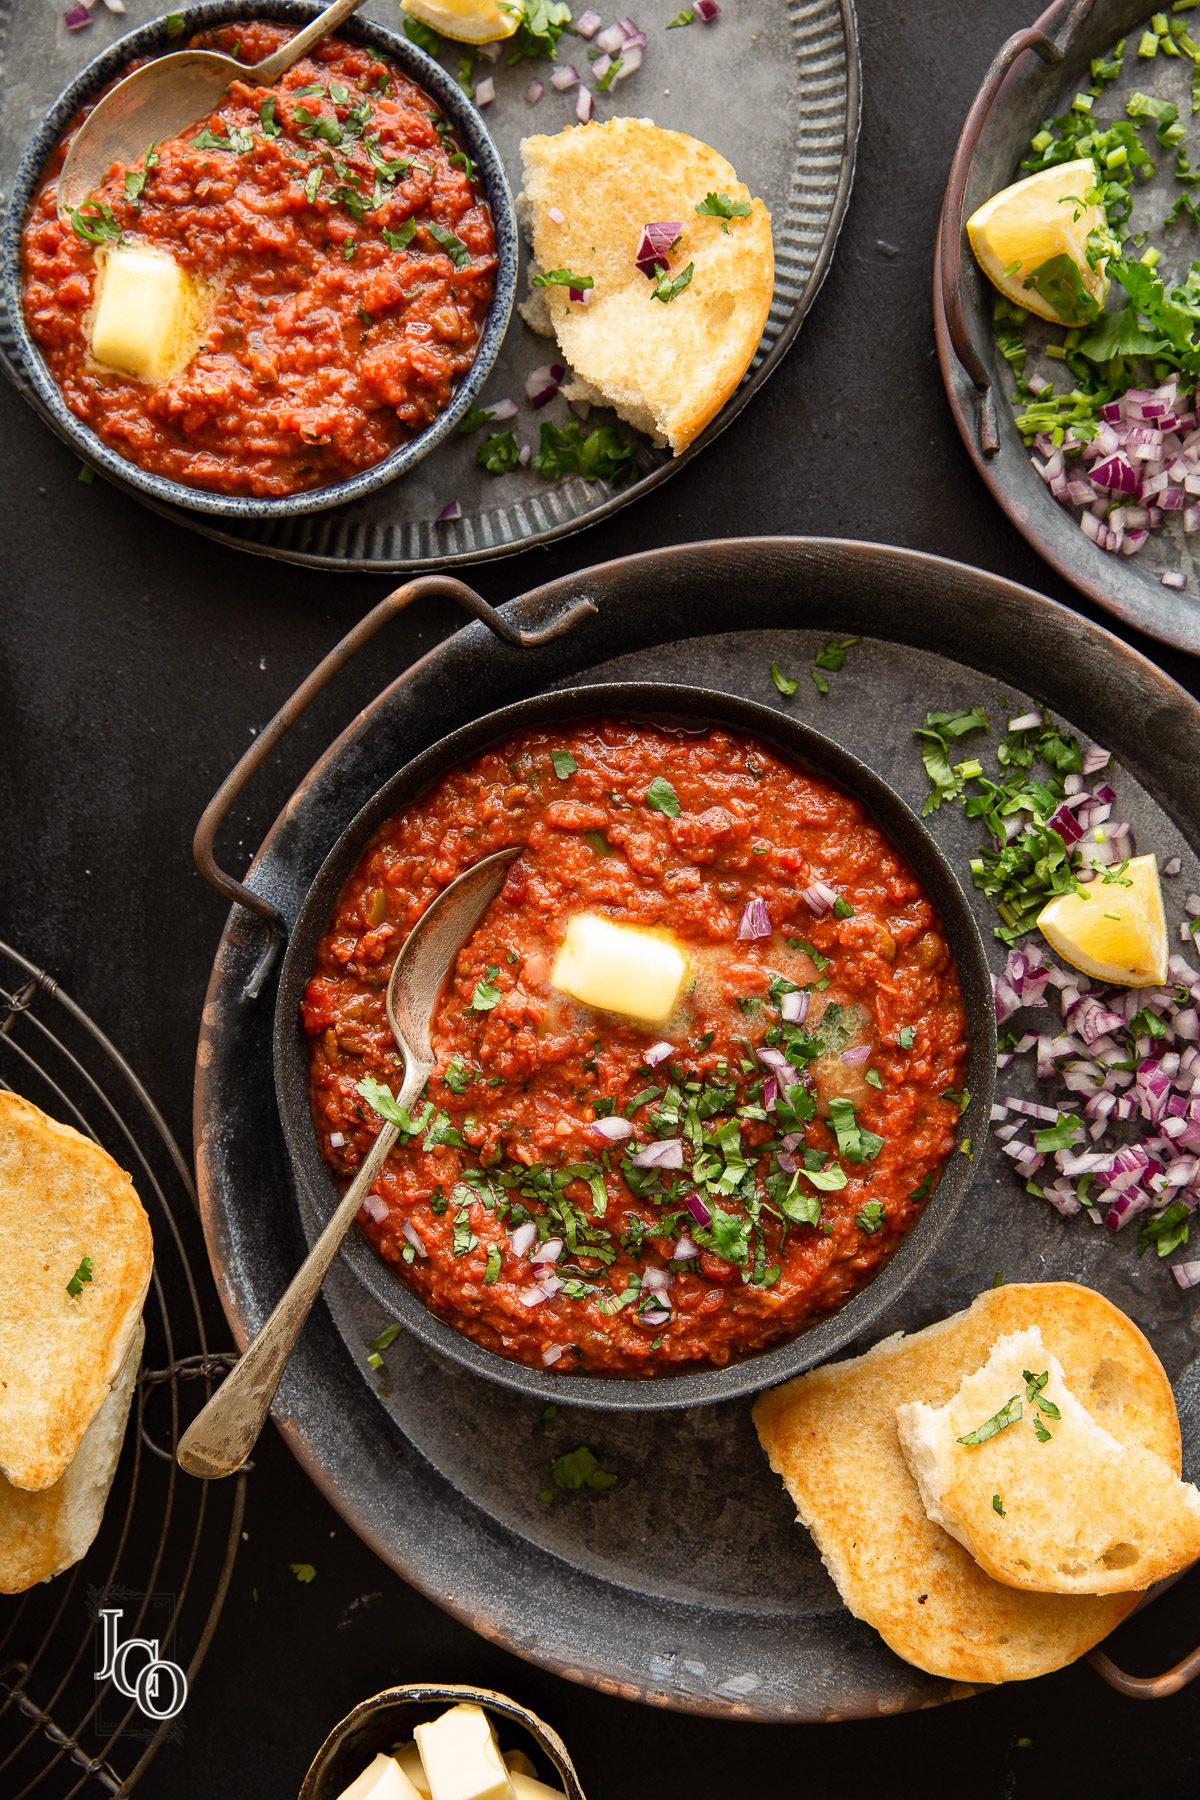

Rachana says
Pani puri is my fav chaat. Yum!
kitchen queen says
lovely perfect pani puri and my hot favourite.
indu srinivasan
Priya Suresh says
Puffy puris looks incredible,love it.
Nisha says
Never knew the puris has to refried
VineelaSiva says
The poori came out perfect .Love it.
Simplyfood says
Interesting step where you refry them, thats very new to me. They have puffed up beautifully.
Unknown says
Lovely...nice puffed puris..I am so ready for pani puri..
divya says
super tempting pani puri tempts me a lot,mouthwatering here..wishing you and your family happy new year 2012.
Sayali says
perfect puris 🙂 thanks for sharing