
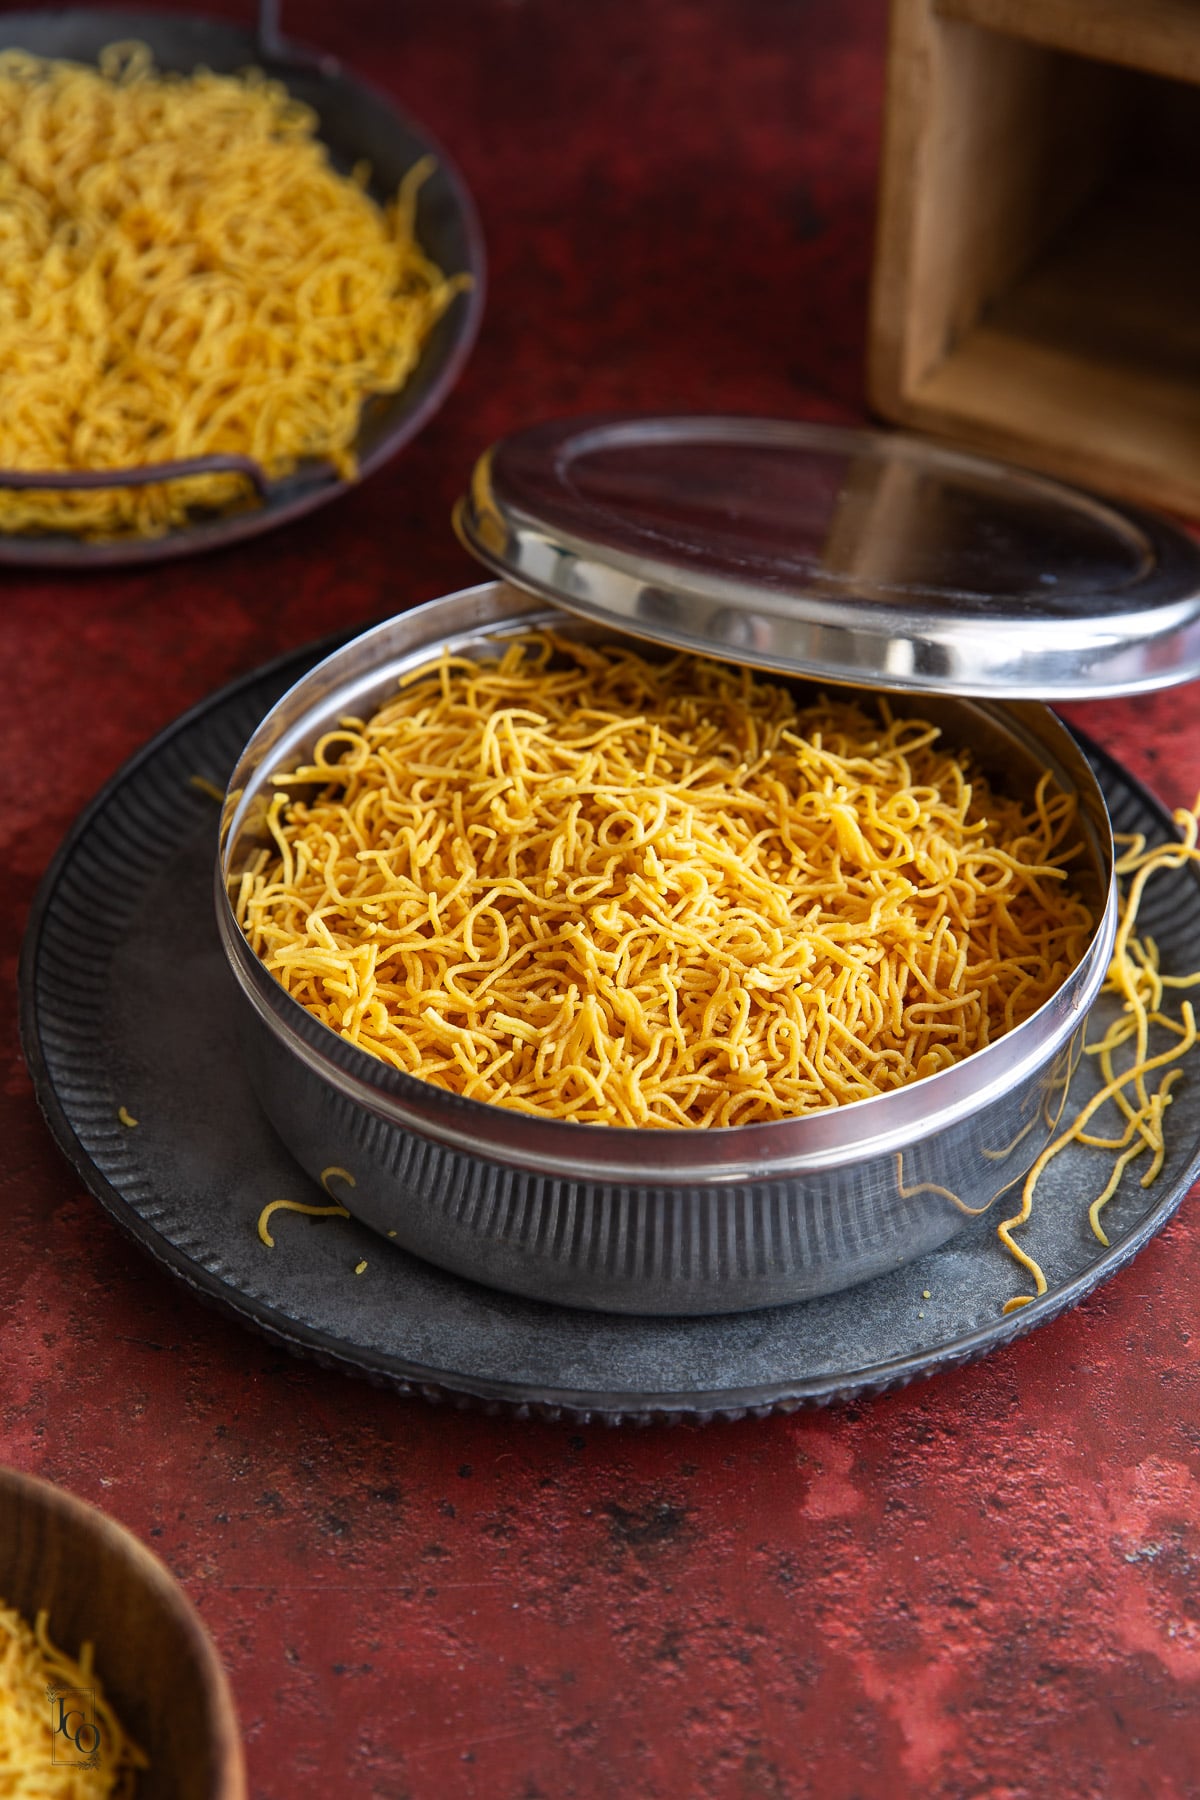
This Sadi Sev is a crisp, light Indian snack made with besan, rice flour and a little salt. The thin golden-yellow strands are delicious on their own, but they're also brilliant for topping bhel puri, chaat recipes and other Gujarati snacks.
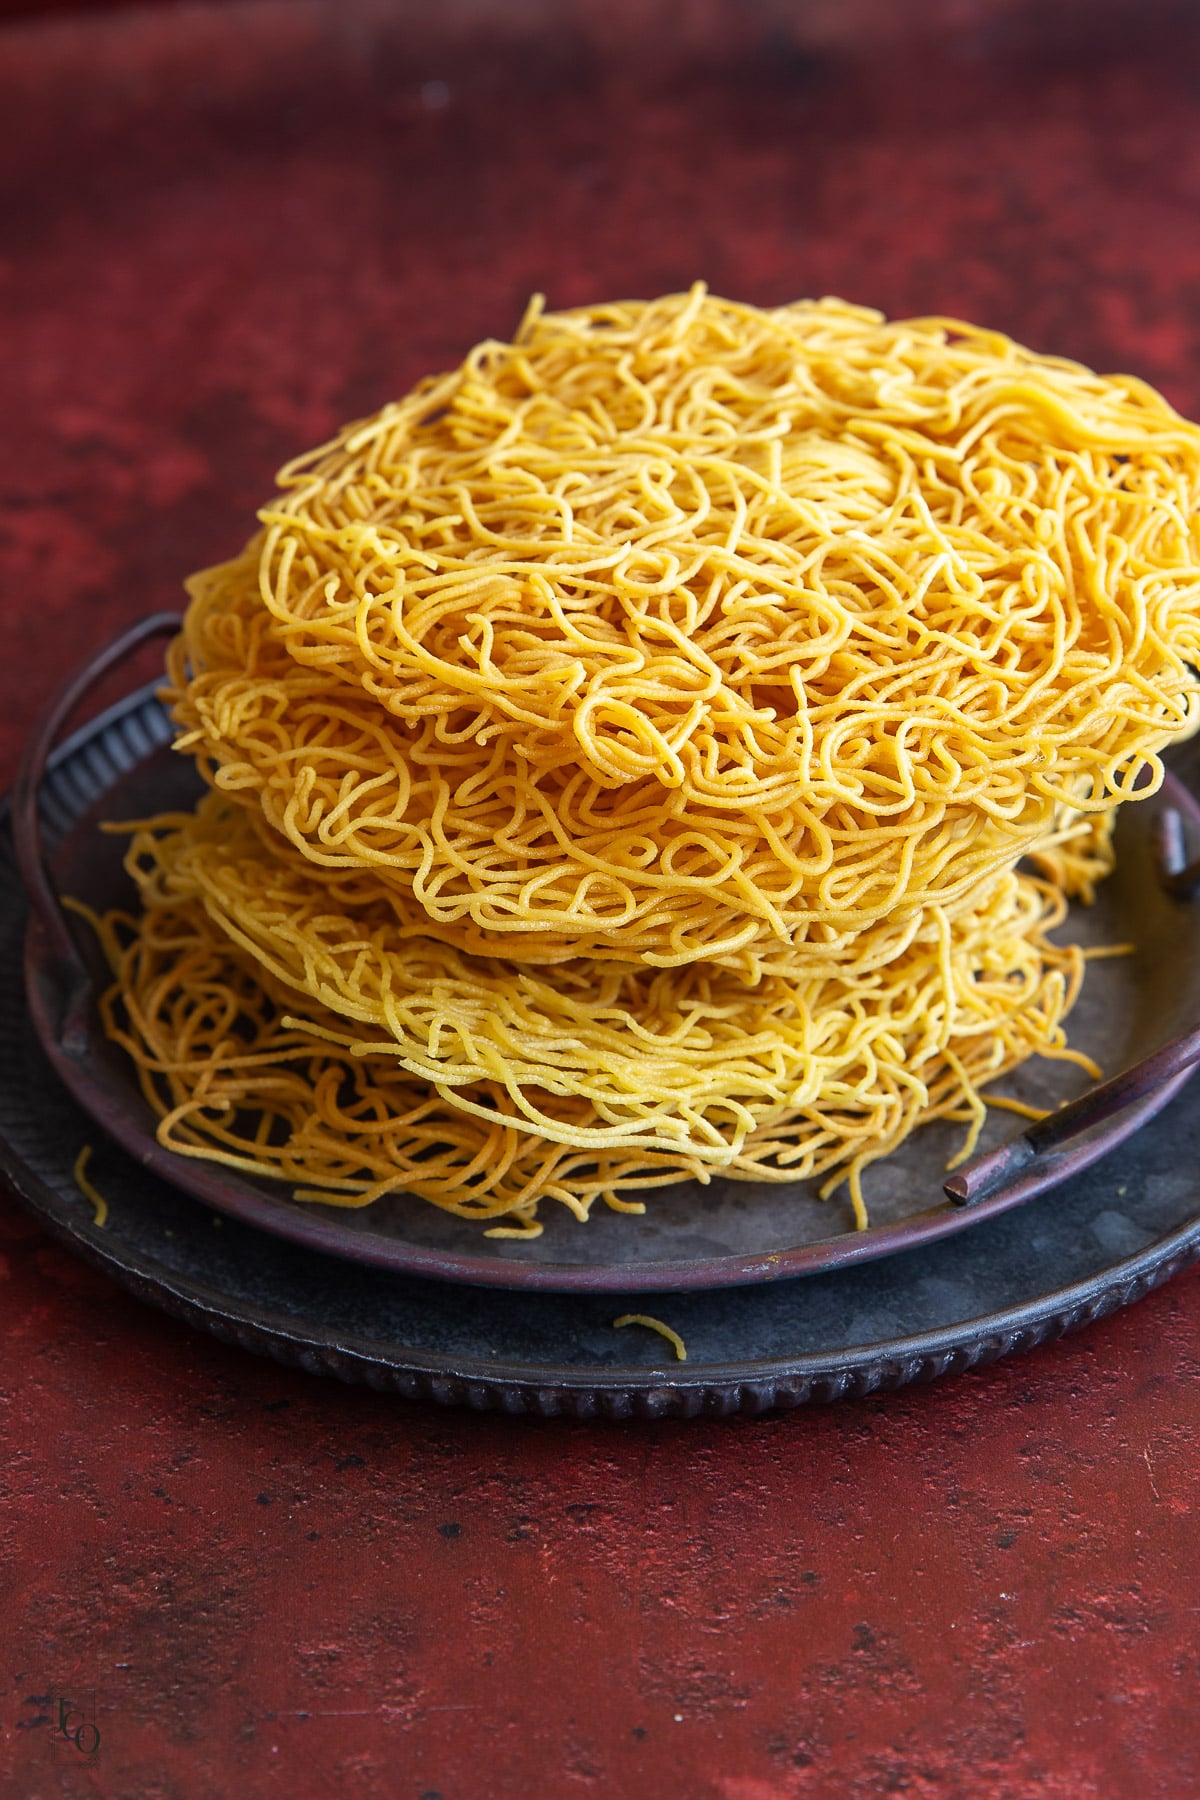
Recipe Summary: Sadi Sev
- ✅ Recipe Name: Sadi Sev, Besan Sev, Gujarati Sev
- 🕒 Ready In: 20 minutes
- 👪 Makes: 350g (easy to scale)
- 🍽 Calories: 111 per serving
- 🥣 Main Ingredients: Besan, rice flour, salt, oil and water
- 📖 Dietary Info: Vegan, gluten-free
- ⭐ Why You'll Love It: I add rice flour for extra crispness and mix hot oil into the dough so the finished sev has a light crunch rather than a hard bite.
SUMMARIZE & SAVE THIS CONTENT ON
Jump to:
I've measured and weighed everything myself, especially the besan, rather than relying on automatic cup-to-gram conversions. I've also weighed the finished batch, which made approximately 350g of sev. Handy if you're planning your Diwali dinner party or making sev for a crowd!
My Gujarati Mum always makes sadi sev at home. Sometimes it's part of our Diwali snacks, but other times we'd make a quick batch because we fancied sev tameta nu shaak or sev mamra and didn't have any sev ready.
That's why I love keeping this version plain. It's not really the sev I'd choose for snacking on its own every time (we'd usually make for ratlami sev) but it's such a useful all-rounder to have in the kitchen.
For more snacks to fill your Diwali dabba, have a look at my Indian snacks recipes collection.
Plain Sev Ingredients
You'll find the full ingredients list with measurements in the recipe card below, but these notes are worth reading first. They explain the small ingredient choices, swaps and texture cues I've learnt from making this recipe.
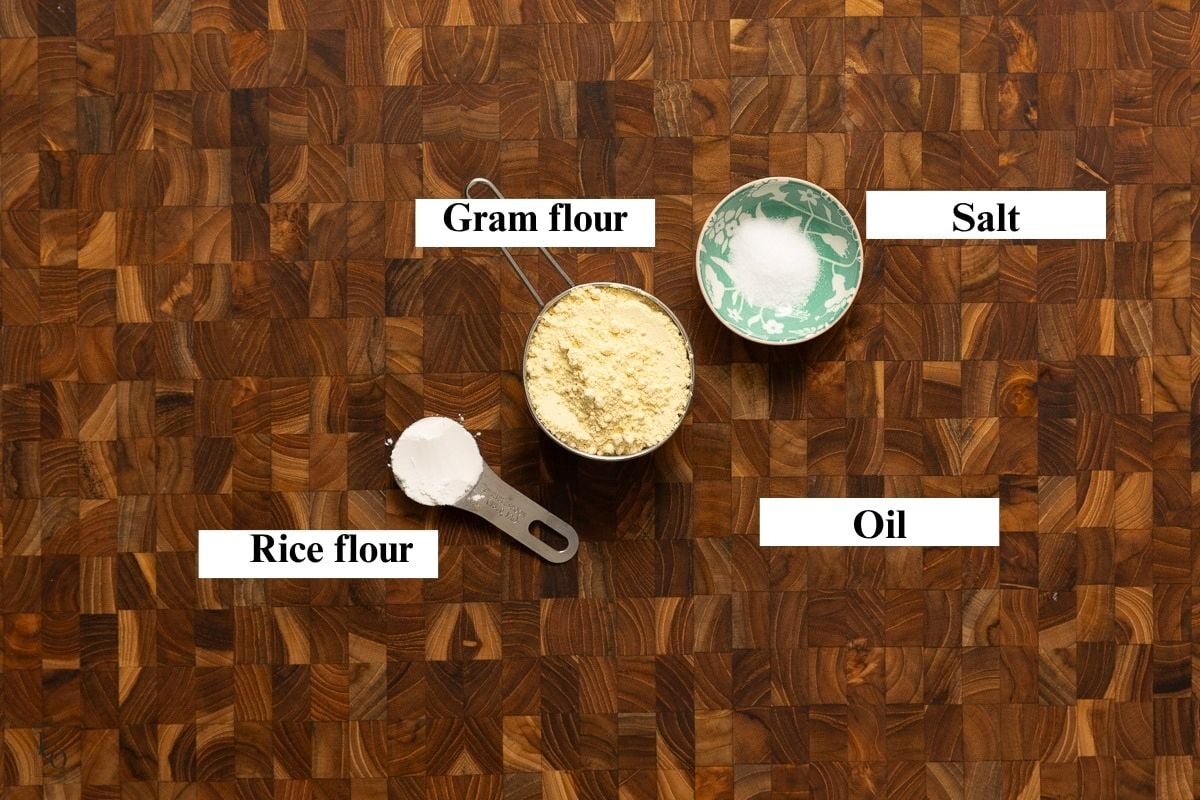
Besan (gram flour)
Besan forms the base of the sev.
Sieve it before mixing to remove any lumps. This is especially important when using the smallest holes on your sev sancho, as lumps can make the dough difficult to press.
Rice flour
I've added rice flour to this updated recipe for extra crispness. The aim is sev that snaps lightly when you eat it, without feeling dense or rock hard.
Hot oil
I mix hot oil into the sev dough after the water. I find it helps give the finished sev a more even, lighter crunch rather than a hard texture.
Take care when adding the hot oil and use a spoon to mix it through the flour before handling the dough.
Salt
Just enough to season the sev. I deliberately leave out chilli powder, ajwain and other spices because this is plain sadi sev.
Water
For 2 cups of besan, I start with approximately ½ cup of water, then add a spoonful more if needed.
Different brands of flour absorb water differently, so the dough consistency is more important than using an exact amount.
How To Make Sev In Steps
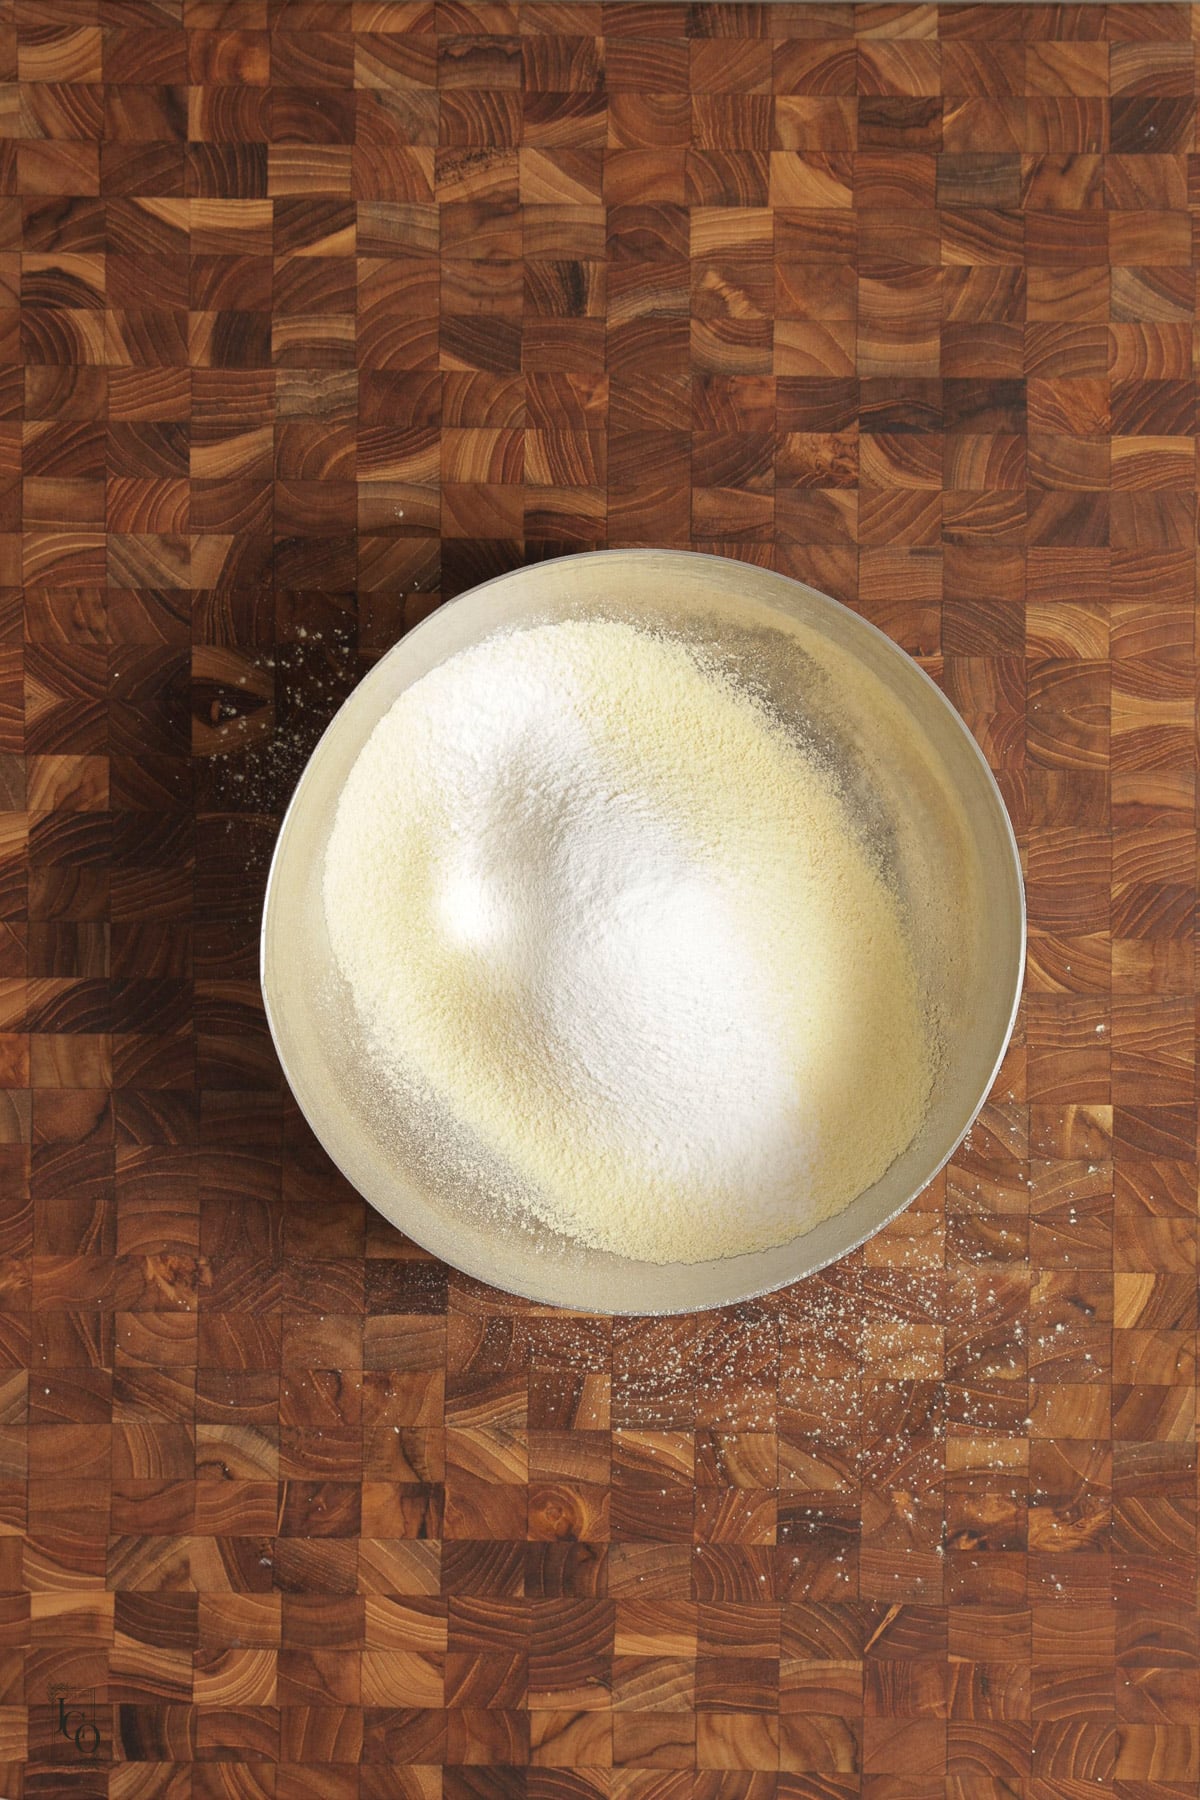
- Mix together dry ingredients: Sieve the besan and rice flour then add salt to taste.
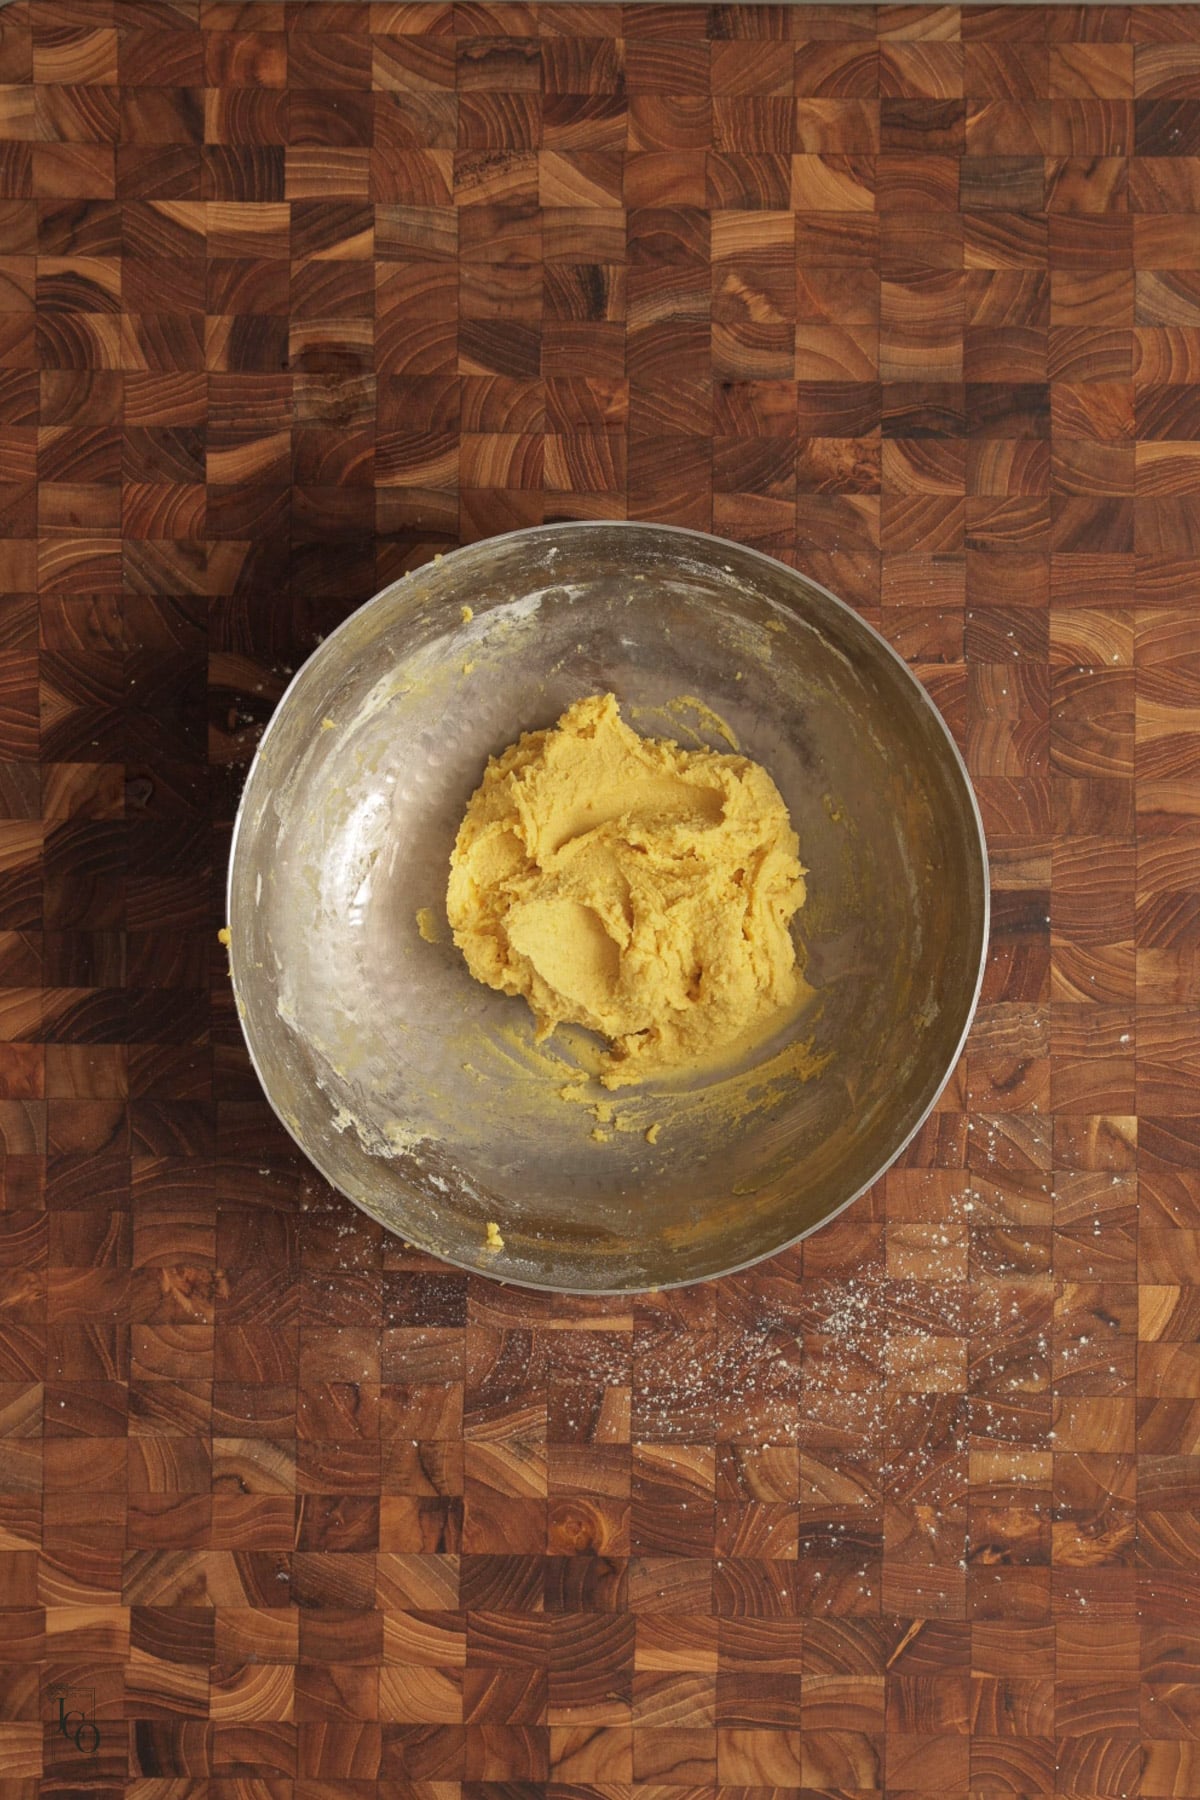
- Add water to make a soft dough: Gradually add water and mix into a soft, slightly sticky dough. Rest for five minutes, then check the consistency. Add a little more water if needed.
Technique
What should sev dough feel like?
This is probably the most important part of the recipe.
The dough should be a little softer than rotli dough. It will be sticky, and that's completely normal.
When you press it through the sancho, it should come out easily through the small holes.
If you have to use a lot of force, add a little more water.
If the dough starts falling through the holes without being pressed, it's too loose.
I let the dough rest for about five minutes, then check the consistency again before filling the sancho.
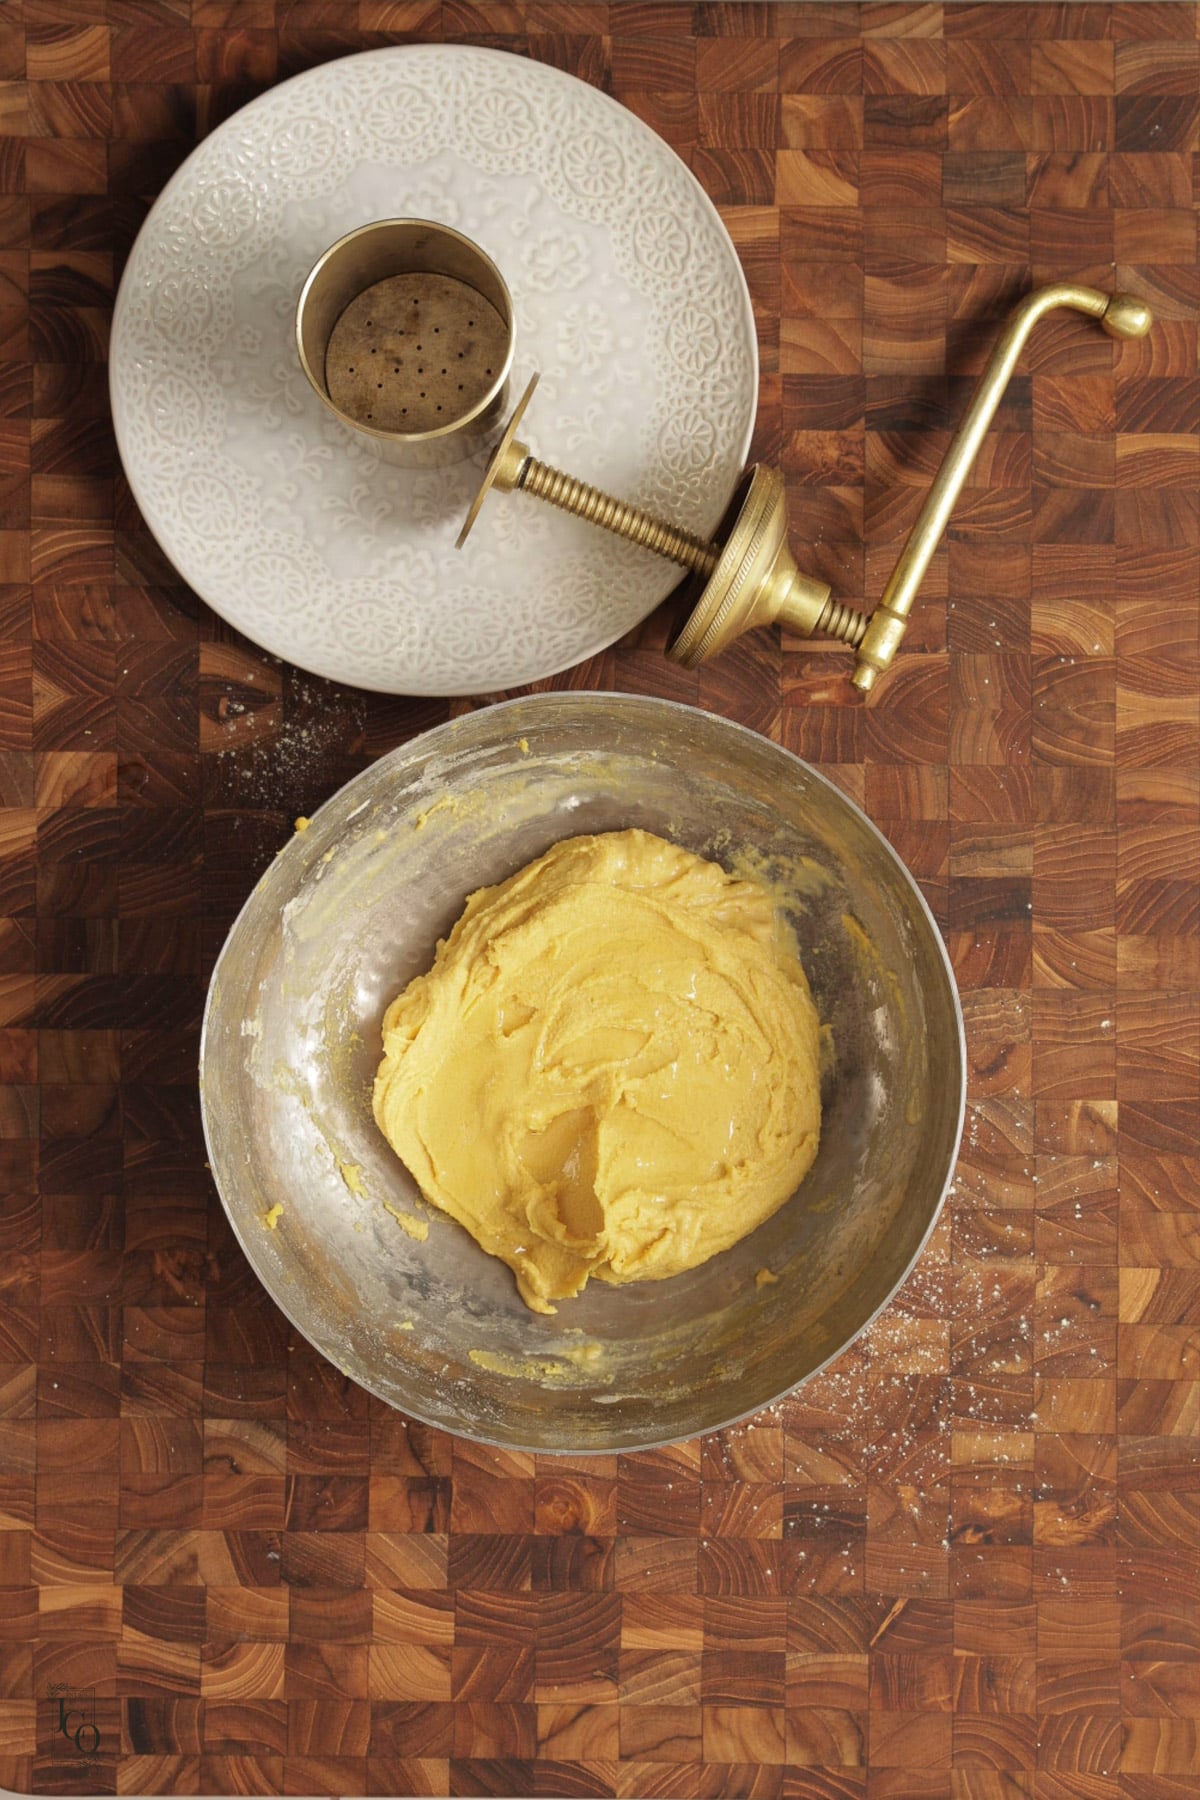
- Mix in hot oil: Stir with a spoon until well incorporated.
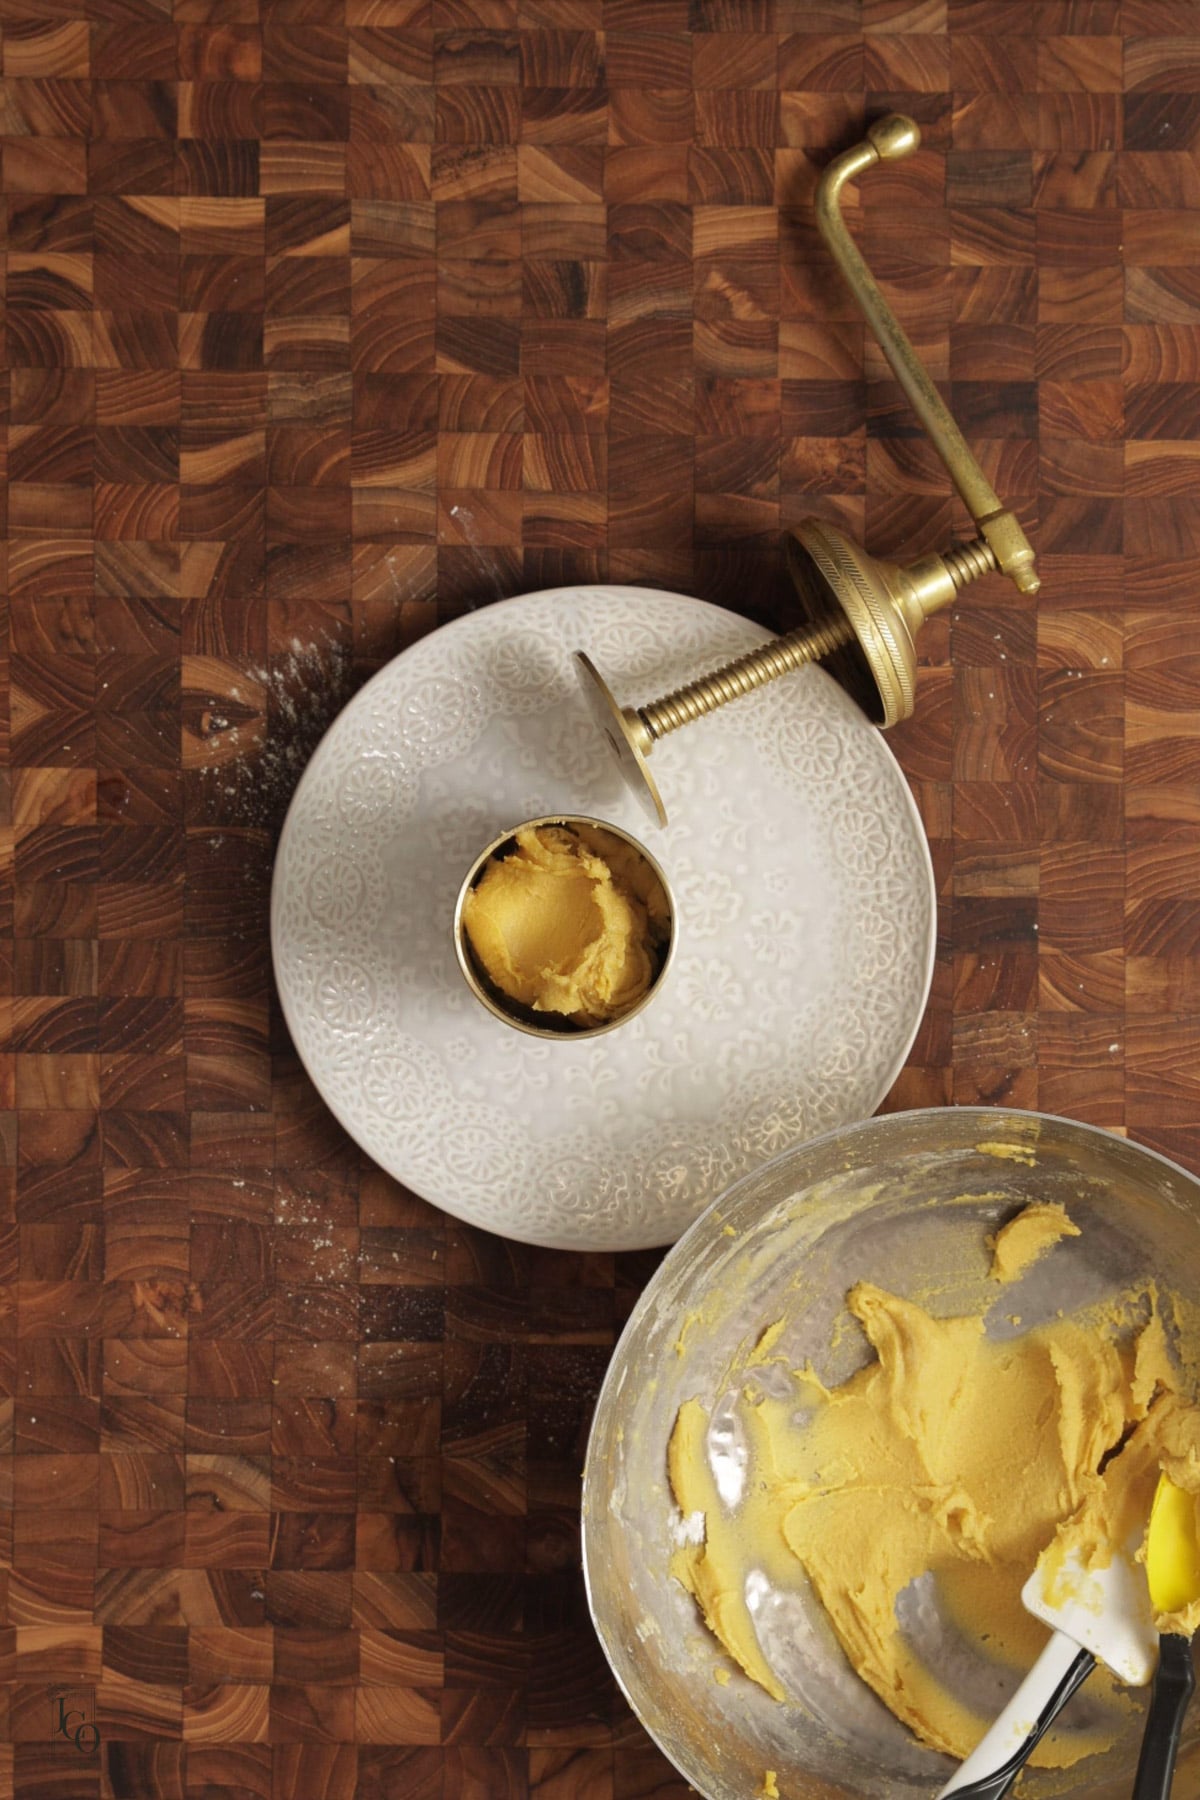
- Fill the sancho: Fit the sancho with its smallest-hole disc. Lightly grease the inside and the pressing plate, then fill it with the dough.
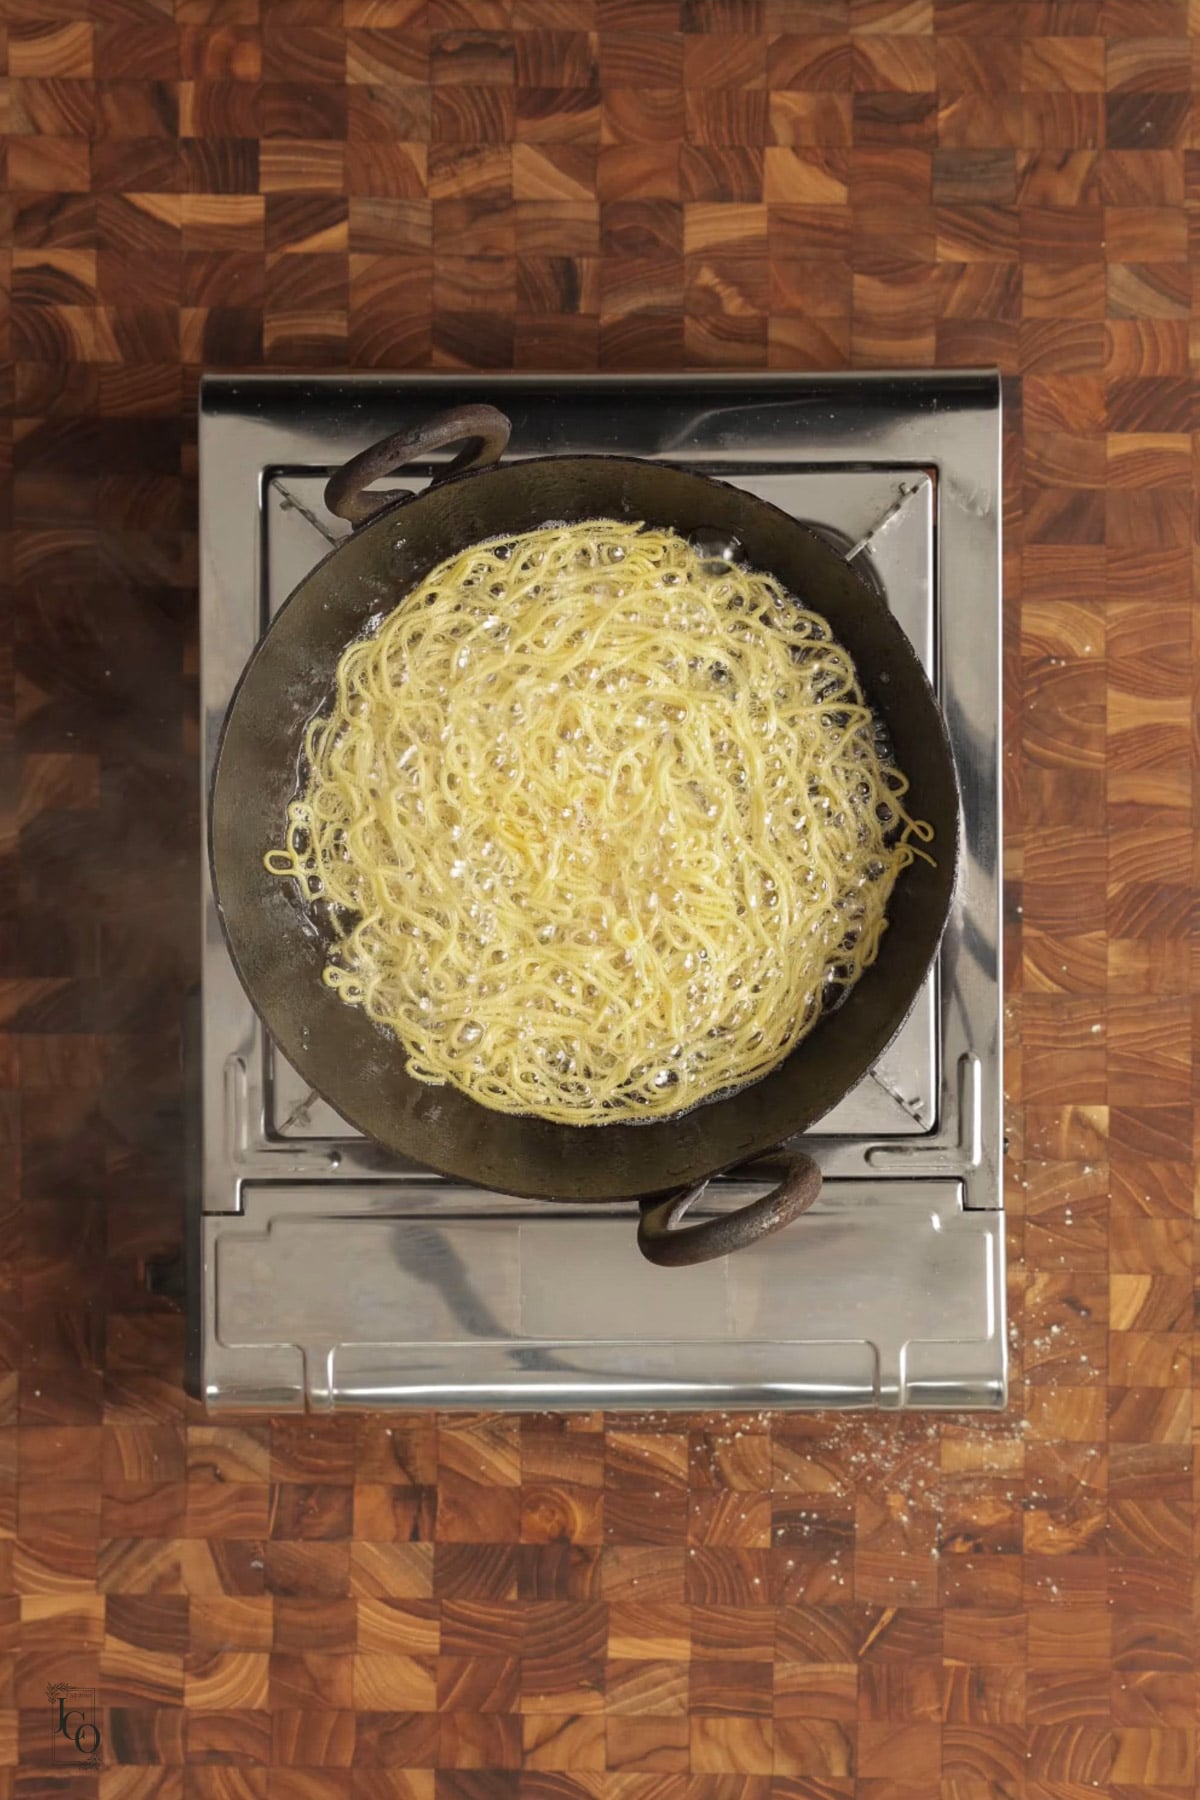
- Fry the sev: Press the dough directly into the oil in medium-sized circular batches. The oil should bubble gently around the sev without making it brown immediately. Using the sancho, flip the nest of sev and allow to cook on both sides.
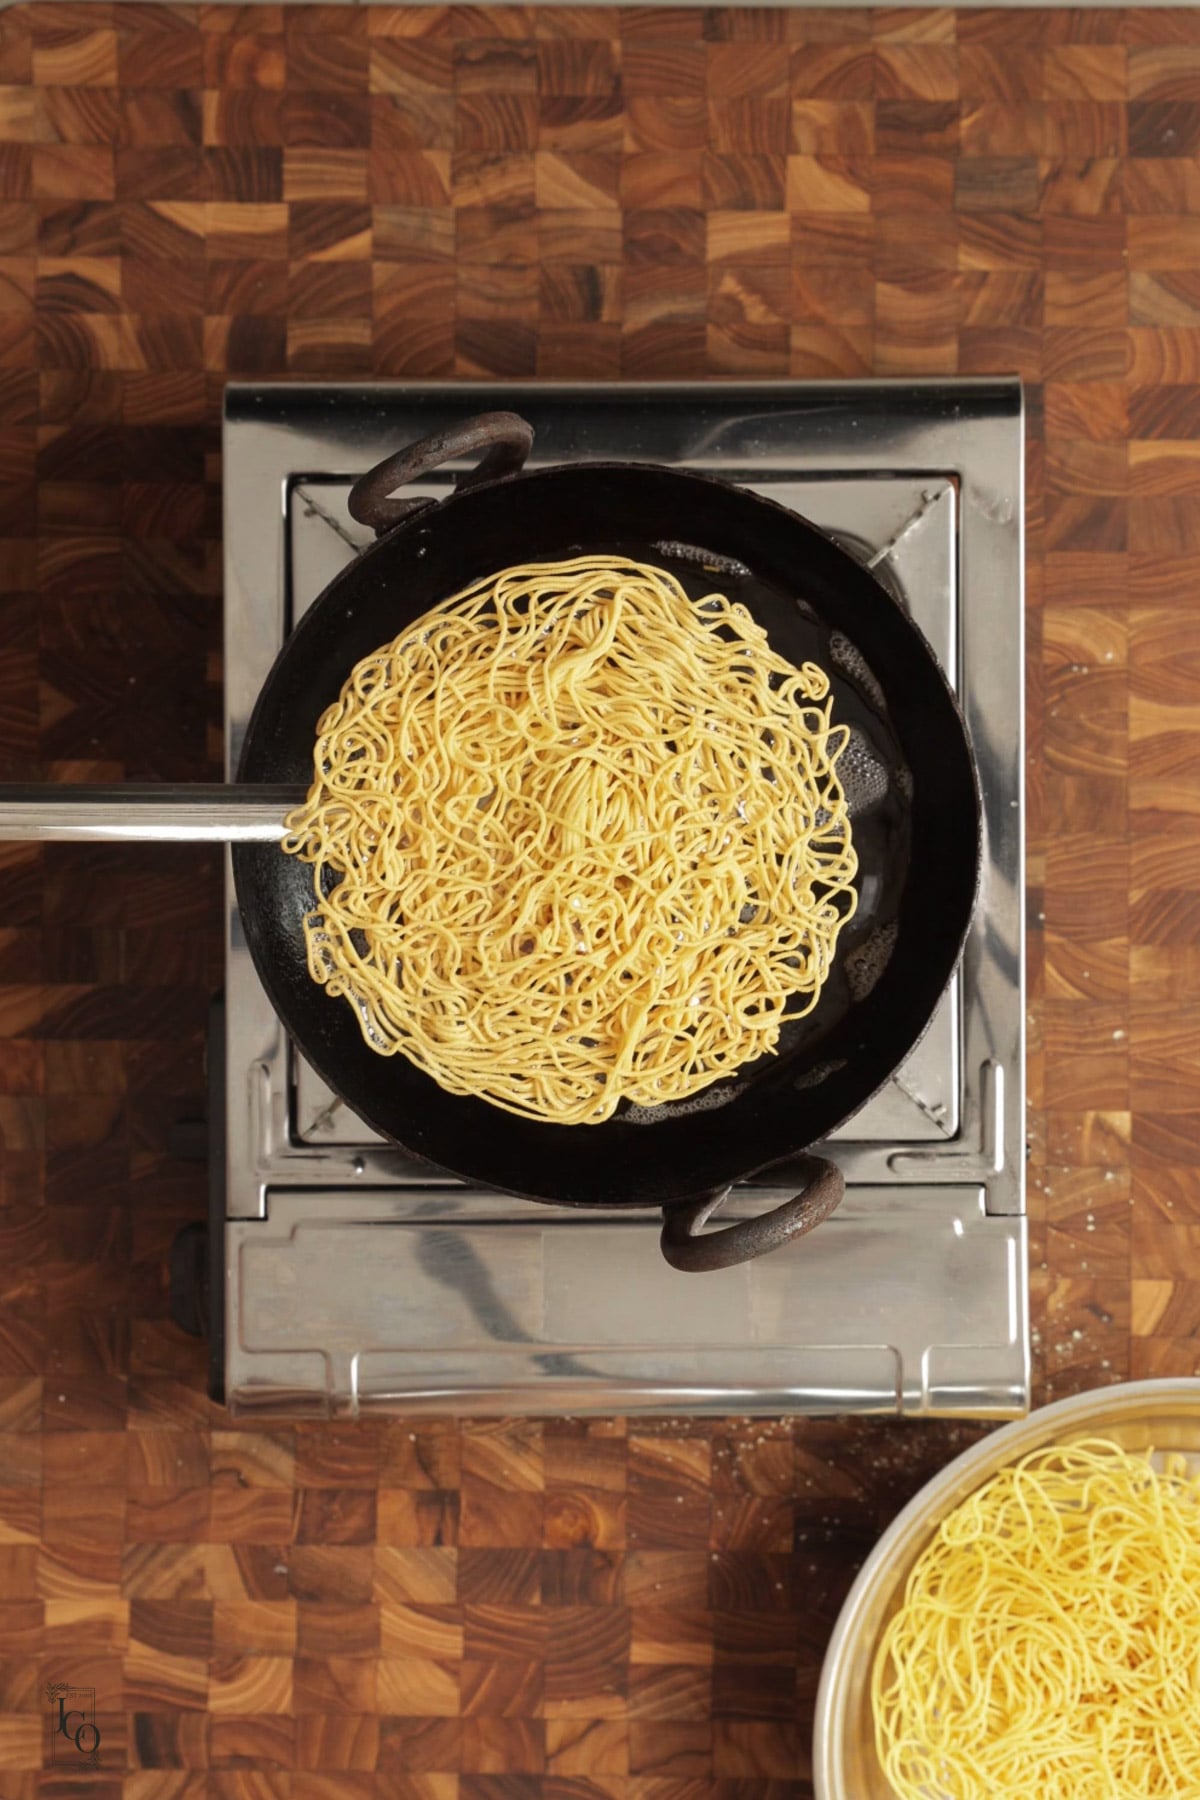
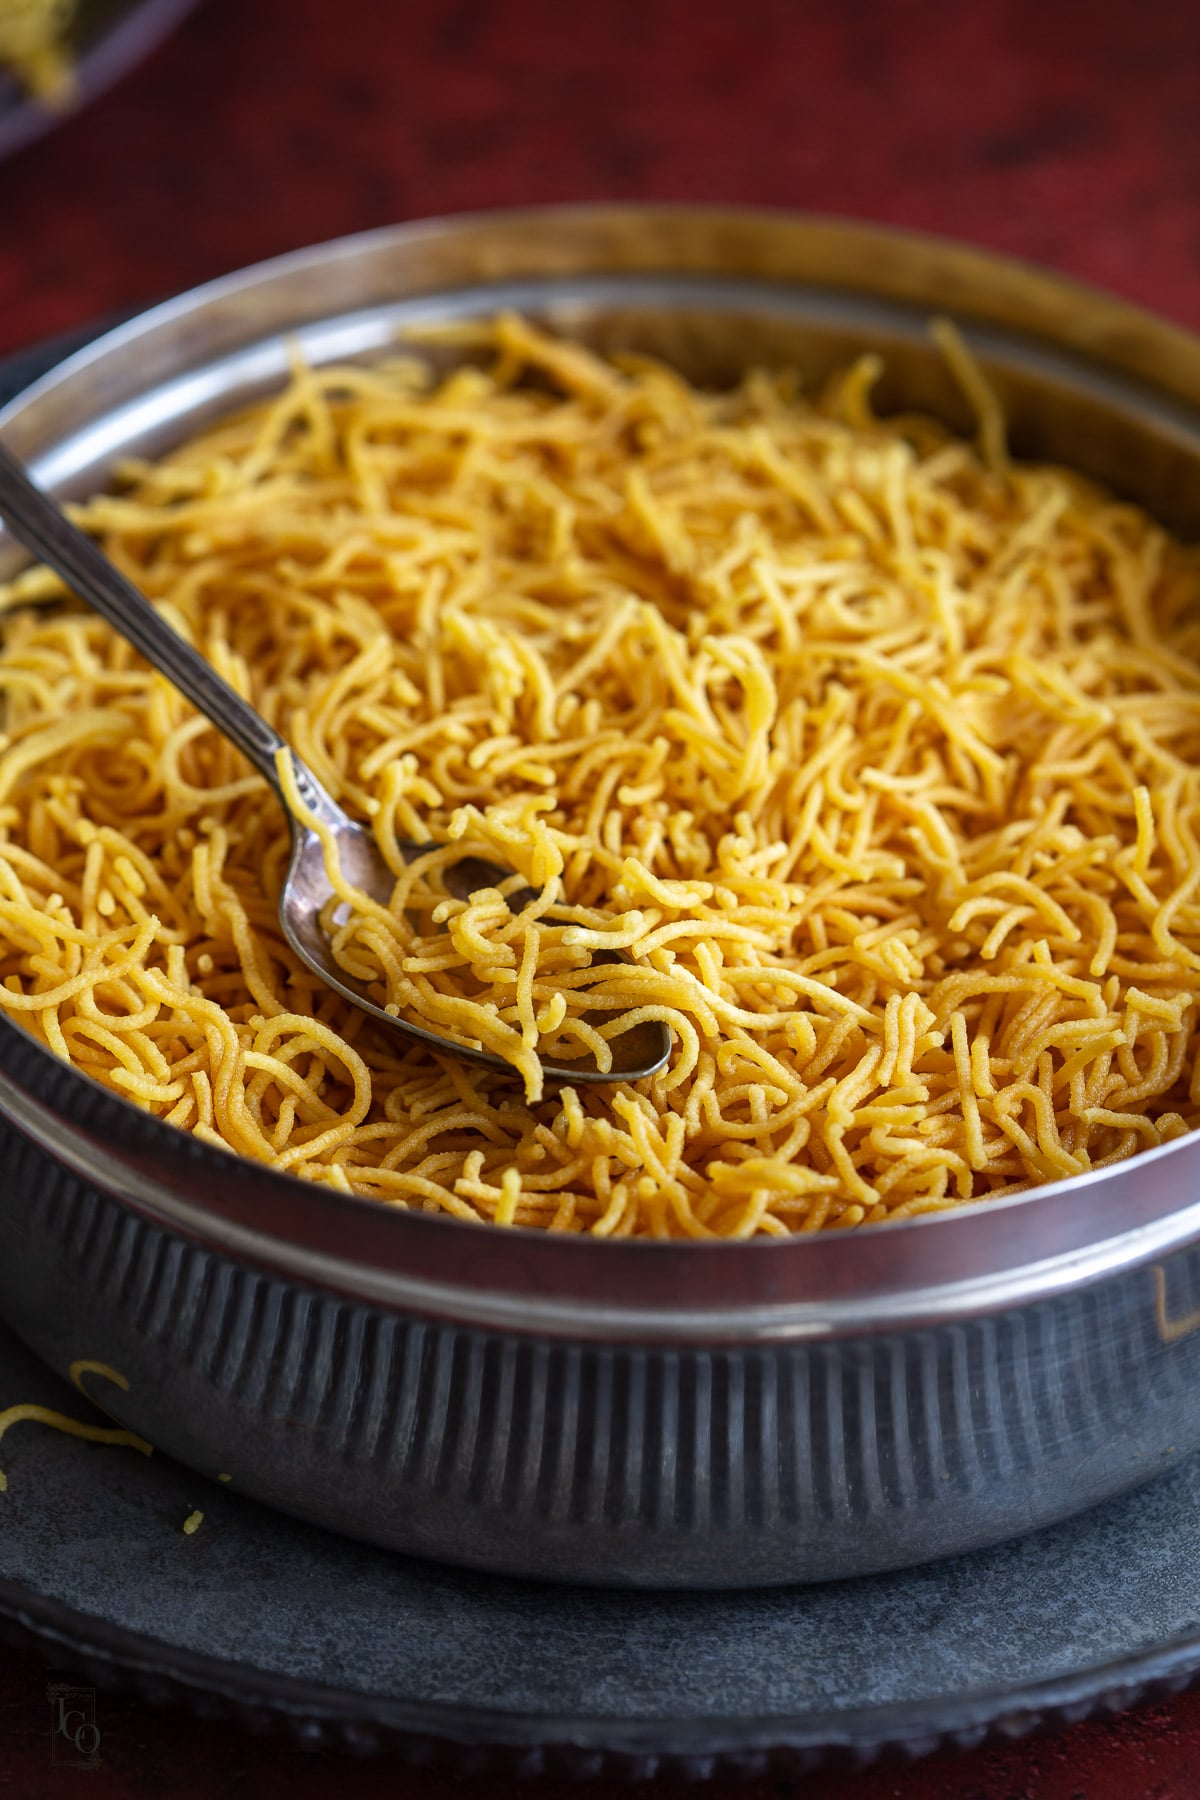
- Remove from oil when just crispy and still pale gold: Fry both sides until cooked through, keeping the sev yellow rather than dark golden. Lift it out with a jhara and drain. Let it cool before breaking it into smaller pieces.
Tip #1- Medium heat works well, but the temperature changes between batches. Adjust the heat as needed rather than leaving it on the same setting throughout.
Tip #2- Fish out any stray pieces of sev as you fry. If left in the oil, they'll eventually burn.
How To Use Sadi Sev
This is where plain sev really earns its place in the kitchen!
I love using it in bhel puri and sev mamra. Because the sev isn't heavily spiced, it adds crunch without competing with the chutneys and other ingredients.
It's also lovely sprinkled over surti sev khamani (though traditionally you need nylon sev), where the crisp sev contrasts with the soft, fluffy chana dal underneath.
For chaat, try it with my dahi sev puri or smashed potato chaat. Add the sev just before serving so it stays crisp.
For breakfast, it's delicious added to authentic Gujarati bateta poha or for a lunch or snack, sprinkled in kutchi dabeli.
My Mum has also used thin sev for baked bhakarwadi and dry fruit masala kachori fillings.
If you're making a Diwali snack spread, prepare a batch alongside farsi khaman puri and serve everything with hot Indian spiced milk tea.
How To Store Homemade Sev
Let the sev cool completely before breaking it up and transferring it to an airtight container.
If you store it while it's still warm, trapped moisture can make it soggy.
In our experience, it stays crisp for up to two weeks when stored properly, although this depends on how often you open the container and how long you leave it exposed to air.
Keep it somewhere cool and dry, and close the lid properly after each use.
Sev FAQs
What is sadi sev?
Sadi sev is plain sev made from besan. This version contains no added chilli powder, ajwain or masala, making it particularly useful for topping chaat and other snacks.
Why is my sev difficult to press?
The dough is probably too stiff. Mix in a little more water, one spoonful at a time, until it presses easily through the smallest-hole disc.
Why is my sev turning brown?
The oil may be too hot. Reduce the heat so the sev fries gently and remains yellow rather than dark golden. You need to work quickly once the sev is in the oil.
Why isn't my sev crispy?
It may need a little more frying, or you may be judging it while it's still hot. Let a small piece cool before checking. Rice flour also helps give this version its crisp texture.
Do I need to rest the dough?
I rest mine for about five minutes, then check the consistency before pressing.
Can I make sev ahead of time?
Yes. Cool it completely and store it in an airtight container. It should remain crisp for up to two weeks with careful storage.
As always if you make this recipe, be sure to leave me a comment, rate this recipe and tag me on Instagram @jcookingodyssey or #jcookingodyssey. I love seeing all your photos of my recipe recreations!
Don’t forget to follow me on social media using the buttons below – I can't wait to see you all there!
📖 Recipe
Sev
Equipment
- sev sancho sancha
- jhaaro
Ingredients
- 2 cup besan
- 2 tablespoon rice flour
- 1 tablespoon oil
- ½ cup water plus more as needed
- salt to taste
- oil as required for frying
Instructions
- Sieve 2 cup besan and 2 tablespoon rice flour into a mixing bowl. Add salt, then mix well.
- Add approximately ½ cup water gradually, mixing into a soft, slightly sticky dough. Add more water a spoonful at a time if necessary.
- Carefully heat 1 tablespoon oil for the dough. Pour it over the dough and mix with a spoon until evenly incorporated. Allow it to cool enough to handle safely.
- Rest the dough for five minutes. Check that it's softer than rotli dough and presses easily without being runny.
- Fit the sev sancho with its smallest-hole disc. Lightly grease the inside and the pressing plate, then fill with the dough.
- Heat the oil for deep-frying over medium heat. Press the dough directly into the hot oil in medium-sized circles. The oil should bubble gently around the sev without browning it immediately.
- Flip the sev nest to cook evenly on both sides. The sev should remain yellow and feel light rather than doughy.
- Lift the sev out using a jhaaro and drain. Repeat with the remaining dough. Remove any loose strands from the oil as you go.
- Let the sev cool completely before breaking it into smaller pieces. Store in an airtight container.
Video
Notes
- Flour: Sieve the besan and rice flour before mixing. Rice flour adds extra crispness.
- Hot oil: Mix into the dough for a lighter crunch. Use a spoon and take care when handling.
- Dough: It should be soft, slightly sticky and a little softer than rotli dough. Rest for five minutes, then check again.
- Water: Start with approximately ½ cup for 2 cups besan, adding a spoonful more as needed. If difficult to press, the dough is too stiff. If it falls through the holes by itself, it's too loose.
- Sancho: Use the smallest-hole disc and grease both the inside and pressing plate.
- Frying: Keep the oil at medium heat. It should bubble gently without browning the sev immediately. Adjust the heat between batches and remove loose strands before they burn.
- Cooling: The sev crisps further as it cools. Let it cool completely before breaking and storing.
- Storage: Store in an airtight container for up to two weeks, depending on humidity and how frequently the container is opened.
Nutrition
PLEASE NOTE: Nutritional values are estimated by a computer and may vary based on ingredients and portion sizes. For personalised dietary advice, please consult a qualified healthcare professional.
Share on Facebook Pin This Recipe


Ushnish Ghosh says
Dear Jagruti
I am just reading all the great posts I have missed , hope to finish reading before I leave .
Have a nice weekend
Dada
Rajee Mani says
Mouth-watering sev, I can eat this all day long 🙂
Ganga Sreekanth says
super tempting
Unknown says
Amazing click Jags,showed us the traditional way of making sev at home...Crunchy n crispy....
Shabitha Karthikeyan says
Lovely sev !! Want to have some right now !!
Unknown says
they came out perfect...my kids would have a blast if I showed them this pic!
Simplyfood says
Lovely home made sev.
Priya Suresh says
Love the varieties of sev,you have made jags,well done..
kitchen queen says
Aha so tempting and crispy yaar just like our typical south indian sev
VineelaSiva says
Wow the sev making hungry Jagurti.Love it.
Archana says
love this
Unknown says
Lovely sev...have to make this soon..